
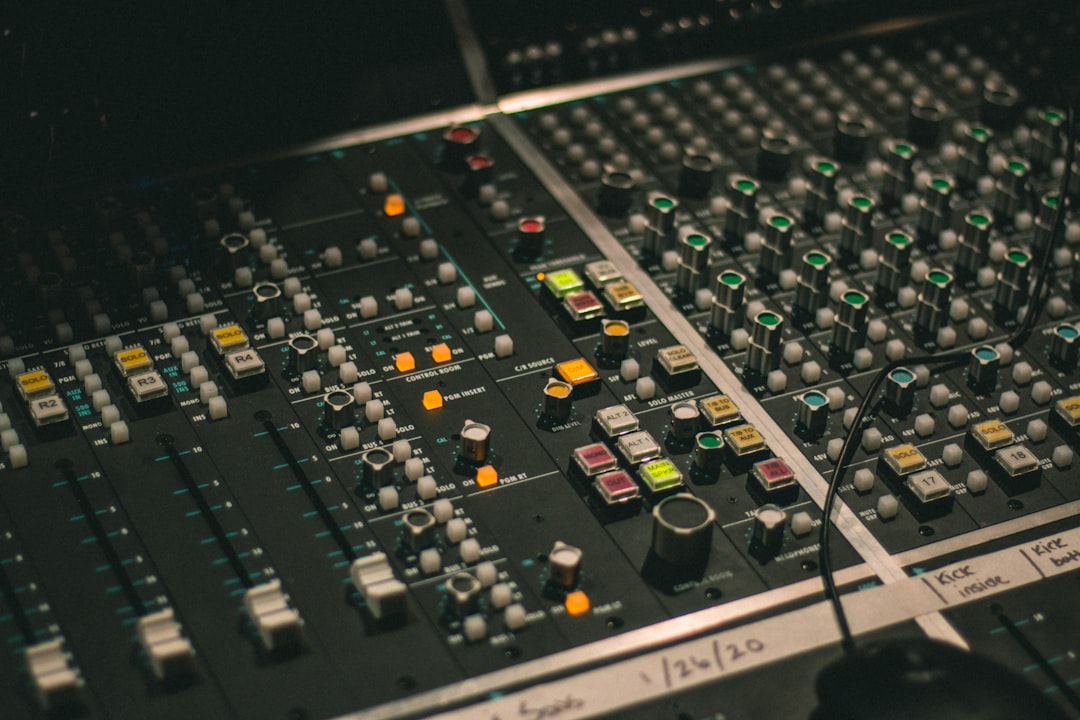
A graphic EQ is an equaliser that splits the audio spectrum into a fixed row of frequency bands, each with its own slider you push up to boost or pull down to cut. The name comes from the shape those sliders draw: line up the faders and you get a visual “graph” of the frequency curve you are applying. It is one of the simplest, most hands-on ways to shape tone.
Violet Recording is reader-supported — we may earn a commission from links on this page, at no extra cost to you.
What is a graphic EQ, in plain terms?
If you are asking what is a graphic EQ and how it differs from the other equalisers in your DAW, start with the layout. A graphic EQ gives you a bank of vertical faders arranged left to right, from the lowest frequency to the highest. Each fader controls one band that is locked to a set centre frequency. You cannot move the bands sideways to a different frequency — that part is fixed — you only decide how much to lift or lower each one.
Common formats are the 10-band, 15-band and 31-band graphic EQ. A 10-band unit covers the audible range in octave steps (roughly 31 Hz, 63 Hz, 125 Hz, 250 Hz, 500 Hz, 1 kHz, 2 kHz, 4 kHz, 8 kHz and 16 kHz). A 31-band “third-octave” EQ splits each of those octaves into three, giving you far finer control. More bands means more precision but also more sliders to manage, so the format you choose depends on how surgical you need to be.
The concept came from live sound and hardware rack units, where an engineer needed to tame a room or a monitor wedge fast, by ear, without staring at numbers. That heritage still shapes how the tool feels today: quick, visual, and forgiving for beginners.
Graphic EQ versus parametric EQ
The equaliser most producers reach for in a modern mix is a parametric EQ, and it helps to understand the trade-off. A parametric EQ lets you place a band anywhere you like, set exactly how wide or narrow it is (the “Q”), and choose the gain. It is precise and flexible, which is why it dominates detailed mixing and mastering work.
A graphic EQ trades that flexibility for speed and clarity. The frequencies are pre-set and the bandwidth of each is fixed, so you are working within a grid rather than drawing freehand. That constraint is actually the appeal: there are fewer decisions, the interface shows your whole curve at a glance, and you can make broad tonal moves in seconds. Think of a parametric EQ as a scalpel and a graphic EQ as a set of tone controls with far more bands than the bass-and-treble knobs on a hi-fi.
Neither is “better”. Reach for a graphic EQ when you want a fast, broad shape or a familiar visual workflow; reach for parametric when you need to notch out one ringing frequency or carve a precise pocket. If you want the full picture of how equalisation fits alongside dynamics, our guide to EQ and compression fundamentals ties the two together.
How to read the frequency bands
To use any EQ well you need a rough map of the spectrum. On a graphic EQ the faders already lay that map out for you, left to right:
- Sub and low bass (20–120 Hz): weight, rumble and the fundamental of kick and bass. Too much here and a mix turns muddy or boomy.
- Low mids (120–500 Hz): body and warmth, but also where “boxiness” builds up when several instruments stack.
- Mids (500 Hz–2 kHz): the core of most vocals and guitars, the range your ear is most sensitive to.
- High mids (2–6 kHz): presence, attack and intelligibility. Boost carefully — this is also where harshness lives.
- Highs and air (6–20 kHz): sparkle, cymbals and the sense of “open” space at the very top.
Once those zones click into place, a graphic EQ stops being a wall of sliders and becomes an obvious layout: pull down the left to tighten the low end, nudge up the right for air, dip the high mids if something sounds shrill.
How to use a graphic EQ step by step
Here is a reliable way to work, whether you are shaping a single track or a whole mix bus.
1. Listen and name the problem first. Before touching a fader, decide in words what you want: “too boomy”, “not enough presence”, “harsh on the S sounds”. A clear target keeps you from random tweaking.
2. Cut before you boost. If something sounds muddy, pull the offending band down rather than boosting everything around it. Cutting keeps headroom in check and usually sounds more natural. Boosting adds energy and can push levels up, so mind your gain staging as you go.
3. Make bold moves to find the spot, then back off. Push a band well up or down until you clearly hear its effect, identify whether it is the right band, then return it to a musical amount — often just 2 to 4 dB.
4. Use gentle, wide shapes for tone. Because each band overlaps its neighbours, a small lift across two or three adjacent faders gives a smooth tilt rather than a spiky curve. This is what a graphic EQ does best.
5. Check against the bypass. Toggle the EQ off and on to confirm you are improving the sound, not just making it louder. Match the loudness by ear so the change, not the level, is what you are judging.
This broad-strokes approach suits busses, drum rooms, and quick tonal fixes especially well. For carving individual vocals you will often finish with a parametric pass, as covered in how to mix vocals.
Common mistakes to avoid
The graphic EQ’s simplicity invites a few classic traps. The first is the “smiley face” curve — scooping the mids and cranking both ends because it sounds impressive in solo. In a full mix that hollowed-out midrange usually makes tracks disappear, since the midrange is where most instruments live.
The second is boosting to fix a dull source. If a recording lacks air, a big high boost will exaggerate hiss and harshness before it adds real sheen. Fix tone at the source where you can, and treat EQ as a finishing tool. The third is over-boosting narrow problem frequencies: a graphic EQ’s fixed, fairly wide bands are not the right tool for surgically notching one resonant ring — that is a job for a parametric EQ or a dynamic EQ.
Finally, watch your overall level. Stacking several boosts quietly pushes your output hotter and hotter, which can clip the next plugin or fool you into thinking the EQ sounds “better” when it is merely louder. Trim the output to compensate.
Where to get a graphic EQ plugin
Almost every DAW already ships with a usable graphic or graphic-style EQ, so you can practise the workflow above tonight without spending anything. When you outgrow the stock tools and want a specific character — a musical analogue-modelled unit, a clean linear-phase mastering EQ, or a workflow that suits live-style tone shaping — a dedicated plugin store is the easiest place to compare options. You can browse a wide range of EQ plugins at a store like Plugin Boutique, which regularly runs sales and lets you filter by developer and type.
If you would rather keep it free, real, well-regarded no-cost options exist too. Voxengo’s Marvel GEQ is a genuine free 16-band graphic EQ with linear-phase processing, and most DAWs — including free ones — include a graphic EQ of their own. For a broader look at paid and free equalisers, see our roundup of the best EQ plugins.
Frequently asked questions
Is a graphic EQ good for mastering?
It can be, for gentle broad tonal tilts, and a clean linear-phase graphic EQ is a valid mastering choice. For precise corrective moves on a finished mix, though, most mastering engineers prefer a parametric or dynamic EQ so they can target exact frequencies and bandwidths.
How many bands do I need?
For quick tone shaping a 10-band graphic EQ is plenty and easy to read. If you want tighter control over specific problem areas — feedback in live sound, or fine tonal balancing — a 31-band third-octave EQ gives you far more resolution at the cost of a busier interface.
Does a graphic EQ change the timing or phase of my audio?
A standard analogue-style (minimum-phase) graphic EQ introduces small phase shifts around each band you adjust, which is usually inaudible and often part of the character. Linear-phase graphic EQs avoid that shift but add latency and can smear transients, so pick the mode to suit the source.
Want to keep building your mixing toolkit? Explore more tutorials in our Mixing & Mastering hub, or learn a complementary skill in how to use reverb and delay.



