
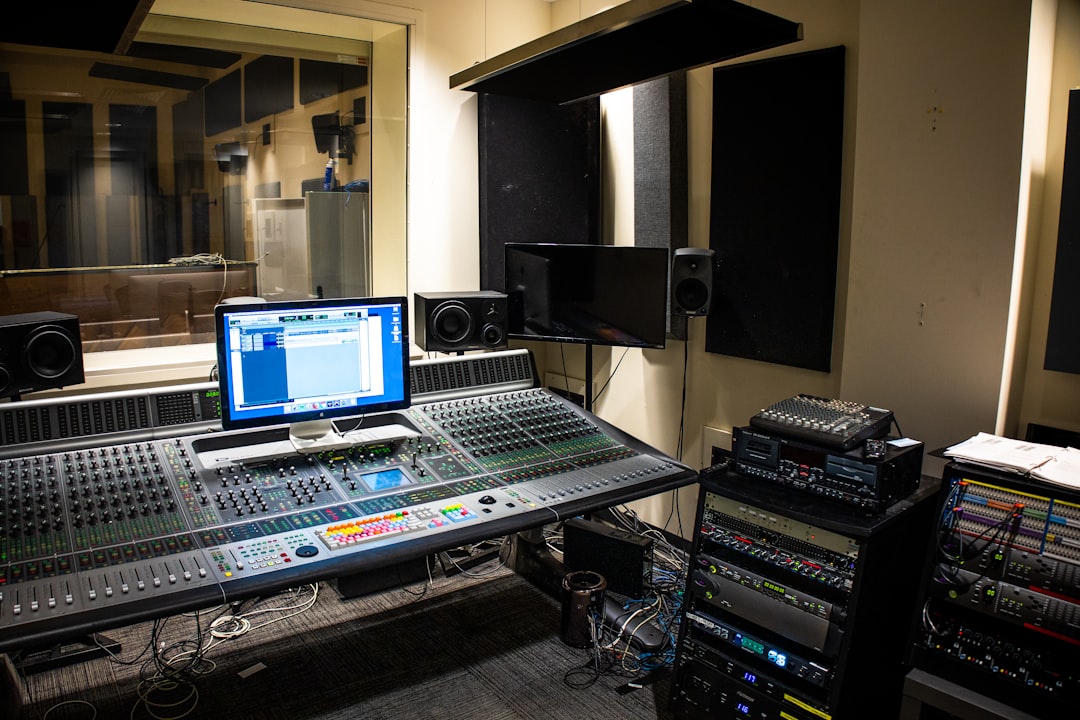
A live capture has energy you can never fake in a studio, but it also arrives with problems a studio mix never has: uneven levels between songs, crowd noise, room resonance and a dynamic range that swings wildly from a whispered intro to a roaring chorus. To master a live recording well you have to preserve that sense of a real room and a real audience while still delivering something that plays back consistently on streaming and does not make the listener constantly reach for the volume knob. This guide covers the specific decisions that make live material different from a polished single.
Assess the source before you master a live recording
Live mixes are rarely as controlled as studio bounces, so start by listening critically to the full performance. Note where the level jumps, where the crowd swells, and where any low-frequency rumble from the stage or PA sits. If you were handed a stereo board mix or a two-track from the desk, you cannot fix balance problems between instruments, so mastering has to work at the broad, tonal level only. Bounce or import the file at 24-bit and leave at least 3 to 6 dB of headroom before your chain.
Decide early whether you are mastering a continuous set with no gaps between songs, or individual tracks. A continuous set needs matched loudness and tone from song to song so the crowd noise between them feels seamless, which means you master the whole thing as one timeline and only adjust per-section, never resetting your chain between songs.
Tame the problems without killing the room
Live recordings usually need a little more corrective work than studio masters, but the same rule applies: gentle and broad beats surgical and heavy. Work in this order:
- High-pass and low-end cleanup. Stage rumble, foot noise and PA subs pile up below 30 to 40 Hz. A high-pass around 30 Hz plus a wide -1 to -2 dB dip around a boomy room mode (often somewhere between 100 and 250 Hz) cleans mud without thinning the kick and bass. A precise EQ like FabFilter Pro-Q lets you find the exact resonant frequency by sweeping a narrow boost, then cut it gently.
- Dynamic control, not brute compression. Live dynamics are the whole point, so use a slow bus compressor for glue, 1 to 2 dB of gain reduction at most, with a slow attack so transients breathe. Where a single chorus spikes far above the rest, a dynamic EQ or gentle multiband like FabFilter Pro-MB can hold just the loud low-mids by 1 to 2 dB when they cross threshold, keeping the performance from lurching.
- Harshness and crowd control. Cymbals and crowd whistles can get piercing. Rather than a static high cut that dulls everything, a dynamic dip of 1 to 2 dB around 3 to 6 kHz that only engages on the harsh peaks preserves the air while removing the sting. A resonance-suppressor such as soothe2 is excellent here because it targets only the offending frequencies as they occur.
Resist the urge to gate or remove crowd noise entirely. A little audience presence between songs is what makes a live album feel alive; scrubbing it out leaves an uncanny, sterile silence.
Set loudness for live material
Because live recordings carry more natural dynamic range, they generally sound best mastered a little quieter and less limited than a studio pop single. Aim for an integrated loudness around -14 to -12 LUFS, which sits comfortably with streaming normalisation at roughly -14 LUFS and leaves the loud moments room to actually feel loud. Pushing a live recording to -8 LUFS flattens exactly the peaks and swells that give a concert its impact.
Keep the limiter ceiling at -1 dBTP to protect against inter-sample peaks after lossy encoding, and use a transparent limiter such as FabFilter Pro-L 2 that shows true-peak metering. Watch the loudness range (LRA) as you go; a live master with an LRA of 8 to 12 LU is normal and healthy, whereas a studio single might sit at 5 or 6. If your LRA collapses below 4, you are over-compressing the life out of the performance.
Match songs and deliver
The final job on a multi-song set is consistency. Play the whole thing and check the short-term LUFS of each song’s chorus; if one number is 3 or 4 dB adrift from the rest, ride a clip-gain or automation move on that section rather than changing your master chain. The listener should never have to adjust the volume across the set. Use a loudness meter such as Youlean Loudness Meter to log each song’s integrated LUFS and nudge them into a tight range.
Before you export, run the same pre-release checks you would on any project; our guide to checking your master walks through the mono and codec tests that matter, and small-speaker translation is doubly important for live material because so much of it gets shared casually. Deliver a 24-bit WAV at the recording’s native sample rate. For more on gentle mastering moves and the tools that support them, see our home mastering guide and the free utilities in the Violet Recording tools hub. Done right, a mastered live recording keeps the sweat and the crowd while still sitting confidently next to studio tracks in a playlist.



