
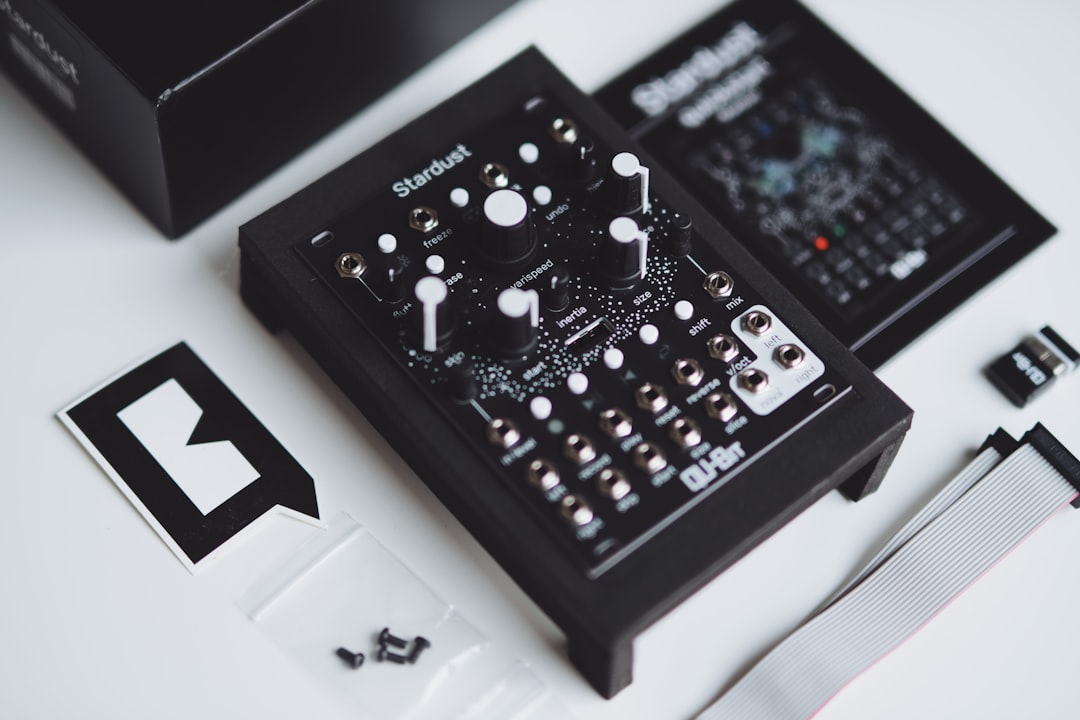
What is a sampler? In music production, a sampler is an instrument that plays back recorded audio — short clips called samples — and lets you pitch, shape, loop, and trigger those sounds from a keyboard, a grid of pads, or your DAW’s piano roll. Instead of generating tone from scratch the way a synth does, a sampler takes something that already exists — a drum hit, a vocal phrase, a piano note, a snippet of an old record — and turns it into a playable, tweakable instrument.
Violet Recording is reader-supported — we may earn a commission from links on this page, at no extra cost to you.
Samplers sit at the heart of hip-hop, house, drum & bass, lo-fi, and pop production, but they’re useful in any genre. Once you understand how one works, you can build a kit from your own recordings, chop a loop into new patterns, or load a huge multisampled orchestra and play it like a keyboard. This guide walks through what a sampler does, how it differs from a synth, the controls you’ll meet in every one, and how to start for free.
What is a sampler and how does it actually work?
At its core a sampler does three things: it stores an audio recording, it assigns that recording to a trigger (usually a MIDI note), and it plays the recording back — often altered — when the trigger fires. Press a key and the sample plays. Press a higher key and, on most samplers, the same sample plays back faster and higher in pitch, the way speeding up a tape raises its pitch. That single behaviour is what makes a static recording into a musical instrument: one drum hit can become a whole tuned tom fill, and one sung note can span an octave.
Modern software samplers go far beyond simple playback. They let you define exactly which slice of the audio file plays, loop a sustained section so a note can be held indefinitely, layer several samples on one key, and route the sound through envelopes, filters, and effects. The audio can come from anywhere — a commercial sample pack, a field recording on your phone, a bounce of your own synth, or a mic’d acoustic instrument. If it’s a sound file, a sampler can play it.
Samplers versus synthesizers: what’s the difference?
The quickest way to understand a sampler is to compare it to a synth. A synthesizer generates sound from oscillators — mathematical waveforms like sine, saw, and square — and sculpts them into tones that never existed as a recording. A sampler reproduces sound from a recording you feed it. A synth’s raw material is voltage and maths; a sampler’s raw material is audio.
In practice the line blurs, because both share the same downstream tools: filters, amplitude envelopes, LFOs, and effects all shape a sample the same way they shape an oscillator. That’s why many instruments are hybrids — a “rompler” or preset-based workstation is really a sampler playing back recordings of real instruments, and many software synths can load a sample as an oscillator. If you’re still getting your head around the oscillator side of that family, our companion explainer on free synth VSTs and how they make sound pairs well with this one. The short version: reach for a synth when you want to design a tone from nothing, and reach for a sampler when you want to play, twist, or rearrange a sound that already exists.
The key controls every sampler shares
Samplers vary wildly in looks, but almost all of them expose the same handful of parameters. Learn these once and you can drive any of them.
Start and end points. These define which portion of the audio file plays. Trimming the start tightens up a lazy drum hit; pulling the end in stops an unwanted tail. Getting these clean is the sampling equivalent of good editing.
Pitch and key tracking. This sets the “root” note — the key at which the sample plays back at its original speed — and decides whether higher keys transpose the sample up. Turn key tracking off and every key plays the same pitch, which is exactly what you want for a drum kit where each pad should be its own sound.
Looping. A loop repeats a section of the sample so a note can sustain for as long as you hold it. It’s essential for turning a short recording of, say, a bowed string into a pad you can hold for whole bars. A clean loop point that doesn’t click is one of the fiddlier sampler skills.
Amplitude envelope (ADSR). Attack, decay, sustain, and release shape the volume over time — a slow attack fades the sample in, a short release cuts it off quickly. This is identical to the envelope on a synth and gives you enormous control over how a sample feels.
Filter. A low-pass or high-pass filter removes frequencies, letting you darken a bright sample or thin out a muddy one. Filters are also where a lot of movement and character comes from once you modulate them.
Slicing and mapping. Slicing chops a loop into individual hits — usually at the transients — and spreads them across your keys or pads so you can replay the loop in any order. Mapping (or “zones”) is the bigger picture: assigning different samples to different key ranges and velocity layers to build a full instrument.
How producers actually use a sampler
Knowing the controls is one thing; here’s what people build with them. Drum kits are the most common use — load a kick, snare, hats, and percussion onto separate pads, turn key tracking off, and you’ve got a playable, swappable kit. Chopping is the classic hip-hop and lo-fi move: slice a loop from a record or a jam, then rearrange the slices into a new groove or melody. One-shots — single stabs, vocal ad-libs, risers — get mapped to keys so you can trigger them in time.
Multisampled instruments are how big libraries work: rather than stretch one piano note across the whole keyboard (which sounds unnatural at the extremes), the maker records many notes at several velocities and maps each to its correct key, so the sampler always plays a real recording close to the pitch you press. And sound design is where samplers get weird — feed in Foley, a field recording, or a reversed cymbal, then pitch it down, filter it, and loop it into a texture that sounds nothing like the source. If you want to go deeper on that creative side, the wider sound design hub collects our explainers on shaping raw audio into instruments.
Common sampling mistakes to avoid
A few habits separate clean sampling from amateur-sounding results. Not trimming the start leaves dead air before a hit, which pushes it off the beat — always tighten the start point. Clicky loop points happen when the loop’s start and end don’t line up at a zero crossing; nudge them or add a tiny crossfade. Over-stretching one sample across too many keys makes it sound chipmunky high up and sludgy low down — use more zones or accept a narrower range. Ignoring gain staging is a big one: samples come in at wildly different levels, so set sensible input levels before you start stacking them, exactly as you would when tracking. Our primer on gain staging applies directly here.
Finally, mind the legal side. Sampling a commercial record without clearance is a copyright issue, not just a creative one. Royalty-free sample packs, your own recordings, and libraries you’ve licensed keep you safe. When you do reuse copyrighted audio for release, clearance matters more than most beginners realise.
Where to get a sampler, including the best free options
Good news: you almost certainly already own one. Most DAWs ship with a capable sampler built in — Ableton has Simpler and Sampler, Logic has Sampler and Quick Sampler, and FL Studio can load audio straight into a channel. Start there before buying anything, because the workflow you learn transfers everywhere.
If you want dedicated free tools, several are genuinely good. TX16Wx is a fully featured free sampler with mapping, looping, and modulation. Sitala is a dead-simple drum sampler with sixteen pads — brilliant for building kits fast. Decent Sampler plays a growing catalogue of free sample libraries, so it’s a quick way to get playable instruments. And Sforzando from Plogue is a free SFZ player that opens a huge range of free instrument libraries. Any one of these is enough to learn on.
When you’re ready for premium samplers, romplers, and large sample libraries, it’s worth browsing a specialist store rather than buying blind. Plugin Boutique carries most of the major sampler instruments and library makers, and regularly runs sales and free-with-purchase offers worth watching.
Once you’re comfortable triggering and shaping samples, the next skills to build are mixing them together cleanly. Our guides on EQ and compression fundamentals and mixing vocals both lean heavily on sampled sources and are a natural next step.
Frequently asked questions
Is a sampler the same as a drum machine?
Not quite. A drum machine is a rhythm instrument focused on triggering and sequencing percussion, and many modern ones happen to be sample-based. A sampler is the broader tool — it plays back any audio, melodic or percussive, and usually leaves the sequencing to your DAW. You can absolutely build a drum machine’s worth of sounds inside a sampler, but a sampler also handles pads, chops, and full multisampled instruments a classic drum machine can’t.
Do I need hardware, or is a software sampler enough?
For learning and for most productions, a software sampler is more than enough — it’s cheaper, endlessly recallable, and integrates with your DAW. Hardware samplers offer hands-on immediacy and a certain workflow that some producers love, but nothing about the sound is off-limits in software. Start with the sampler in your DAW or a free one, and only consider hardware once you know you want that tactile experience.
Can I sample any song I like and release the track?
Legally, no — not without clearance. Using a recognisable portion of someone else’s copyrighted recording in a release you distribute requires permission from the rights holders, and unlicensed samples can lead to takedowns or legal claims. For safe releasing, use royalty-free sample packs, libraries you’ve licensed, or audio you recorded yourself. Sampling for private practice is a grey area worth keeping private; sampling for release is a clearance question.



