
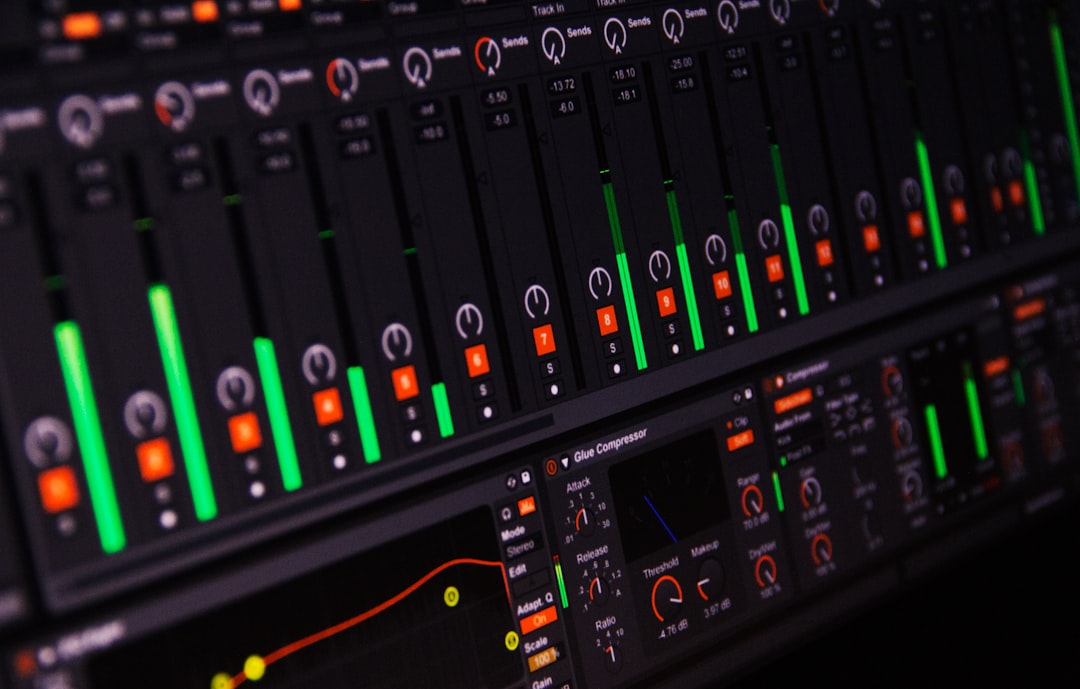
To add a producer tag to your beats, you record or design a short signature sound — usually your name or a catchphrase — then drop it onto its own track near the start of the beat and again a few times through the arrangement so nobody can steal the loop without your stamp on it. Get the timing and level right and the tag protects your work while quietly marketing you every time the beat is played. This guide walks through building the tag, placing it, mixing it, and exporting a tagged and untagged version.
Violet Recording is reader-supported — we may earn a commission from links on this page, at no extra cost to you.
What a producer tag is and why it matters
A producer tag is your audio signature. When you scroll beat-selling sites like BeatStars or YouTube type-beat channels, that “Metro Boomin want some more” or “if young Metro don’t trust you” moment is a tag doing three jobs at once. First, it is theft protection: a tag sprinkled through a beat means anyone who rips the preview off YouTube gets your name baked into their song, so the untagged lease or exclusive becomes the thing worth paying for. Second, it is branding — every play of every beat trains listeners to associate a sound with you. Third, it is a credit trail; when your beat blows up on someone’s mixtape, your voice is already on the record.
Because the tag sits inside the beat business rather than the mix itself, it is worth treating as part of how you package and sell your work. If you are also thinking about pricing, leasing, and where to list beats, our guide on how to start selling beats covers the commercial side that a tag plugs straight into. The tag and the sale are two halves of the same job: proving the beat is yours and getting paid for it.
What you’ll need before you start
- A DAW — FL Studio, Ableton Live, Logic, GarageBand, or any free option works. If you’re still choosing, see our roundup of the best free DAWs for beginners.
- A microphone. A USB mic or a condenser through an interface is ideal, but even a decent phone recording can work for a short vocal tag if the room is quiet.
- A quiet space and two or three minutes of recording time.
- A finished or near-finished beat to place the tag onto.
That’s genuinely it. A producer tag is one of the cheapest, highest-leverage assets you can make, and once it’s built you reuse the same file on every beat forever.
How to add a producer tag step by step
Here’s the full workflow to add a producer tag from scratch. Do it once properly and you’ll have a reusable asset plus a repeatable placement routine for every future beat.
Step 1: Decide what your tag actually says
The best tags are short, memorable, and easy to say out loud — usually your producer name, sometimes a two- or three-word catchphrase. Keep it under two seconds. Long sentences date quickly and get annoying on repeat plays, which matters because a good tag repeats several times per beat. Say your idea out loud twenty times in a row; if you still like it, it’s a keeper. If it starts grating, cut it down. Avoid anything that could be confused with lyrics, and steer clear of copying an established producer’s phrasing — you want a stamp that’s unmistakably yours.
Step 2: Record the vocal cleanly
Set up your mic, get your levels so your loudest word peaks around -6 dB (leaving headroom, not clipping), and record five to ten takes back to back. Say it flat, then say it with attitude, then whisper one, then pitch it low. Variety in the session gives you options later. Good mic technique matters even for two words — stay four to eight inches back, slightly off-axis to dodge plosives, and record in the quietest, least reflective spot you have. If you want a refresher on capturing a clean vocal, our walkthrough on how to record vocals at home applies directly to tags.
Step 3: Edit and process the tag
Pick your best take and trim the silence off both ends so the file starts the instant the sound does. Then shape it so it cuts through a busy beat:
- EQ: a gentle high-pass around 80–100 Hz to clear rumble, and a small presence lift around 3–5 kHz so the tag sits on top of the drums.
- Compression: a moderate ratio to even out the level so the tag reads at the same loudness every time it fires.
- Effect (optional): a touch of reverb, a pitch drop, a formant shift, a stutter, or an autotune warble. This is where a tag gets a personality — a lot of famous tags are just a name run through one distinctive effect.
Once you’re happy, bounce the processed tag to a single audio file (WAV, so it stays high quality). That file is now your reusable asset — save it somewhere you’ll find it, because you’ll drag it into every project from here on.
Step 4: Place the tag inside the beat
Drop your tag file onto its own dedicated audio track so it never gets tangled with your instruments. Placement is where most beginners get it wrong, so here’s the reasoning:
- The intro tag is non-negotiable. Put one tag in the first four to eight bars, before the main loop settles. This is the theft-protection tag — anyone previewing the beat hears your name immediately.
- Sprinkle through the arrangement. Add the tag again roughly every 16 to 32 bars, ideally in the transitions between sections — the last beat before a chorus drops, or over a drum fill. That way it’s woven into the loop and can’t be cleanly edited out.
- Ride the empty space. Tuck tags into gaps where the melody or vocal chop breathes, so they punch through instead of fighting the busiest part of the beat.
Understanding song structure makes this easy: most beats follow an intro, verse loop, hook/chorus, and bridge or breakdown. Tag the intro, then tag the seams between those sections. If you tag on the “and” just before a section change, it lands like an accent rather than an interruption.
Step 5: Mix the tag so it sits right
The tag should be clearly audible but never louder than your lead melody or hook. A common mistake is slamming the tag so hot it becomes the loudest thing in the beat — that makes the preview unpleasant and buries the actual music you’re selling. Aim for the tag to sit just under the melody: present, recognisable, not shouting. Pan it dead centre so it feels anchored, add the same reverb tail you used on the beat if you want it to feel glued in, and automate a small volume dip on the surrounding instruments right when the tag fires if it’s getting lost. If you want to check your overall loudness is sensible, our explainer on LUFS and how loud a master should be gives you the reference targets.
Getting the groove right so the tag lands in the pocket
A tag is only as good as the beat under it, and where the tag hits depends on the groove. This is worth a short detour into drum programming, because a tag placed against a stiff, quantised beat feels robotic while the same tag over a beat with swing feels intentional.
When you program drums, start with the kick and snare backbone — in most hip-hop and trap that’s a kick on the one, a snare or clap on the two and four, and hi-hats filling the subdivisions. The magic is in the details: add swing (a rhythmic offset that pushes off-beat notes slightly late) so the hats and percussion don’t sit dead on the grid. Most DAWs have a swing or shuffle control; dial in something between 8 percent and 20 percent and listen to the beat loosen up. Nudge individual hits a few milliseconds early or late by hand to add human feel, and vary velocity so every hi-hat isn’t the same volume — ghost notes and accents are what make a pattern breathe.
The 808 — the low, sustained bass note that defines modern trap — is the other half of the low end. Tune your 808 to the key of your melody so it doesn’t clash, and use glides or pitch slides between notes for that sliding sub sound. Sidechain or duck the 808 under the kick so the two don’t fight for the same frequencies and turn to mud. Once your kick, 808, and swung hats are locked together, your tag has a solid pocket to land in — place it on a strong beat or a fill and it feels like part of the arrangement rather than an afterthought.
If you want to tighten your timing while you build patterns, Violet Recording’s free browser tools include a metronome and BPM utilities you can run alongside your DAW to nail the tempo and feel before you commit the tag.
Where to source sounds and how to make a full track
A tag is only worth protecting if the beat under it is strong, and that starts with your sound library. Layering a punchy kick, a crisp snare, textured percussion, and a melodic loop is what separates a flat beat from a full one. If your stock sounds feel thin, this is the natural point to reach for a sample library — grab drum one-shots, loops, and melodic samples from a service like Splice so you’re building from professional-grade material rather than fighting weak sounds.
Pull in a loop you love, chop it, resample it, and layer your own drums underneath, then tag it. For choosing the tools around that workflow, our guides on the best free drum VSTs and the best beat-making apps will point you to solid options at any budget.
And if you’ve got a tagged beat but want to hear it as a finished song — with a topline, vocals, and full arrangement — you can turn the idea into a complete original track with Solmi, then keep your producer tag on the instrumental so your credit rides along. It’s a fast way to demo where a beat could go before you shop it around.
Exporting tagged and untagged versions the smart way
Here’s the business move that ties it all together: always export two versions of every beat. The tagged version — with your producer tag placed through it — is your public preview. Upload that to YouTube, SoundCloud, and your beat store as the demo anyone can stream. The untagged version — the clean beat with the tag track muted — is what the buyer receives after they pay for a lease or exclusive. Keep the untagged file locked away and never post it publicly, because the moment a clean version leaks, your tag can’t protect it.
Practically, keep your tag on its own muted-or-unmuted track so switching between versions is one click: mute the tag track and export the untagged WAV, unmute it and export the tagged preview. Name your files clearly — something like BeatName_TAGGED.wav and BeatName_CLEAN.wav — so you never send the wrong one to a customer. That single habit has saved countless producers from accidentally handing out the very file they were trying to sell.
Frequently asked questions
How many times should a producer tag repeat in one beat?
At minimum, once in the intro so previewers hear it immediately, then every 16 to 32 bars through the arrangement — usually three to five times across a full beat. Enough that it can’t be cleanly cut out, not so many that it drowns the music. Lean toward more tags on the free YouTube preview and rely on the untagged export for paying customers.
Do I need a microphone to make a producer tag?
A mic is the usual route for a voice tag, but it’s not the only one. You can build a tag entirely in the box from a synth, a chopped vocal sample, a vocoder, or a text-to-speech voice run through effects. Plenty of iconic tags are heavily processed sounds rather than clean spoken names, so if you don’t have a mic handy you can still design a distinctive tag from software instruments.
Can a buyer legally remove my producer tag?
Only if you give them the means to. That’s the entire reason you sell a separate untagged file — the buyer pays for the clean version rather than editing the tag out of the preview. Cutting a tag out of a tagged preview by hand is difficult and sounds bad, which is exactly the friction that pushes people to buy the real thing. Spell out in your lease terms what the untagged file may be used for, and keep the clean master private until payment clears.



