
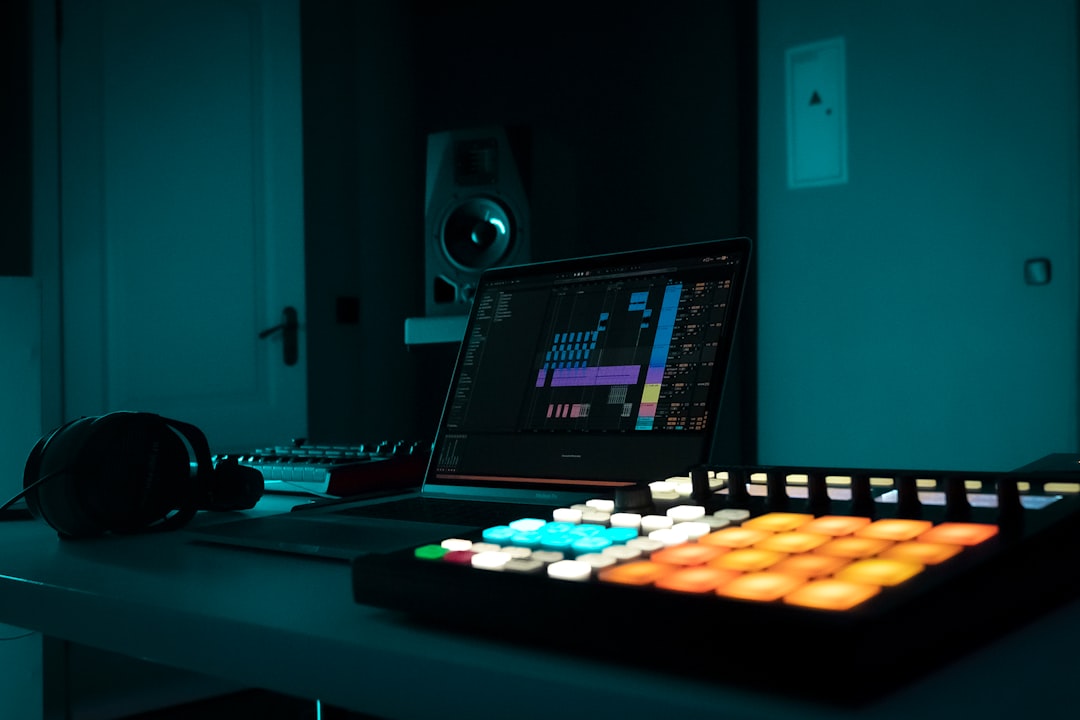
Knowing how to create a DAW template is one of the fastest ways to stop wasting time on setup and start making music sooner. A template is just a saved project that already contains the tracks, routing, buses, effects and settings you reach for most often. Open it, save it under a new name, and you are ready to record or produce in seconds. This works the same way in every major DAW, including Ableton Live, Logic Pro, FL Studio, Reaper, Cubase, Pro Tools and Studio One.
Why a template saves you hours
Most producers rebuild the same skeleton for every project: a drum bus, a vocal chain, a reference track, a master limiter and a sensible default tempo. Doing that from scratch every time breaks creative flow. A template captures all of it once. It also keeps your projects consistent, which makes mixing predictable because your gain staging and routing start from a known baseline.
Decide what goes in the template
Before you build, think about the type of work the template is for. A tracking template differs from a beat-making or mixing template. Common elements include:
- Tracks you always use — drums, bass, vocals, keys, plus a couple of spare audio tracks.
- Buses and groups — a drum bus, an instrument bus, and a vocal bus feeding the master. If you are fuzzy on what one actually is, see what a bus is in mixing.
- Effect returns — a reverb and a delay send so you can add space without inserting plugins repeatedly. See how to set up sends and returns.
- Default plugins — perhaps a tuner, a metering plugin on the master, and a gentle limiter.
- Session settings — sample rate, bit depth, tempo and time signature.
Build the project once
Open a new project and set it up exactly how you want every future project to begin. Create and colour-code your tracks, set inputs for recording, add your buses and sends, and insert any default effects. Keeping a clean colour and naming scheme pays off later, as covered in how to organize a DAW project. Set your sample rate and bit depth deliberately, since changing them later is awkward; our explainer on sample rate and bit depth helps you choose.
Save it as a template
Each DAW has a dedicated way to store a template rather than an ordinary project:
- Ableton Live — use Save Live Set as Default, or save sets into the Templates location, so new sets open with your layout.
- Logic Pro — choose Save as Template; it appears in the template chooser at startup.
- FL Studio — save your project into the Templates folder so it shows in the New From Template menu.
- Reaper — use File > Project Templates > Save as Project Template.
- Cubase and Pro Tools — both offer a Save as Template option in their file or project menus.
- Studio One — save your song as a template from the file menu so it appears on the start page.
Because exact menu wording shifts between versions, look for the word “template” in your DAW’s file or project menu if the path differs from the above.
Make more than one template
You do not need a single do-everything template. Many producers keep a few: one for recording bands, one for vocal sessions, one for electronic production, and a stripped-down mixing template. If you are still choosing software, our roundup of the best free DAWs for beginners notes which ones make templates easy. For setup ideas around the rest of your room, browse the home studio setup hub.
How to choose the right starting point
If you have never built a template, the temptation is to cram in every track and plugin you might conceivably need. Resist it. A bloated template is slow to load, harder to navigate, and quietly burns CPU on tracks you never touch. If load times become a problem, learning how to freeze tracks lets you keep heavy instruments without paying for them constantly. The better approach is to start lean and let the template grow from real sessions. Spend a week working as you normally would, then note which tracks, buses and sends you recreated by hand every single time. Those repeated elements are the genuine core of your workflow, and they are the only things that belong in version one of your template.
It also helps to think in terms of signal flow rather than a flat list of tracks. Decide where everything should end up before it reaches the master: drums into a drum bus, all vocals into a vocal bus, instruments grouped sensibly, and a couple of shared effect returns feeding everything. When the routing is sketched out first, the rest of the build falls into place quickly and your mixes start from the same logical structure every time.
Common mistakes to avoid
A few habits turn a helpful template into a liability. Watch for these:
- Heavy master-bus processing. A limiter or aggressive bus compressor that is always engaged colours your judgment from the first note. Keep the master light so you can make deliberate mixing decisions later rather than chasing a sound that is already squashed.
- Forgetting to set sample rate and bit depth. These are awkward to change once a project contains recorded audio, so lock them in the template and confirm they match your interface and project goals.
- Leaving record inputs unassigned. If your tracking template does not have inputs and monitoring set up, you lose the main time-saving benefit. Arm the tracks correctly so you can hit record immediately.
- Never updating it. A template built a year ago reflects how you worked then. If you have changed plugins or workflow since, the old template forces you to undo its defaults on every project.
- Saving over the template by accident. Always use your DAW’s dedicated template command rather than a normal save, so opening it spawns a fresh untitled project instead of editing the master copy.
Keep your template updated
Templates are living documents. When you find a routing trick or a plugin chain you keep recreating, fold it back into the template. Re-save it every few months so it reflects how you actually work rather than how you worked a year ago.
Frequently asked questions
What is the difference between a template and a normal project?
A template is a starting point: when you open it, the DAW creates a fresh, untitled project from its contents so you cannot accidentally overwrite the template itself. A normal project saves over itself as you work.
Should my template include plugins on the master bus?
It can, but keep it light. A metering plugin is useful for reference. Avoid heavy processing or a hard limiter that colours your judgment while you record and arrange, since you want to make mixing decisions deliberately later.
Will a template lock me into a fixed tempo or key?
No. The template just sets defaults. You can change the tempo, time signature, add or delete tracks, and reshape the project freely once it opens. Nothing in a template is permanent for the new project.
How many templates should I have?
Most people are well served by two or three: a tracking template for recording, a production template for writing, and a mixing template. Beyond that, extra templates often overlap so heavily that they are no longer worth maintaining, so only split out a new one when a particular type of session genuinely needs a different starting layout.



