
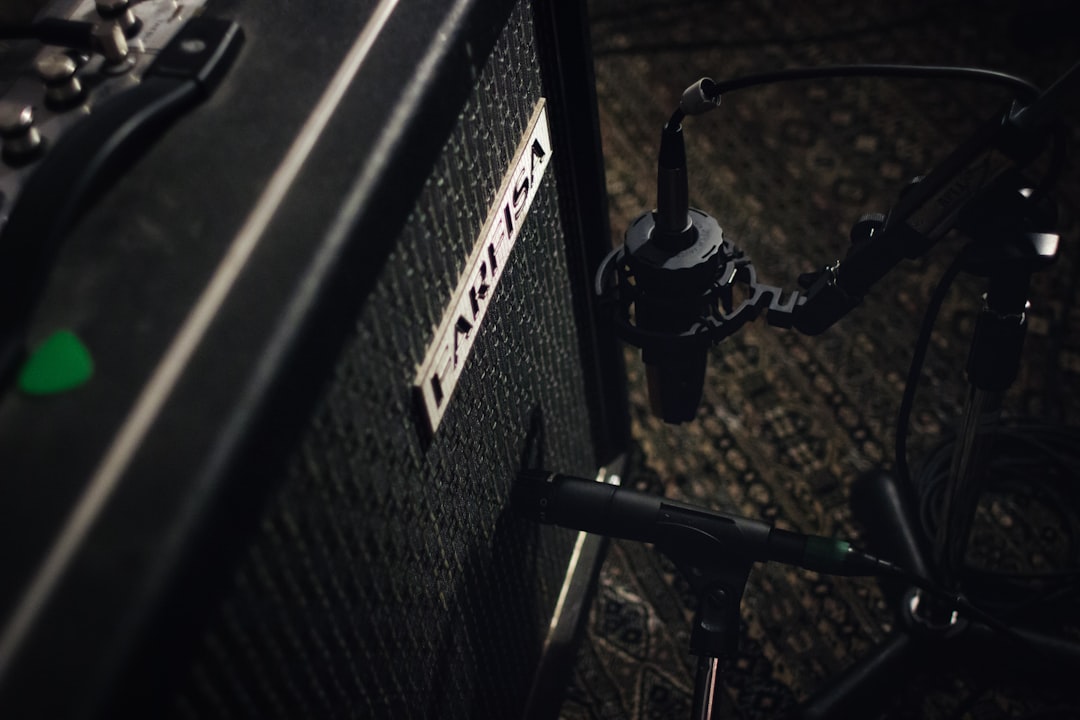
Getting a good guitar tone recording at home starts long before any plugin: fresh strings, a well-set-up guitar, and a clean signal into your interface. After that, the amp, cab, and a little EQ do the rest. This guide walks the whole chain so your recorded guitars sound finished, not flat.
Tone starts at the source
No plugin fixes a dull guitar. For a good guitar tone, recording begins with the instrument:
- Fresh strings. Old strings sound dead and dull. New strings give clarity and sustain — change them before a session.
- Intonation and setup. A guitar that plays in tune up the neck records cleaner chords with less beating.
- Pickup choice and playing. Bridge pickup for bite, neck for warmth. Pick attack and where you pick along the string change the tone more than people expect.
Get a clean signal into your interface
Plug into the instrument (Hi-Z) input on an interface like a Focusrite Scarlett, Universal Audio Volt, or Audient iD. Set levels so peaks land around -12 to -10 dBFS with headroom to spare — clipping the input ruins the tone before you start. If levels are new to you, read gain staging explained. Record a dry DI so you can re-amp or change the tone later. Our guide on how to use amp sims covers the DI workflow in detail.
Choose an amp tone that suits the song
Match the amp to the part. Clean and edge-of-breakup tones suit pop, funk, and arpeggios; crunch suits classic rock; high gain suits metal. Amp sims like Neural DSP Archetype plugins, STL Tones ToneHub, IK Multimedia AmpliTube, or free options such as Ignite Amps Emissary all cover wide ground. Once you have one loaded, work methodically when you dial in your amp sim tone. Whatever you pick, use less gain than feels good when soloed — excess gain disappears into mud in a full mix.
The cab is most of your tone
The cabinet and mic do more for your sound than the amp model. Pair your amp with quality guitar cab IRs from makers like Celestion, OwnHammer, or York Audio, and audition mic positions: cap for bright and aggressive, cone for dark and round. Change the IR before you reach for EQ — a fizzy tone is usually a cab problem, not an EQ problem.
How to choose and place the mic on the cab
Whether you are auditioning IRs or miking a real cab, the same handful of moves shape almost everything you hear. Work through them in order rather than all at once, so you can tell what each change is doing:
- On-axis vs off-axis. A mic pointed straight at the cone (on-axis) is brighter and more aggressive; angling it away (off-axis) tames the top end and smooths a harsh tone. Start on-axis and tilt away if it bites.
- Cap to cone. Moving the mic from the centre of the speaker (the dust cap) out towards the edge trades treble and presence for warmth and body. Most usable rhythm tones live somewhere between the cap and halfway out.
- Distance. Close-miking gives a tight, focused sound with more proximity bass; backing the mic off a little adds air and lets the cab breathe. With IRs this is often a built-in distance control.
Change one of these at a time and you will quickly learn which knob fixes which problem. A tone that is fizzy wants an off-axis or cone-side position; a tone that is dull wants the cap or a brighter IR.
Mic a real amp instead?
If you own a real amp and can make noise, miking it is still a great route. A Shure SM57 on the grille is the classic starting point. Our guide on how to mic a guitar cab covers placement, and how to record electric guitar walks the broader setup. Either way, the principles — source, level, mic/cab choice — are the same.
Make it sit in the mix
A great solo tone is not the same as a great mix tone. To make guitars fit:
Cleans are less forgiving than high gain because every flaw is audible. For a dedicated walkthrough, see how to get a clean guitar tone.
- High-pass the low rumble below roughly 80–100 Hz so guitars do not fight the bass.
- Carve harshness with a gentle cut in the 2–4 kHz region if it is fatiguing; the full method is in our guide on how to EQ guitars in a mix.
- Double-track rhythms and pan them wide for size — see how to double track guitars.
- Reference against a song you love in the same genre.
For deeper EQ moves, EQ and compression fundamentals is a solid primer.
Common guitar tone mistakes to avoid
Most amateur-sounding guitars come down to the same few habits. If your tone is not landing, check these before anything else:
- Too much gain. Drive that sounds huge on its own collapses into noise and mush once drums and bass arrive. Dial gain back until the picking feels almost too clean, then re-check in the mix.
- Choosing tone in solo. Always judge a guitar against the rest of the song. A tone only has to do one job — sit in that particular mix.
- Stacking too many layers. Two well-played, tightly doubled rhythm tracks beat six sloppy ones. Extra layers blur timing and smear the stereo image rather than adding power.
- EQ-ing a cab problem. If a tone is fizzy or boxy, swap the IR or move the mic first. Reaching straight for an EQ to fix a bad cab choice usually makes things worse.
- Drowning it in reverb. Heavy reverb pushes guitars to the back and washes out the attack. Keep it subtle, and commit to a dry, present tone first.
Less is more
The most common reason home guitars sound amateur is too much of everything: too much gain, too much reverb, too many layers. Strip back, get one clean, well-recorded tone right, then build. A simple, accurately recorded guitar beats a heavily processed one every time.
And if your guitar won’t stay in tune or intonate cleanly up the neck, no amount of processing will rescue it. When it’s time for an upgrade, see our picks for the best electric guitars.
Frequently asked questions
Why does my recorded guitar sound thin or weak?
Usually a single mono track with too little low-mid body, or excess gain making it fizzy and small. Double-track and pan wide for width, ease off the gain, and pick a cab IR with more body. A thin tone is rarely fixed by adding treble.
Do I need expensive gear for a good guitar tone?
No. A decent interface, free amp sims, and free or budget IRs can produce a professional good guitar tone. Recording technique, string freshness, and mix decisions matter far more than the price of your gear.
Should I add effects while recording or after?
Record dry where possible and add reverb, delay, and modulation in the mix. The exception is an effect that changes how you play, like a specific delay for a part — print it lightly or commit to it, but keep your dry DI safe.
How loud should I record my DI?
Aim for peaks around -12 to -10 dBFS and never let the input clip. Guitar DI signals are dynamic, so leave plenty of headroom for hard strums. A slightly quiet, clean DI is always better than a hot one that distorts before it even reaches the amp sim.
Why do my doubled guitars sound smeared rather than wide?
Doubling only works when both takes are tightly in time. Play the part twice as accurately as you can, hard-pan one take left and one right, and avoid copy-pasting a single take to both sides — that just sounds mono. If the timing drifts, the two tracks blur together instead of widening.



