
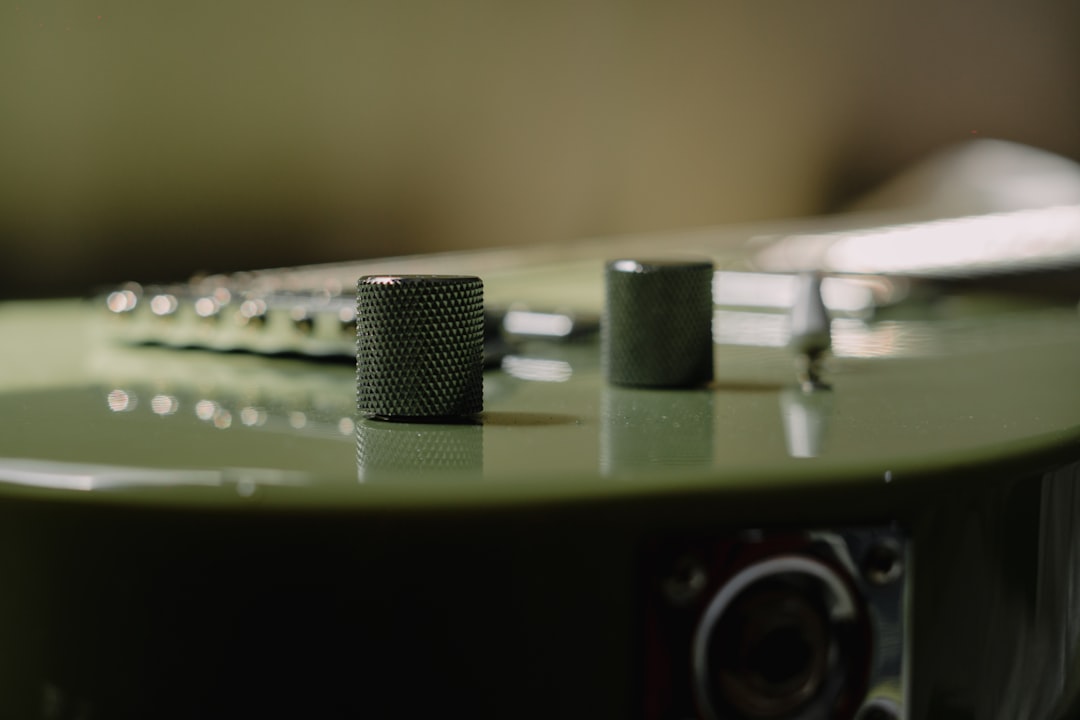
Learning how to use amp sims well is mostly about getting the signal chain right: record a clean DI, drop the amp sim on the track, and dial it in like a real rig. Done properly, an amp sim gives you re-amp-anytime flexibility and quiet, neighbour-friendly recording. Here is the workflow from plugging in to a finished tone.
Record a clean DI first
The foundation of using amp sims is a clean DI — your guitar’s dry, unprocessed signal. Plug your guitar into an instrument (Hi-Z) input on your interface. A Focusrite Scarlett, Universal Audio Volt, Audient iD, or IK Multimedia AXE I/O all have one. Set your levels so the loudest strums peak well below clipping, around -12 dBFS, leaving headroom. If you are unsure about levels, our gain staging guide explains why this matters.
If you have not wired this up before, our step-by-step guide on how to set up an amp sim covers the interface, buffer and routing settings in order.
Record that DI dry, with no amp sim printed to the file. The amp sim sits on the track as a plugin you can change at any time. That is the whole advantage: commit nothing, change everything later.
What an amp sim actually does
An amp sim models the stages of a real rig — input gain, tone stack, power amp, and a speaker cabinet. If the concept is new, our explainer on what an amp sim is covers the parts. Most sims chain together as: noise gate, drive/boost pedal, amp head, and cab/IR, often with effects after. Popular choices include Neural DSP’s Archetype plugins, STL Tones ToneHub, Positive Grid BIAS FX 2, IK Multimedia AmpliTube, Native Instruments Guitar Rig, and Overloud TH-U. Free options like Ignite Amps Emissary plus the NadIR cab loader sound excellent and cost nothing — see our roundup of the best free amp sims for more no-cost rigs.
Build the signal chain in order
Add the amp sim to your DI track as an insert effect, then build the chain front to back:
- Noise gate first, to clamp hum and hiss between notes — especially on high gain.
- Boost/overdrive like a Tube Screamer-style pedal in front of the amp to tighten low end. Learn why in what is a Tube Screamer.
- Amp head — pick a model that suits the genre (clean, crunch, high-gain).
- Cabinet / IR — this shapes the tone more than the amp does. Pair the sim with quality guitar cab IRs for a pro result.
- Post effects — reverb, delay, modulation last.
Dial in the gain and tone
Use less gain than you think. High-gain tones feel huge soloed but turn to mush in a mix; backing off the drive tightens everything. Set the amp’s EQ knobs roughly flat, then adjust to taste, and remember that the cab IR and mic position control most of the brightness and fizz. It helps to understand what impulse responses are, since that single loaded file decides most of what you hear. Our step-by-step on how to dial in amp sim tones goes deeper on knob order. The goal is a tone that works in context, not in isolation.
Watch your latency and CPU
Amp sims process in real time, so monitoring latency matters. Set a small buffer size (64 or 128 samples) while tracking so playing feels responsive, then raise it when mixing to save CPU. If your buffer is too high, the lag between picking and hearing the note throws off your timing. See what is audio latency if your playing feels sluggish.
Reamping: change the tone any time
Because you recorded a dry DI, you can audition different amps, cabs, and settings forever without re-recording. Want to try a different amp next week? Swap the plugin. This is also how you can send the DI back out to a real amp later through a reamp box. The clean DI is the master copy — guard it.
Stereo guitars and doubling
One amp sim on one track gives you a mono rhythm tone. For a wide wall of sound, record two separate performances and pan them hard left and right, each with its own amp sim instance. Our guide on how to double track guitars covers the technique. Avoid faking width by copying one take to both sides — it stays in the centre.
How to choose an amp sim
With so many options, choosing comes down to matching the tool to your music rather than chasing the most expensive plugin. If you want curated picks across genres and budgets, our roundup of the best guitar amp sims is a good shortlist to start from. Three things matter most:
- The amp models on offer. Some sims specialise in one voice — a single artist’s high-gain rig, say — while others ship a broad collection of cleans, crunches, and leads. If you play several styles, breadth is worth more than depth.
- The included cab and IR system. Because the cabinet shapes most of the tone, a sim with a flexible cab section and the ability to load your own third-party IRs will take you much further than one locked to fixed presets.
- CPU load and workflow. A plugin that sounds wonderful but stalls your session on a modest laptop is the wrong plugin for that machine. Try the demo on your own computer, with your own buffer size, before you commit.
A sensible path is to start with one good free sim, learn to dial it in properly, and only buy a paid one once you know exactly what your free rig is missing. Most players discover the limitation is their own settings, not the software.
Common mistakes to avoid
A handful of habits trip up almost everyone new to amp sims. Fixing them usually does more for your tone than buying a new plugin:
- Stacking too much gain. The single most common error. Excess drive sounds powerful on its own but disappears under a bass and drum kit. Roll it back and the part tightens and cuts through.
- Ignoring the cabinet. Players spend an hour on the amp head and seconds on the cab, when the cab and IR decide most of what you hear. If a tone is wrong, change the cab before you touch the amp.
- Printing the amp sim to the recording. Bouncing the processed tone to the audio file throws away your flexibility. Always keep the dry DI so you can re-amp.
- Judging tone in solo. A guitar that sounds glorious on its own is often too bright or too scooped in a full mix. Dial in with the rest of the track playing, and lean on the moves in our guide to mixing distorted guitars to make it sit.
- Leaving the noise gate off on high gain. Without a gate, hiss and hum bleed between notes and pile up across doubled tracks. A gentle gate cleans this up without choking your sustain.
Frequently asked questions
Do amp sims sound as good as real amps?
For recording, modern amp sims are convincing enough that most listeners cannot tell. A real amp in a treated room with good mics can still have an edge, but the gap is small and the convenience of amp sims is enormous. See amp sim vs real amp for the full comparison.
Can I use amp sims live?
Yes, though most live players use hardware modellers like the Line 6 Helix, Neural DSP Quad Cortex, or Kemper Profiler rather than a laptop, for reliability. The underlying technology is the same idea.
Why does my amp sim sound fizzy or harsh?
Almost always too much gain or a bright cab IR. Lower the drive, switch to a darker mic position or different IR, and only then consider a gentle low-pass filter on the very top end.
Do I need an expensive interface for amp sims?
No. Any interface with a proper instrument (Hi-Z) input and stable, low-latency drivers will do the job. The quality of your DI capture and your settings inside the sim matter far more than the price of the box.
Should I add EQ and compression after the amp sim?
Often, yes. A touch of EQ to carve space for the guitar in the mix and light compression to even out dynamics are normal mixing moves. Make these decisions in the context of the full mix, after the core amp tone is already close.



