
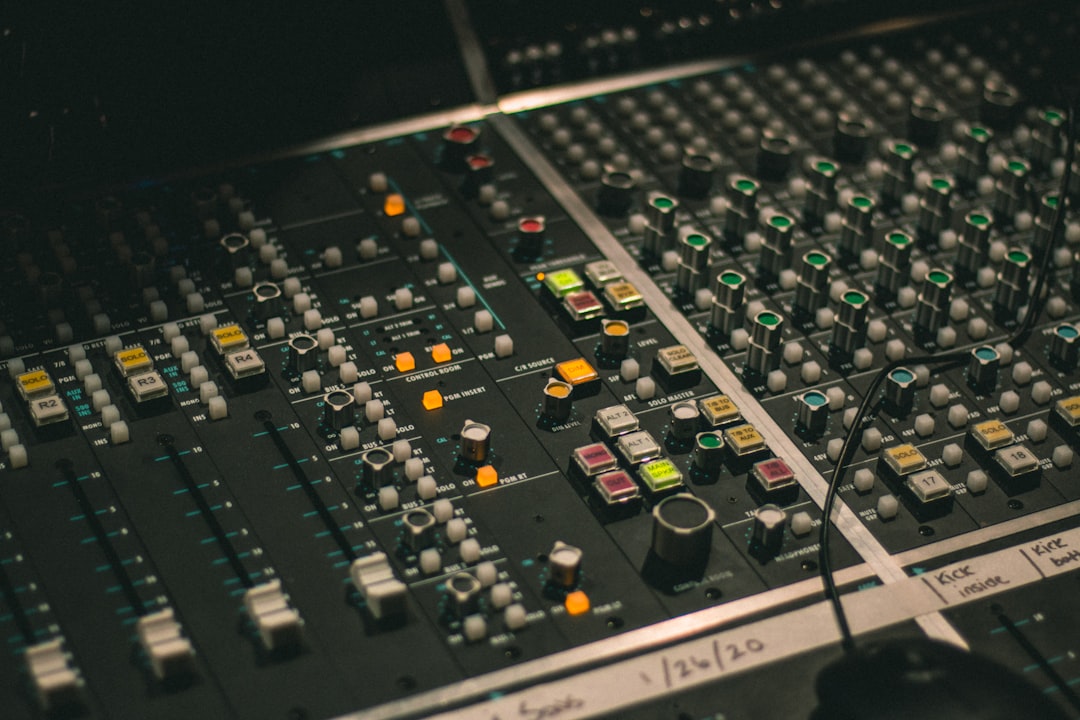
You do not need a mastering-house budget to master a demo that sounds finished. A demo master has a modest job: make the mix louder, clearer and more consistent so it holds up next to commercial tracks in a playlist, a pitch email or a bandcamp page. It will never fix a weak mix, and it should not try to. What it can do is add polish, control peaks, and land a competitive loudness without artefacts. This guide gives you a repeatable chain and real target numbers so you can turn a rough bounce into something you are happy to send out.
Before you master a demo, fix the mix first
Mastering is the last 5%, not a rescue mission. Before you export the stereo bounce, check these on the mix itself, because no master fixes them cleanly:
- Leave headroom. Bounce your mix peaking around -6 to -3 dBFS. This gives your mastering chain room to work. A mix that already slams 0 dBFS ties your hands.
- Balance the low end. If the kick and bass are fighting, master EQ cannot separate them. Sort it in the mix.
- Reference in mono. Collapse to mono and make sure nothing disappears from phase issues. Codecs and club systems sum to mono more than you think.
- Bounce at full resolution. Export 24-bit WAV at your project sample rate. Do not MP3 your demo before mastering it.
A simple mastering chain for a demo
The order matters. A clean, minimal chain in this sequence gets you 90% of the way with very little risk of over-processing.
- 1. Corrective EQ. Start subtractive. High-pass below 25-30 Hz to clear subsonic energy that eats headroom. If the mix is boomy, a wide -1 to -2 dB cut around 200-350 Hz (Q around 0.7) clears mud. If it is harsh, a gentle -1 dB dip somewhere in the 2-4 kHz range tames it. Make the move, then bypass to confirm it helped.
- 2. Glue compression. One slow compressor doing 1-2 dB of gain reduction at most, with a ratio around 2:1, a medium attack (10-30 ms) so transients survive, and a release timed to the tempo so it breathes. The goal is cohesion, not squash.
- 3. Tone / character EQ. Small confidence boosts only: maybe a +1 dB high shelf above 10 kHz for air, or a +0.5 dB low shelf under 100 Hz for weight. Why after compression? So the compressor reacts to the raw balance, not your boosts.
- 4. Limiter. The loudness stage, covered below.
If you would rather let software assist, iZotope Ozone Elements gives you EQ, dynamics and a maximizer in one panel with an assistant that suggests a starting point. Treat its suggestions as a first draft you tune by ear, not gospel. For hands-on control, IK Multimedia T-RackS offers modular mastering processors that are friendly to learn on.
Loudness targets so your demo competes without pumping
This is the part people get wrong. Because streaming platforms normalise playback to roughly -14 LUFS integrated, mastering a demo to -6 LUFS does not make it louder on Spotify, it just makes it more distorted and gets turned down anyway. Sensible targets:
- Integrated loudness: aim for around -14 to -10 LUFS integrated depending on genre. Acoustic and singer-songwriter demos sit comfortably near -14; hip-hop, pop and electronic demos can push toward -10 or -9 if the mix supports it. Do not chase numbers past the point where you hear the limiter working.
- True-peak ceiling: set the limiter to -1 dBTP with true-peak detection on. This protects against clipping when the file is encoded to MP3 or AAC, which can overshoot the sample peaks.
- Limiter gain reduction: if you are pulling more than 3-4 dB and hearing pumping or dull transients, back off the input. Loud and lifeless loses to slightly quieter and punchy every time.
Meter the result with a free tool like Youlean Loudness Meter so you know your integrated LUFS and true-peak before you send anything. Measure across the whole song, not a single loud bar, because integrated loudness only means anything over the full arrangement.
One more demo-specific tip: consistency across a batch matters more than absolute loudness. If you are sending three demo tracks to the same person, master them so their integrated LUFS lands within a decibel or so of each other. Nothing makes a rough demo feel more amateur than a listener reaching for the volume knob between tracks. Match by ear first, then confirm with the meter.
Reference, check and export
Pull a professionally released track in the same genre into your session, level-match it to your master by ear or by LUFS, and A/B honestly. You are checking tonal balance and punch, not trying to be exactly as loud. If your demo is boomier, thinner or harsher, adjust the master EQ, not the limiter.
Before you export, listen on at least two systems: monitors or headphones plus a phone speaker or laptop. The phone tells you whether the vocal and melody survive on a tiny speaker. Export a 24-bit WAV for high-quality delivery and a 320 kbps MP3 for quick sharing, and only dither if you drop to 16-bit.
Once you are comfortable with the chain, our full mixing and mastering guide goes deeper on gain staging and processor choice, and the free loudness and spectrum tools in our audio tools hub make it easy to check your work. Learning to master a demo is really about restraint: a tidy chain, honest referencing and sane loudness targets will get you a clean, competitive result far faster than piling on plugins.



