
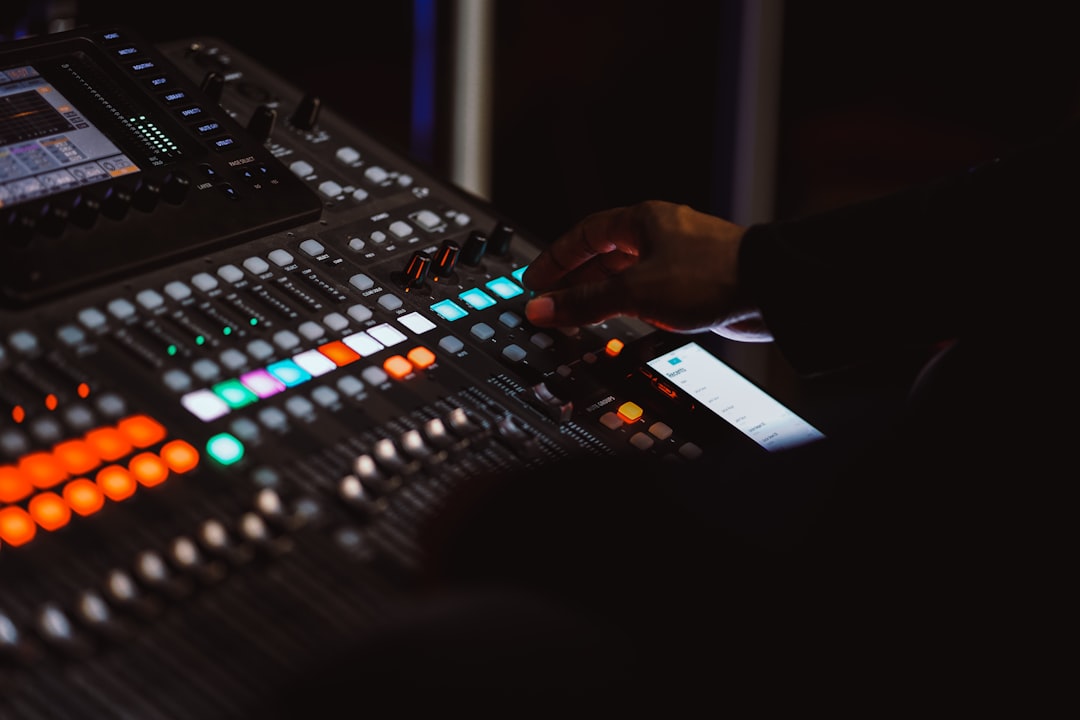
You do not need a dedicated mastering suite to finish a track well. With a treated-enough room, honest monitoring and a disciplined approach, you can master a mix at home and get a result that holds up on streaming and small speakers. The trap most people fall into is treating mastering as a loudness contest or a magic fix for a weak mix. It is neither. It is a small set of gentle, purposeful moves on a finished mix, and the whole value is in knowing which moves to make and why. This guide gives you a repeatable chain and the numbers to aim for.
Prepare before you master a mix at home
The best mastering starts with a mix that barely needs it. Before you touch a master processor, bounce your final mix at 24-bit or 32-bit float with 3 to 6 dB of headroom, so peaks land around -6 dBFS and nothing is clipping the master bus. If your mix already sounds balanced on headphones, monitors and a phone, you are ready. If it does not, go back and fix the mix, because a limiter cannot un-muddy a low end or un-bury a vocal.
Set yourself up to make decisions honestly. Have one or two commercial reference tracks in the same genre ready to A/B, and use a tool that loudness-matches them to your track so you are comparing tone rather than volume. A reference plugin like ADPTR MetricAB does this cleanly and stops your ears fooling you into thinking louder is better.
A simple home mastering chain
You can master most material with four processors in series. Keep every move small; if you find yourself reaching for large amounts, the problem belongs back in the mix.
- Broad corrective EQ. High-pass gently below 30 Hz to clear subsonic energy. If the mix is boxy, a wide -1 dB cut around 300 to 500 Hz opens it up. If it lacks air, a broad +1 dB shelf above 10 kHz helps. Keep moves under about 2 dB and always ask why before you turn a knob. A transparent EQ such as FabFilter Pro-Q makes gentle work easy.
- Glue compression. A bus compressor with a slow attack (30 ms plus), auto release and a 1.5:1 to 2:1 ratio, pulling just 1 to 2 dB of gain reduction. You want cohesion, not audible pumping.
- Optional multiband or tonal shaping. If one region misbehaves, tame it with a dynamic EQ by 1 to 2 dB only when it crosses threshold. An all-in-one suite like iZotope Ozone bundles EQ, dynamics and imaging with useful reference targets, which is handy when you are learning what balanced looks like.
- Limiter last. This sets final loudness and ceiling. Use a clean brickwall limiter such as FabFilter Pro-L 2 and push it only as far as the loudness target requires.
That is genuinely enough. More plugins do not equal a better master; discipline does.
Hit the numbers that matter
Loudness is where home masters most often go wrong. Streaming platforms normalise playback around -14 LUFS integrated, so crushing your track to be as loud as possible does not win the loudness war, it just makes your track more distorted than the one after it once the platform turns everyone down to the same level. Choose a target that suits the genre: acoustic and jazz around -16 to -14 LUFS to keep dynamics, pop and indie around -12 to -10 LUFS, and loud electronic, hip-hop or metal around -9 to -8 LUFS if the punch justifies it.
Set your limiter’s output ceiling to -1 dBTP, not 0. That true-peak headroom protects against inter-sample peaks that appear when your WAV is transcoded to a lossy format like AAC, which can otherwise clip and distort on playback even though the file looked clean in your DAW. Measure integrated LUFS and true peak across the whole song with a dedicated meter such as Youlean Loudness Meter rather than judging level by ear.
Check your work and know when to outsource
Once the chain is set, verify three things: integrated LUFS in your target range, true peak at or below -1 dBTP, and a loudness range that has not collapsed below about 4 LU, which would mean you have squashed the life out of the track. Then listen on at least three systems, collapse to mono to catch phase problems, and audition a lossy encode to hear what streaming listeners actually get. Our full guide to checking your master walks through that pre-release routine step by step.
Home mastering is a skill that rewards restraint and repetition, but it is not always the right call. On a deadline, or when a mix is fighting you, an AI mastering service can deliver a solid, competitive result in minutes and gives you a useful reference to compare your own attempt against; our LANDR review and eMastered review cover where those services shine and where a human still wins. For free metering, reference and loudness tools to support your workflow, visit the Violet Recording tools hub. Master a mix at home with a light hand and honest ears, and the results will genuinely compete with commercial releases.



