
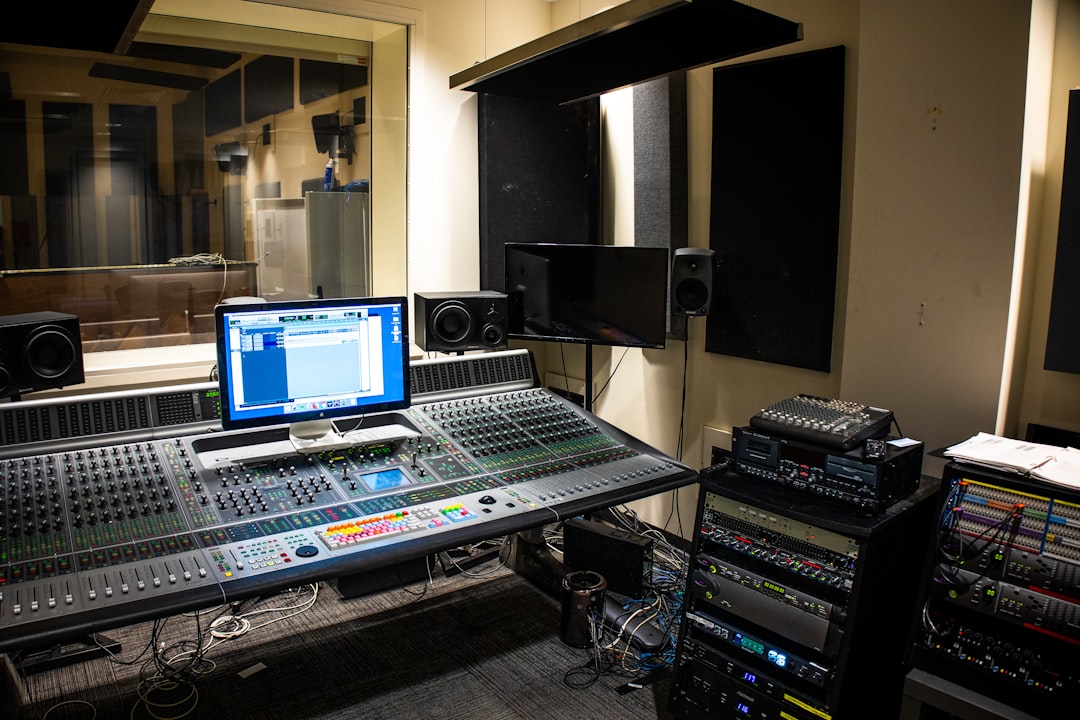
To mix a song in GarageBand, you balance every track’s volume and pan first, then shape each sound with EQ and compression, add reverb through the shared bus, ride problem sections with automation, and finish on the Master track before exporting. GarageBand ships with all the tools you need for a clean mix, so you rarely have to buy anything to get a solid result. This guide walks the whole process in order, the way you’d actually work through a session on your Mac.
Violet Recording is reader-supported — we may earn a commission from links on this page, at no extra cost to you.
Set up your session before you mix a song in GarageBand
Before you move a single fader, play the song top to bottom once and just listen. Note what’s too loud, what’s buried, and what clashes. A mix is a series of decisions, and you can’t make good ones until you know what the song needs. If your arrangement still has takes you’re unsure about, tidy that up first — mixing can’t rescue a muddy arrangement.
Open the mixer so you can see all your levels at once. In GarageBand you can widen each track header to reveal its volume slider and pan knob, or open the dedicated Mixer strip at the bottom of the track (click the Mixer button in the track’s controls). Every track has a Volume slider, a Pan knob, and Mute (M) and Solo (S) buttons. Those four controls do most of the heavy lifting in any mix.
Balance your levels and pan for width
Start with a rough balance using volume alone — no plugins yet. Pull everything down, then bring up your most important element first. For most songs that’s the lead vocal or the main melodic hook; build the rest of the mix around it. Aim for a balance where you can hear every part clearly without any single track jumping out and startling you.
Watch your levels while you do this. Keep individual tracks peaking with headroom to spare rather than slamming the top of the meter — if your channels are already near clipping, you’ve nowhere left to go when you add processing. Our free browser audio tools include meters and utilities that are handy for quick reference checks alongside GarageBand’s own meters.
Next, pan for width. Keep the anchors — lead vocal, kick, snare, bass — near the centre, and spread supporting parts left and right with each track’s Pan knob. Doubled guitars hard left and right, backing vocals slightly out to the sides, a shaker off to one side: small moves open up space so instruments stop fighting for the same spot. Mono in the middle, everything else breathing around it.
Shape each track with the Channel EQ
Once your balance feels right, start carving with EQ. Select a track and open Smart Controls (press B, or click the Smart Controls button). Click the info/inspector button in the Smart Controls header to reveal the plug-in area for that track — GarageBand loads a Channel EQ slot there by default. Open it to get the full graphic equaliser with a live analyser.
Work subtractively before you boost. The most useful move is a high-pass filter: on anything that isn’t a bass or kick, roll off the low frequencies below roughly 80–120 Hz to clear out rumble and mud. Then hunt for problem frequencies — sweep a narrow boost around until you find a harsh or boxy spot, then cut it. Small, deliberate cuts beat big boosts nearly every time. If you want to add air or presence, a gentle high-shelf lift on a vocal can help, but go easy.
Repeat this per track, always in the context of the full mix rather than soloed. A sound that’s perfect alone often disappears in the mix, and vice versa. If you’re new to this, our primer on EQ and compression fundamentals explains the why behind these moves.
Add compression to control dynamics
Compression evens out the loud and quiet moments so a part sits steadily in the mix. In the same plug-in area, add GarageBand’s stock Compressor. The controls you’ll use most are Threshold (how loud a signal must be before compression kicks in), Ratio (how hard it clamps down), and Attack and Release (how fast it reacts and recovers). GarageBand also ships genre-based presets, which are a fine starting point you then tweak by ear.
For vocals, aim for a few decibels of gain reduction on the loudest words so the level stays consistent — you should hear it glue, not pump. On a bass, gentle compression keeps every note even. On drums, faster attack and release settings add punch. Use the make-up gain to match the compressed level back to where it was so you’re judging tone, not just loudness. Vocals in particular reward care here; our dedicated guide on how to mix vocals goes deeper on chains.
GarageBand’s stock Compressor is genuinely good and will cover most home mixes. If you later want more character — an emulation of a classic optical or FET compressor, say — that’s the point where a third-party plugin becomes a real upgrade over stock; browsers like Plugin Boutique carry those.
Use reverb and delay to create depth
Reverb and echo place your tracks in a space and add depth front-to-back. GarageBand gives every track two shared send controls in the Smart Controls area: Master Reverb and Master Echo. Turning up a track’s Master Reverb knob sends more of that signal to the shared reverb bus, which is an efficient way to sit several parts in the same room. You can adjust the character of that shared reverb on the Master track.
If you want a distinct reverb or delay on a single track — a long, lush vocal tail, for instance — add a Reverb or Delay Designer plug-in directly on that track’s plug-in slots instead of using the send. As a rule, keep reverb off your kick and bass so the low end stays tight, and use less reverb than you think you need. A little sense of space reads as professional; too much washes the whole mix out. Our walkthrough on how to use reverb and delay covers pre-delay and wet/dry balance in more detail.
Automate volume and pan for the finishing moves
Static levels get you most of the way, but the best mixes move. Press A to show automation on a track, then choose the parameter — usually Volume or Pan — from the automation menu. Click on the line to add points and drag them to draw changes over time.
Common uses: lift the vocal a touch in a busy chorus, pull a guitar down under a vocal line, ride an ad-lib that jumps out, or fade the whole song at the end. You can automate plug-in parameters and the reverb sends too, so a chorus can bloom with extra space that the verse doesn’t have. Automation is where a flat mix turns into a performance, so it’s worth the patience.
Finish on the Master track and export your mix
The Master track controls the overall output. Choose Track > Show Master Track (or press Command-Shift-M) to reveal it at the bottom of your session. Select it and open Smart Controls to access master plug-ins — this is where you’d place a gentle master Compressor or EQ, and where GarageBand’s included mastering presets live. Keep master-bus processing light; heavy-handed moves here amplify every mistake underneath.
Watch the master meter and make sure your loudest moment doesn’t clip the red at the top. Leave a little headroom rather than pushing for maximum loudness — a clean, un-clipped file always beats a squashed one, and streaming platforms turn everything down to a target loudness anyway. If loudness targets are new to you, read LUFS explained.
When it sounds right, export with Share > Export Song to Disk. Choose a lossless format like AIFF or WAV for the highest quality, or a high-bitrate MP3/AAC for a quick reference. Give it a listen on a couple of different systems — phone speaker, headphones, car — before you call it done. For the bigger picture on building a mix from scratch, our beginner’s guide to mixing your first song and the full Mixing & Mastering hub are good next stops. And if you’re still writing the track itself, tools like Solmi can help you sketch original ideas before you mix.
Frequently asked questions
Can you get a professional mix using only GarageBand’s stock plugins?
Yes. GarageBand’s Channel EQ, Compressor, reverbs and automation are the same fundamentals a paid DAW gives you, and plenty of released records were mixed on similar tools. Technique matters far more than plugin brand. Third-party plugins add flavour and convenience, but they won’t fix a mix that hasn’t been balanced properly first.
Why does my GarageBand mix sound quiet compared to commercial songs?
Commercial masters are loudness-processed, but chasing raw volume by pushing your master into clipping ruins the sound. Get a clean, well-balanced mix with headroom, apply gentle master-bus compression or a limiter, and let the loudness sit at a sensible level. Streaming services normalise loudness anyway, so a clean mix wins over a crushed one.
Should I mix with headphones or speakers in GarageBand?
Either can work, but check your mix on both plus a phone speaker. Headphones reveal detail and let you work quietly; monitors show how sounds interact in a room. The goal is a mix that translates everywhere, so cross-referencing systems is more important than which one you start on.



