
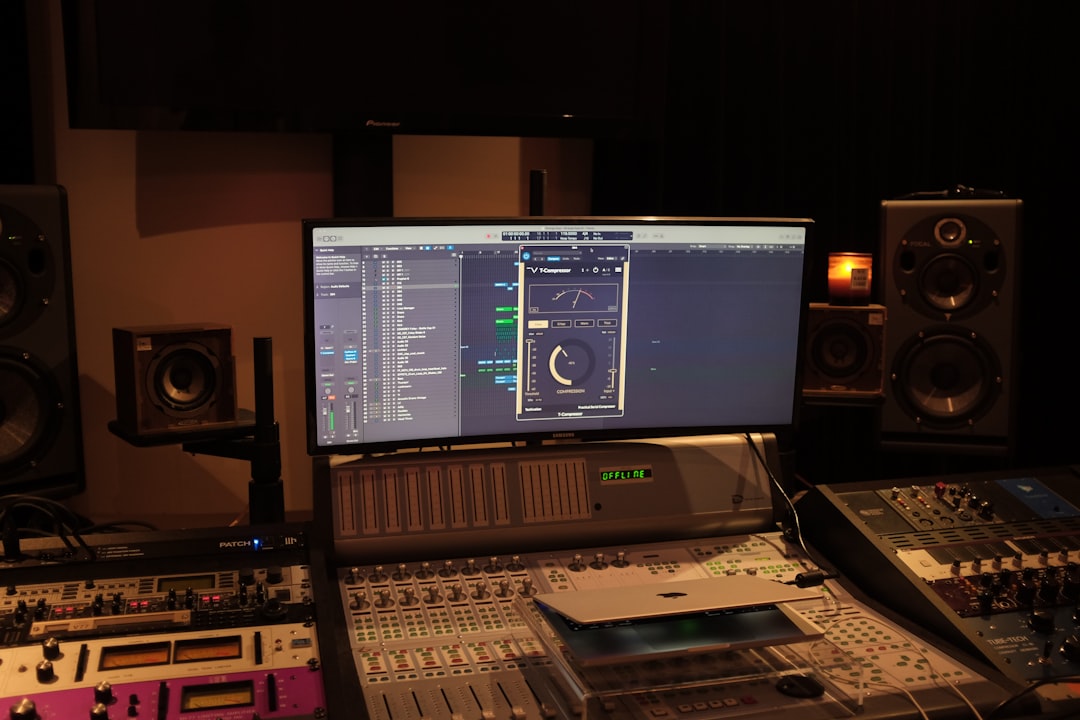
To use buses and sends in your DAW, you route one or more tracks to a shared channel: a bus collects several tracks so you can process them together, while a send splits off a copy of a track’s signal to feed an effect like reverb. Set up a return/aux channel, dial in a send amount on each track, and your whole mix gets cleaner, faster and easier to control. This guide walks through the exact steps in the major DAWs.
Violet Recording is reader-supported — we may earn a commission from links on this page, at no extra cost to you.
What buses and sends in your DAW actually do
The two words get used loosely, so let’s pin them down. A bus is a channel that other channels are routed into. Instead of sending each drum track straight to the master, you route the kick, snare, hats and toms into a “Drum Bus”, and now one fader controls the whole kit and one compressor glues it together. The individual tracks stop going to the master directly; their combined signal flows through the bus first.
A send is different. It taps a track and sends a copy of its signal — adjustable in level — to another destination, usually a return channel holding an effect. The original track keeps playing dry to the master; the send feeds the wet effect in parallel. This is why one reverb can be shared by your vocal, snare and guitar at once: each track sends a different amount to the same reverb return. That’s the core efficiency behind buses and sends, and it’s the same idea in every DAW even when the menu names differ.
Why parallel routing beats an insert on every track
If you drop a separate reverb plugin on every track that needs it, you burn CPU, you can’t match the tails, and tweaking the “room” means editing ten plugins. Route those tracks to one reverb return instead and you get a single, consistent space, far lower CPU load, and one place to adjust decay or pre-delay for the whole mix. The same logic applies to delay, and to parallel compression, where a send lets you blend a heavily-squashed copy under the dry signal without crushing the original.
Buses give you the other half: control. Grouping backing vocals onto one bus lets you ride eight harmonies with a single fader and EQ them as a unit. It’s the difference between wrestling every channel and steering a handful of well-organised submixes.
How to create a reverb send in Ableton Live
Ableton makes this the most literal. Every Live set already has Return tracks (labelled A, B, C) shown to the right of your audio and MIDI tracks; if you don’t see them, right-click a track header and choose Insert Return Track, or hit the option to show returns.
- Drop a reverb onto Return A — Live’s stock Reverb device works well. Set its Dry/Wet to 100% wet, because the dryness comes from your original track, not the return.
- On any track you want reverb on, find the Sends knobs (the small “A”, “B” dials in the track’s mixer strip or the Session view row).
- Turn up the “A” send until the reverb feels right. More send = more of that track in the reverb.
- Repeat on other tracks. They all share Return A, so raise or lower the return fader to control the total reverb level.
Two things worth knowing: the Pre/Post toggle on a return decides whether the send is affected by the channel fader (post, the usual choice) or independent of it (pre). And to build a bus/group in Live, select several tracks, right-click and choose Group Tracks — that creates a group channel you can process as one.
Setting up buses and sends in Logic Pro
Logic calls its return an Aux channel, and it often creates one for you automatically. In the Mixer, on any channel strip find a free Send slot (under the “Sends” area), click it, and choose a Bus number, say Bus 1. Logic instantly spawns an Aux channel fed by that bus.
- Click the send slot and pick Bus 1. The new Aux appears in the mixer.
- Insert a reverb — Logic’s stock ChromaVerb or Space Designer — on that Aux and set it fully wet.
- Turn the send knob on your track (drag the small dial next to the send slot) to feed the reverb.
- On other tracks, add a send to the same Bus 1 so they share the reverb.
For a bus/submix, set several tracks’ Output (not a send) to the same bus — Logic creates an Aux acting as your Drum Bus or Vocal Bus, and you insert your glue compressor or EQ there. Logic also lets you right-click selected tracks and create a Summing Stack, which wires the bus routing up for you in one move.
Doing the same thing in FL Studio and GarageBand
FL Studio handles this in the Mixer. Every effect track can be routed to another via the routing triangles at the bottom of each mixer strip. To make a reverb send: select an empty mixer track, add Fruity Reeverb 2 and set it wet; then on your source track, click its routing arrow so it also routes into that reverb track. FL blurs the line between “bus” and “send” because any mixer track can receive from any other — the Peak Controller and routing arrows are your friends. For a drum bus, route each drum track’s output to one mixer track and disable their direct route to Master.
GarageBand is the most stripped-back but still has it. Open the Smart Controls, click the master/EQ area and reveal the two built-in Master Echo and Master Reverb sends. Each track’s Smart Controls has knobs to feed those shared effects — that’s a classic send setup, just with the returns pre-built and named for you. GarageBand doesn’t expose free-form buses the way the others do, so it’s a good place to grasp the concept before you graduate to a bigger DAW.
Common problems and quick fixes
No reverb, even with the send up? Your return effect is probably not set to 100% wet — a half-wet reverb on a return doubles the dry signal and muddies everything. Reverb too loud on everything? Pull down the return/aux fader rather than every individual send. Level jumps when you group tracks? Summing several tracks into one bus adds gain; watch the bus meter and use proper gain staging so you don’t clip the bus input. Send feels weak? Check the pre/post-fader setting — a post-fader send drops to nothing when the channel fader is down. Finally, if CPU is spiking, that’s your cue that you have too many insert effects and should consolidate onto shared sends.
Stock reverbs and delays cover most jobs, but if you want a specific character — a lush plate, a convolution space, or a vintage tape delay — a dedicated third-party effect on your return is the natural upgrade over the stock device. Plugin Boutique carries the well-known reverb and delay plugins if you decide to go that route.
Where to go from here
Once buses and sends click, the rest of mixing gets easier because you’re organising signal flow instead of fighting it. Build a reverb return and a delay return, group your drums and your vocals, and try a parallel-compression send on the drum bus. If you’re still finding your feet, our beginner’s guide to mixing your first song and EQ and compression fundamentals pair naturally with this, and how to use reverb and delay digs into dialling in the effects themselves. For picking a DAW that suits you, see our best free DAWs for beginners. You’ll find more workflow walkthroughs in the Mixing & Mastering hub, and if you need to check timing or tuning while you route, the free Violet Recording audio tools have a metronome and tuner ready to go.
Frequently asked questions
What is the difference between a bus and a send in a DAW?
A bus is a destination that whole tracks are routed into, so their combined signal flows through one channel you can process as a group. A send taps a copy of a track’s signal and feeds it to another channel — usually a return holding an effect — while the original keeps playing dry. Buses are for grouping; sends are for parallel effects.
Should a reverb on a return channel be set to fully wet?
Yes. On a send/return setup the dry sound already comes from your original track going straight to the master. If the reverb on the return is only half wet, it re-adds a dry copy that muddies the mix and phases against the original. Set the return effect to 100% wet and control the amount with each track’s send knob.
Do buses and sends increase latency or CPU use?
Sharing one effect across many tracks via a send actually lowers CPU compared with putting a separate plugin on each track, which is one of the main reasons to use them. Buses and returns add negligible latency in modern DAWs; any real latency comes from specific look-ahead plugins on those channels, not from the routing itself.



