
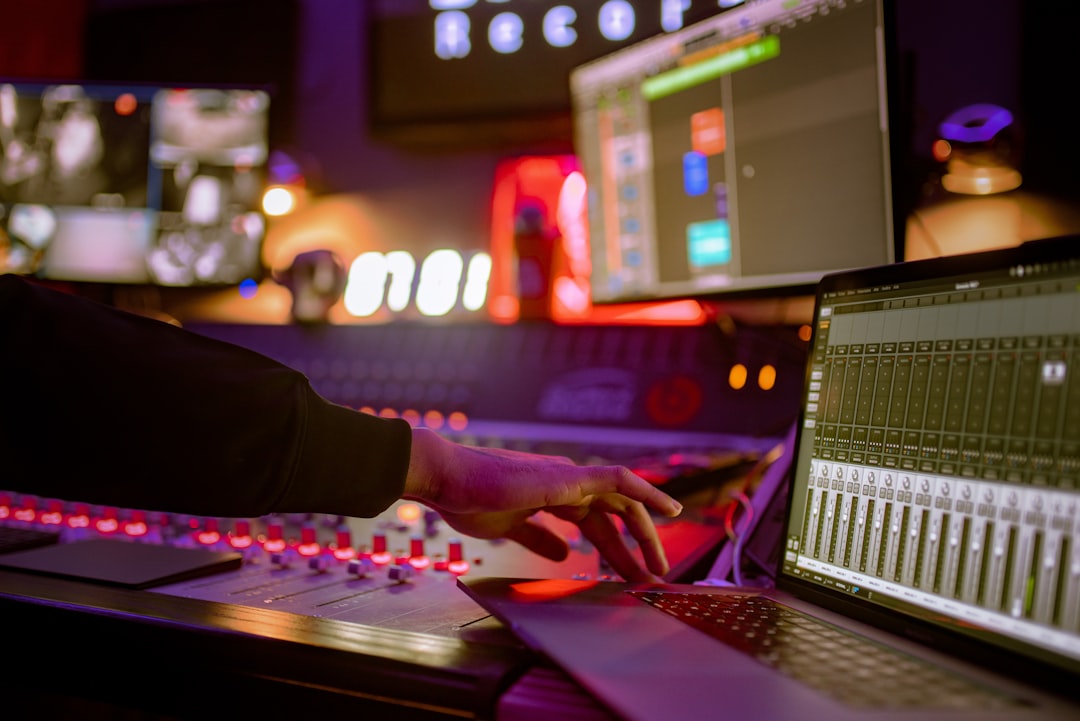
Choosing the best mastering limiter matters more than almost any other single decision on your master bus, because the limiter is the last thing your audio touches before it becomes a file. It sets your final ceiling, dictates how loud you can push before the sound falls apart, and quietly shapes transients on every snare and vocal. Get it right and your track competes on a streaming playlist; get it wrong and you get flat, crunchy, lifeless loudness. Below are the limiters worth your money, plus the exact numbers to dial in.
What the best mastering limiter actually needs to do
Before the shootout, understand the targets. Streaming services (Spotify, Apple Music, YouTube, Tidal) normalise playback to roughly -14 LUFS integrated, so a master crushed to -6 LUFS is simply turned back down on playback and you keep only the distortion, not the loudness. Aim for around -14 to -9 LUFS integrated depending on genre, and set your limiter output ceiling to -1.0 dBTP (true peak). That -1 dB of headroom is not superstition: lossy codecs like AAC and MP3 overshoot on reconstruction, and a 0 dBFS master will inter-sample clip after conversion. A good mastering limiter has true-peak detection, oversampling (4x or higher), and a transparent release that recovers without pumping.
The limiters worth buying
- FabFilter Pro-L 2 is the reference many engineers reach for first. It offers eight limiting algorithms (Transparent, Punchy, Dynamic, Aggressive, and more), true-peak limiting up to 32x oversampling, and one of the clearest metering displays in any plugin. Pros: extremely clean at moderate gain reduction, superb loudness and true-peak metering built in, flexible for both mastering and loud EDM. Cons: so transparent that beginners over-limit without hearing it; the sheer number of controls can intimidate. Dial 2-4 dB of gain reduction on the Transparent style, ceiling at -1 dBTP, and check the LUFS readout as you go.
- iZotope Ozone Maximizer (the limiter inside Ozone) uses the IRC modes, with IRC IV being the modern, low-distortion choice for delicate material. Pros: character options from clean to loud, a Learn/Match assistant, transient recovery that keeps drums punchy. Cons: heavier on CPU at high oversampling; best value comes bundled inside the full Ozone rather than standalone.
- Weiss/Softube MP or the classic Waves L2 represent the old-school “loud and glue-y” school. The L2 is a single-band brickwall that still sounds great on rock and hip-hop where a little density is welcome. Pros: fast, one knob (Threshold), musical on aggressive material, cheap on sale. Cons: no true-peak mode in the original, so pull the out ceiling to -0.3 dB below your target and verify with a separate true-peak meter; dated GUI.
- TDR Limiter 6 GE is a modular six-stage processor (high-frequency limiter, clipper, peak limiter, and more) that lets you spread the workload so no single stage distorts. Pros: transparent, deep control, brilliant value. Cons: a genuine learning curve; not a grab-and-go tool.
If you already own iZotope Ozone Elements, its Maximizer is a perfectly credible starting point and will carry you a long way before you need to upgrade.
How to set your limiter the right way
Explain the why before you touch anything. The limiter should be the finishing touch, not the loudness engine. Do the heavy lifting earlier with EQ, compression, and a clipper (see our clipper roundup) so the limiter only has to catch 2-4 dB of peaks. Here is a reliable workflow:
- Set the ceiling first: output/true-peak ceiling to -1.0 dBTP. This never changes during the session.
- Enable true-peak / oversampling: at least 4x. Without it your -1 dB ceiling is a lie after MP3 encoding.
- Push gain gently: raise input or threshold until the meter shows 2-4 dB of gain reduction on the loudest sections. If you see 6 dB or more constantly, the mix is too loud going in; turn it down and reprocess earlier in the chain.
- Watch the LUFS, not the peaks: loop a chorus with an integrated loudness meter until you sit near your genre target (about -9 to -11 LUFS for dense pop, -12 to -14 for acoustic or jazz). Trust the number over the urge to go louder.
- A/B at matched loudness: louder always sounds “better” for three seconds. Turn the limited version down to match the unlimited one and confirm it still sounds open, not squashed.
Choose your release setting by material: a slow, program-dependent (auto) release is safest and least pumpy on full mixes, while a faster release adds density on drum-heavy tracks at the cost of some low-end distortion. If the low end sounds like it is ducking, that is the limiter reacting to bass transients; a clipper or a touch of multiband before the limiter fixes it far better than fighting the release.
So which limiter should you pick?
For most home masters, FabFilter Pro-L 2 is the safest single purchase: transparent, honest metering, and hard to make sound bad. If you want an all-in-one that also handles EQ, imaging, and dynamics, the Ozone Maximizer inside the full suite is the better value. And if your genre lives on density and attitude, keep an L2 or TDR Limiter 6 around for the days you want the master to hit rather than merely measure loud. Whatever you choose, remember the limiter is a ceiling, not a crutch, and the loudness war is already lost to normalisation.
Ready to build the rest of your chain? Read our companion guides on the best EQ plugins for mastering and the best mastering compressors, and grab a free integrated loudness meter from our audio tools hub to check your targets before you export.



