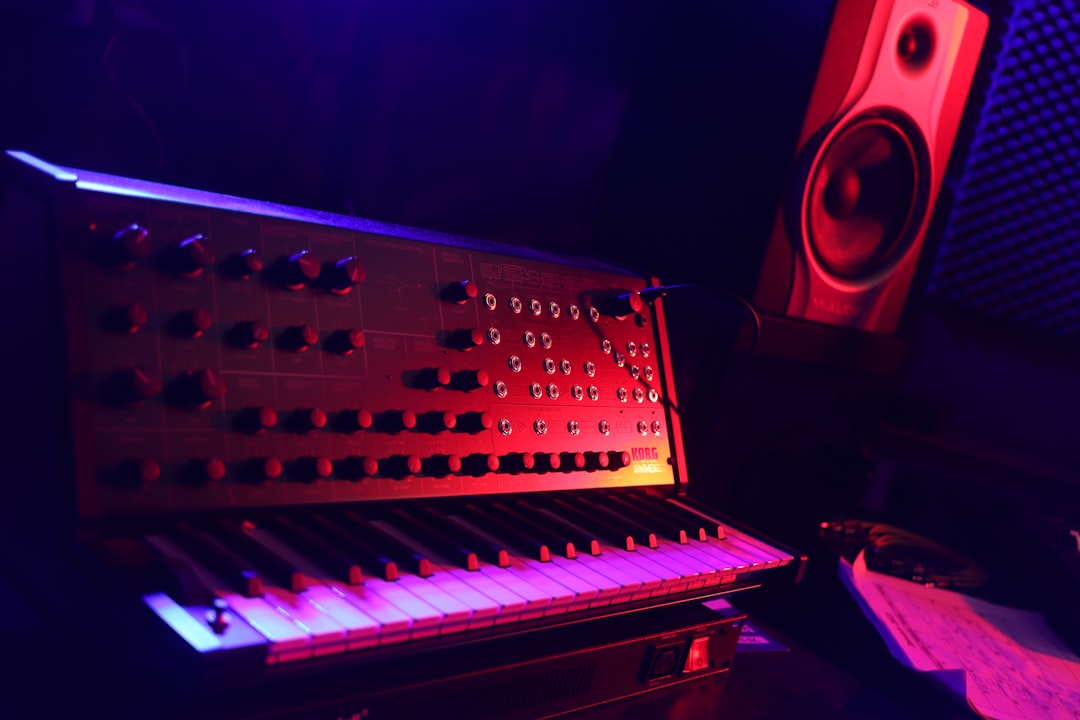
This is sound design for beginners stripped down to what actually matters. Every synthesised sound — from a deep bass to a shimmering pad — is built from four ingredients: an oscillator, a filter, an envelope and an LFO. Learn what each one does and you can shape almost any sound you hear. This guide explains those building blocks in plain English and walks you through your first patch from a blank slate.
Sound design for beginners: the four building blocks
Forget presets for a moment. Here’s the whole machine in four parts:
- Oscillator — the raw tone. It produces a waveform (saw, square, sine, triangle) that has its own character. A saw is buzzy and bright; a sine is pure and smooth.
- Filter — removes frequencies to control brightness. A low-pass filter cuts the highs, making a sound darker and rounder; opening it up makes it brighter.
- Envelope — controls how the sound changes over time, usually with four stages: attack, decay, sustain and release (ADSR). This decides whether a sound stabs, swells or fades.
- LFO — a slow, automatic wiggle you assign to a control (like the filter or pitch) to add movement, such as a wobble or vibrato. It’s the simplest form of modulation in sound design.
If you want a deeper plain-English overview of the whole field first, read what is sound design.
Getting to know the waveforms
Each oscillator waveform has a distinct personality, and recognising them by ear is one of the fastest ways to improve. A saw contains every harmonic, which makes it rich and aggressive — it’s the backbone of most bass and lead sounds. A square (or pulse) wave is hollow and reedy, great for woodwind-style tones and retro chip sounds. A triangle is softer than a square but still has a little edge, which makes it a friendly choice for sub-bass and gentle leads. A sine has no harmonics at all; it’s pure tone, ideal for clean sub-bass or as a layer underneath something brighter. When you load a synth, spend five minutes cycling through these on a single held note so the differences stick.
Understanding filters a little deeper
The filter is where most of a sound’s character is shaped, so it pays to know its two main controls. Cutoff sets the frequency where the filter starts working — on a low-pass filter, everything above the cutoff is reduced. Resonance boosts the frequencies right around the cutoff point, adding a vocal, whistling emphasis that can make a sweep feel alive. Beyond the common low-pass, a high-pass filter removes the lows (useful for thinning a pad so it sits above the bass), and a band-pass keeps only a narrow slice in the middle for telephone-like or nasal tones. Automating the cutoff over time, by hand or with an envelope, is responsible for a huge share of the movement you hear in electronic music.
Make sense of the ADSR envelope
The four stages of an amplitude envelope describe the whole life of a note. Attack is how long the sound takes to reach full volume — short for a punchy pluck, long for a pad that swells in. Decay is how quickly it drops from that peak down to the sustain level. Sustain is the volume the note holds at while you keep the key pressed. Release is how long the sound takes to fade once you let go. The same four controls apply when an envelope is routed to the filter instead of the volume, which is how you get that “opens bright then closes” pluck. Once these four words mean something to you, most synth tutorials suddenly become readable.
Start from an init patch, not a preset
The most important beginner habit is to load an init (initialised, blank) patch in your synth and build from there. Presets hide everything that’s happening. Starting blank forces you to make each choice yourself, which is exactly how you learn. Free synths like Vital and Surge both have an init patch one click away, as do paid options like Serum and Arturia Pigments — if you’re still choosing one, our roundup of the best free synths for sound design is a good place to start.
Your first patch: a simple bass
Let’s build a usable bass to make the theory concrete:
- Oscillator. Load an init patch and set the oscillator to a saw wave. It’ll sound buzzy and full.
- Filter. Add a low-pass filter and pull the cutoff down until the buzz softens into a rounder tone. This is the single biggest tone control you have.
- Amp envelope. Set a fast attack so the note starts instantly, and a short-to-medium release so it doesn’t ring on forever.
- Filter envelope. Route a second envelope to the filter cutoff with a short decay. Now the note opens bright and quickly closes — that’s the classic plucky bass “pew”.
That’s a real, mix-ready bass made from four controls. Want the full walk-through with layering? See how to design a bass sound. The same recipe with a longer attack gives you a lush pad sound instead.
Shaping tools beyond the synth
Once a sound leaves the synth, effects do the rest. The three you’ll reach for constantly are:
- Reverb — adds space and depth (Valhalla reverbs are a popular starting point).
- Distortion / saturation — adds harmonics, warmth and grit; great for making a sound louder and more present.
- Delay — echoes that add rhythm and width.
Most of these ship free with your DAW. To understand how reverb and delay shape space, our guide to reverb and delay is a useful companion.
Common beginner mistakes to avoid
A few habits trip up almost everyone when they start, and knowing them in advance saves weeks of frustration:
- Hoarding presets instead of building. Scrolling through hundreds of presets feels productive but teaches you nothing about why a sound works. Build at least a few patches from scratch each week.
- Turning every knob at once. When a sound isn’t right, change one parameter and listen before touching anything else. Otherwise you can’t tell which move helped.
- Designing in solo. A sound that’s perfect on its own often disappears or clashes in a full mix. Audition new patches against the rest of the track so they actually fit.
- Over-processing with effects. Heavy reverb and distortion can disguise a weak core tone for a while, but they also clutter the mix. Get the raw synth sound right first, then add effects sparingly.
- Ignoring volume levels. A brighter or more distorted patch is usually louder, which can fool you into thinking it’s “better”. Match levels when you compare so you’re judging tone, not loudness.
Train your ear by copying
Tutorials teach the controls, but copying teaches the craft. Pick a simple sound from a song you like and try to rebuild it from an init patch. Ask: saw or square? Filter open or closed? Movement from an envelope or an LFO? You’ll fail at first and learn fast. This single habit, combined with the essential sound design techniques every producer leans on, is the difference between a beginner who plateaus and one who keeps improving.
What to learn next
Once your first patches feel comfortable, branch out into specific sounds and techniques. Good next steps are designing sounds with a synth for more depth, and the broader path in how to get into sound design.
Frequently asked questions
Which synth is best for beginners?
Vital and Surge are excellent free choices because they’re powerful, modern and have clear visual feedback that shows you what each control is doing. Many DAWs also include a capable wavetable synth. Start with whatever you already have and only upgrade once you’ve outgrown it.
Do I need to understand the science of sound?
Not deeply. A basic grasp of waveforms and frequencies helps, but you learn far more by turning knobs and listening than by studying acoustics. Use your ears first and let the theory fill in as you go.
How do I avoid getting overwhelmed?
Learn one control at a time. Spend a session on just the filter, another on just envelopes. Build small, finished sounds rather than chasing complex patches. Constraints speed up learning more than unlimited options do.
How long does it take to get good at sound design?
You can build simple, usable sounds within a few hours of focused practice. Developing a reliable instinct for recreating sounds you hear takes a few months of regular tinkering. The pace depends far less on talent than on how often you actually build patches rather than just reading or watching.
Is sound design only for electronic music?
No. The same skills apply to film, games, podcasts and sound effects, and they help in any genre where you want a synth, a custom texture or a bit of atmosphere. The four building blocks behave the same way wherever you use them, so the time you invest carries across every kind of project.


