
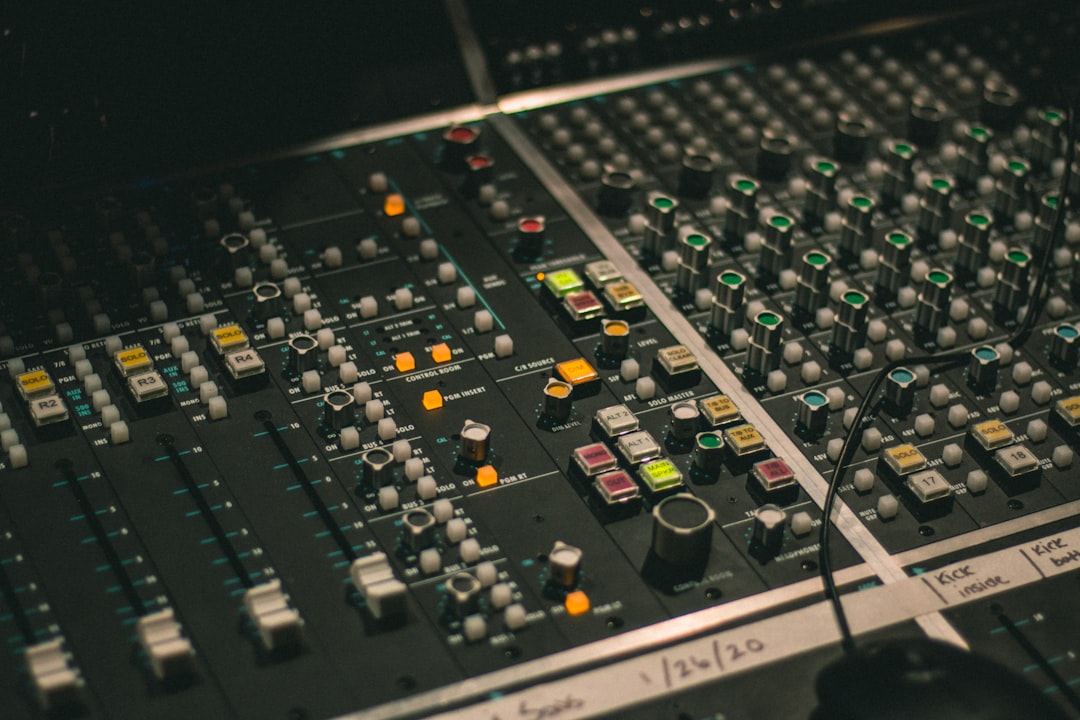
You can absolutely master without a limiter doing all the heavy lifting — and your mixes will often sound punchier and more open for it. Instead of one plugin slamming the peaks flat, you spread the loudness work across gentle compression, saturation, careful gain staging and a touch of clipping. The limiter, if you use one at all, becomes a quiet safety net rather than the star of the show.
Violet Recording is reader-supported — we may earn a commission from links on this page, at no extra cost to you.
This guide walks through a full mastering approach that gets you to a competitive level without crushing your transients. It assumes you already have a solid mix. If your mix isn’t there yet, fix it first — no mastering trick rescues a muddy or lopsided balance. Start with our beginner’s guide to mixing your first song and the EQ and compression fundamentals before you get here.
Why you might want to master without a limiter
A brickwall limiter is a fast, transparent-ish way to raise loudness and stop peaks going over 0 dBFS. That’s genuinely useful. The problem is habit: many beginners drop a limiter on the master, drag the ceiling down 6 or 8 dB, and call it mastered. Push a limiter that hard and it flattens your drum transients, pumps the low end, and squashes the sense of depth that made the mix exciting.
When you learn to master without a limiter carrying the whole load, you’re forced to earn your loudness with tools that colour the sound more musically. Compression adds glue, saturation adds harmonic density that reads as “loud” to the ear without raising the actual peak level much, and clipping shaves the sharpest transient tips in a way that’s often less audible than heavy limiting. The result tends to be a master that’s loud and still breathes.
Get the mix ready before you touch the master
The single biggest reason people over-rely on a limiter is a mix that’s already fighting itself. Before mastering, confirm your mix bus is peaking somewhere around -6 to -3 dBFS with real headroom, your low end is controlled, and nothing is harsh. Reference two or three commercial tracks in the same genre at matched loudness so you’re not chasing a moving target.
Good gain staging throughout the project is what makes limiter-free mastering possible — if every stage has headroom, the master doesn’t have to claw anything back. If your vocal balance is the weak spot, our guide on how to mix vocals covers the moves that matter most.
A limiter-free mastering chain, in order
Signal-chain order matters because each stage feeds the next. Here’s a reliable starting sequence. Treat every setting as an approximate starting point you adjust by ear, not a rule.
1. Corrective and tonal EQ. Start with subtractive moves: a gentle high-pass around 20–30 Hz to clear subsonic rumble, then small cuts (1–2 dB) where the mix is cloudy — often somewhere in the 200–400 Hz mud region. Follow with broad, musical boosts if the track needs air (a wide shelf up around 10–12 kHz) or weight (a nudge near 60–100 Hz for the kick and bass fundamentals). Keep master-bus moves under a couple of dB; anything bigger is a mix problem. A stock parametric EQ handles this perfectly. If you want a cheat sheet for where instruments live, our free EQ frequency reference in the VR tools is a quick sanity check.
2. Gentle bus compression. This is your glue, not your loudness. Aim for a low ratio around 1.5:1 to 2:1, a slow-to-medium attack (say 10–30 ms) so transients survive, an auto or medium release, and pull the threshold down only until you see 1–2 dB of gain reduction on the loudest sections. You’re looking for cohesion, not squash. If you can clearly hear it working, it’s probably too much.
3. Saturation for perceived loudness. This is the secret weapon. A subtle tape or tube-style saturator adds low-order harmonics that make the track feel louder and fuller without raising the peak much at all. Drive it lightly — you want warmth and density, not obvious distortion. Because saturation rounds off the very top of transients naturally, it does a chunk of the job a limiter would otherwise do, but more musically. Stock saturation gets you most of the way; where a dedicated tape or console-emulation plugin genuinely outperforms stock character, it’s worth auditioning options at (Plugin Boutique) — but don’t force it, stock does this job well.
4. Clipping instead of hard limiting. A clean clipper (many DAWs include one, and there are excellent free ones) shaves the sharpest peak tips by simply flattening them. Used gently, clipping is often less audible than heavy limiting because it acts only on the tiny fraction of a second at the very peak, leaving the body of each transient intact. Clip conservatively — 1 to 3 dB of peak reduction on drum-heavy material — and A/B constantly. Too much and you’ll hear crunch on cymbals and vocals.
How to reach loudness without slamming anything
The trick is stacking small amounts of gain across several stages instead of one big grab. A dB of glue compression, a dB or two shaved by saturation, a couple of dB of gentle clipping, plus a clean output gain — added together, that’s a competitive master, and no single stage is working hard enough to sound bad.
Check your loudness against a target as you go. For most streaming platforms, a common reference is around -14 LUFS integrated, though platforms normalise differently and many modern masters sit louder (-9 to -12 LUFS) by choice. Treat -14 LUFS as a sensible ballpark rather than a hard law, and always trust your ears against reference tracks over the number. Our LUFS explained guide unpacks how loudness normalisation actually works, and you can meter your bounce with the LUFS meter in the VR free tools.
Where a limiter still earns its place
Going limiter-free doesn’t mean the limiter is banned — it means you demote it from workhorse to safety guard. Many engineers still put a true-peak limiter last in the chain with the ceiling set around -1 dBTP, but with almost no gain reduction happening: it’s there to catch the occasional stray peak and keep inter-sample overs from clipping on lossy encoders, not to add loudness. If your limiter is doing more than a dB of reduction at the end of a chain like this, back off the earlier stages instead.
If you’d rather hand the final polish to a service, an online master is a reasonable option — (LANDR) can reference-match loudness and peaks automatically, which is handy for a fast release or a second opinion on your DIY chain. Compare the approaches in our roundup of the best online mastering services, and read what mastering actually is if you want the full picture.
Common mistakes to avoid
Don’t chase loudness at the expense of the mix — if your reference tracks sound punchier at the same volume, you’ve over-processed. Don’t stack saturation and clipping until the track is fatiguing; a little of each beats a lot of one. Don’t skip the loudness-matched A/B: everything sounds “better” when it’s louder, so always compare at equal level. And don’t master into a limiter you can’t hear working and assume it’s fine — bypass it and check what it’s costing you.
Frequently asked questions
Can you really master a track without any limiter at all?
Yes. Plenty of engineers finish masters using only EQ, gentle compression, saturation and clipping, with no brickwall limiter in the chain. You may leave a touch more headroom (peaking a hair below 0 dBFS) and rely on the platform’s normalisation, but the track will still translate. A limiter mainly guarantees peaks never exceed your ceiling — clipping and careful gain staging can cover that safely if you work conservatively.
Is clipping better than limiting for loudness?
Neither is universally better — they’re different tools. Clipping shaves only the very peak tips and is often less audible on transient-heavy material like drums, while a limiter looks ahead and reduces gain more smoothly across a longer window. Many mastering chains use a little of both: gentle clipping to tame the sharpest peaks, then a transparent limiter as a final safety ceiling. Use your ears and A/B at matched loudness.
What LUFS should I aim for without a limiter?
Around -14 LUFS integrated is a common, safe streaming reference, but it’s a starting point, not a rule — many genres master louder by choice. Without a limiter you’ll reach loudness through stacked saturation, compression and clipping rather than one big peak grab, so focus on how it sounds next to loudness-matched references. If a competitive level starts to cost you punch or clarity, ease off rather than pushing harder.
For more on the fundamentals behind all of this, browse the full mixing and mastering category, and pair this with our guide to using reverb and delay to make sure your mix has the depth worth mastering in the first place.



