
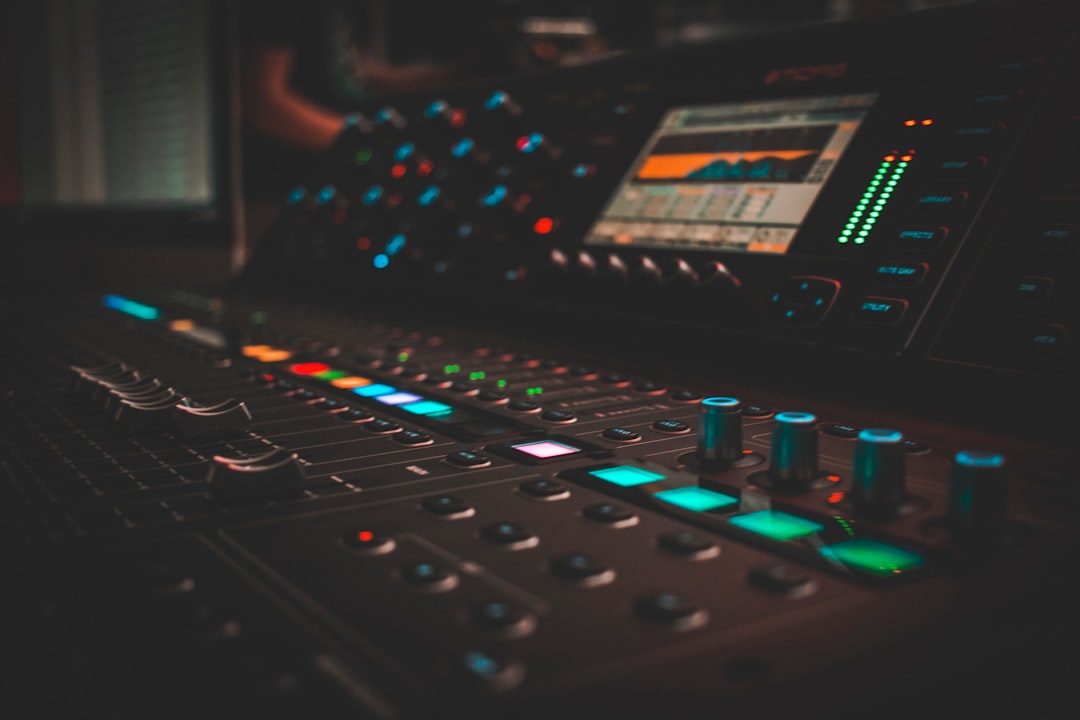
The fastest way to ruin an otherwise great take is a red meter, so learning to avoid clipping recording at home is one of the most valuable skills you can build. Clipping happens when a signal is louder than your system can represent: the peaks get chopped flat, adding harsh distortion that no plugin can undo. Analog gear can distort gracefully, but digital clipping at the converter is permanent and ugly. The good news is that avoiding it is almost entirely about gain staging discipline: set sensible levels, leave headroom, and use a couple of simple tools to catch surprises before they hit the recorder.
Set safe levels and leave headroom
The core rule for anyone trying to avoid clipping recording is to aim your loudest peaks around -12 to -6 dBFS, never at 0. That gap between your peaks and the 0 dBFS ceiling is your headroom, and it exists to absorb the moments a performance gets louder than the soundcheck: the singer belts a chorus, the drummer leans into a fill, the guitarist digs in. If you record with peaks kissing -1 dBFS “to be loud”, one unexpected transient tips into clipping. Modern DAWs mix in 32-bit float internally, so a quiet-but-clean 24-bit recording has enormous dynamic range to spare; there is zero benefit to recording hot.
- Gain stage at the source first. Set the interface preamp so the loudest part of the performance peaks at -12 to -6 dBFS. Have the performer play their hardest section during setup, not their quietest.
- Record in 24-bit. At 24-bit the noise floor is so low that a track peaking at -18 dBFS still sounds pristine. Bit depth buys you a huge safety margin; sample rate does not affect clipping.
- Do not confuse loud with clipped. A track that reads -10 dBFS is not “too quiet” to mix. You will bring it up later with faders and gain plugins that add no distortion.
Find the clip: where the signal actually overloads
Clipping can occur at several points in the chain, and the meter in your DAW only shows the last one. Check each stage.
- The microphone or instrument itself. A loud source can overload a condenser mic’s internal electronics before any preamp. If a screamed vocal or a close-miked snare distorts even with the preamp turned down, engage the mic’s pad (usually a -10 or -20 dB switch) to knock the signal down before the capsule electronics or preamp input.
- The preamp/interface input. This is the most common clip point. Watch the interface’s own input LED, not just the DAW meter. If it flashes red, turn the gain knob down. Engaging the interface’s pad (line/instrument/pad switch) tames hot sources like synths and active basses.
- The converter and the DAW track. The A-to-D converter clips at 0 dBFS. Once you are recording cleanly, a high-pass filter around 30-40 Hz on tracks that do not need sub-bass removes subsonic rumble and mic-stand thumps that eat headroom and push peaks higher than they need to be.
If you see distortion but every meter looks safe, suspect the source: a wind blast, a plosive, or a badly seated cable can all spike a signal invisibly. Solo the track, find the spot, and re-record that moment.
Habits and tools that keep peaks in check
Beyond levels, a few working habits make clipping almost impossible.
- Position for consistency. On vocals, a pop filter and steady mic distance of about 15-20 cm keep plosives and level swings under control. On drums, angling a snare mic slightly off the centre of the head softens the transient spike that so often clips.
- Use a soft-clipper or limiter as a safety net, not a crutch. A gentle limiter on the input bus catching only the top 1 dB can save a once-in-a-take transient. But the fix is always to set the gain right first; a limiter working hard means your levels are wrong.
- Record a safety take at lower gain. For an unrepeatable performance, some interfaces let you capture a duplicate at a lower level. If yours does not, simply set gain conservatively; -18 dBFS average is safer than chasing loudness.
Once a take is recorded cleanly you have all the loudness you need waiting in the mix. Pull the fader up, add a clean gain plugin, and drive tone with saturation plugins such as Soundtoys Decapitator or an amp/saturation tool like Guitar Rig if you actually want harmonic grit; that gives you controllable, musical distortion instead of the harsh converter clipping you were trying to avoid.
The one-minute pre-take routine
Before every take, run this quick check and you will almost never see red again. Ask the performer for their loudest passage. Set the preamp so it peaks at -12 to -6 dBFS. Confirm you are in 24-bit. Glance at the interface’s own input LED, not just the DAW. Engage a pad on the mic or interface if the source is very loud. High-pass anything that does not need deep bass. Then record, and keep an eye on the peak-hold meter for the first line or bar.
For deeper background on setting levels through the whole signal path, our home recording guides cover gain staging step by step, the mixing and mastering guide shows how quiet clean tracks become loud finished songs, and the free peak and loudness meters in our audio tools hub let you verify your headroom in the browser. Master these habits and you will avoid clipping recording for good, capturing clean takes that give you every option later.



