
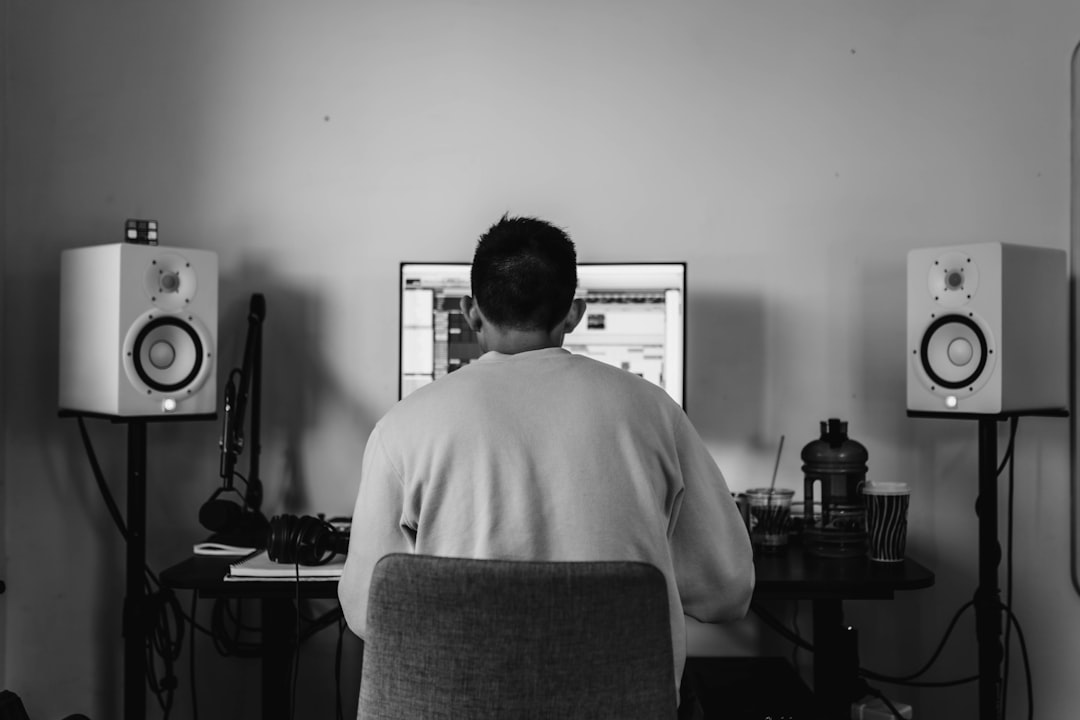
The steps to connect MIDI keyboard to DAW software are quick: plug the keyboard into your computer with a USB cable, open your DAW’s MIDI settings, enable the keyboard as an input device, then load a software instrument onto a track and play. On a Mac it usually works instantly; on Windows a class-compliant keyboard also works without extra software, though some controllers need a driver from the maker. That is the whole job in a nutshell — the rest is knowing where each menu lives.
This guide walks you through it properly, in order, the way you’d show a friend at the desk. We cover the physical hookup, the exact MIDI-settings location in the four most common DAWs, how to test that notes are landing, and the handful of problems that trip everyone up the first time.
Violet Recording is reader-supported — we may earn a commission from links on this page, at no extra cost to you.
What you need to connect MIDI keyboard to DAW
Before you touch any menus, get the hardware side clear, because most “it won’t work” moments are really cabling moments. To connect a MIDI keyboard to your DAW you need three things: the keyboard itself, the right cable, and a DAW that’s already installed and opening cleanly.
There are two ways a keyboard talks to a computer. The overwhelmingly common one today is USB: a single cable (usually USB-B or USB-C on the keyboard end) carries the note data straight into your machine, and many bus-powered controllers draw their power from that same cable, so there’s no separate adapter. The older method uses a 5-pin DIN MIDI cable, which you’ll only meet on classic synths, some stage pianos, or hardware without USB. If your keyboard is DIN-only, you route it through a MIDI interface or an audio interface that has a MIDI IN port — plug the cable into the keyboard’s MIDI OUT and the interface’s MIDI IN (out-to-in, always).
One thing to understand up front: a MIDI keyboard sends performance data — which key, how hard, when — not sound. The sound comes from a software instrument inside your DAW. So “no sound” after connecting is normal until you load an instrument, and it’s not a fault.
Step 1: Make the physical connection and check for drivers
Plug the USB cable into the keyboard and into your computer. Where possible use a rear USB port on a desktop or a direct port on a laptop rather than an unpowered hub, since bus-powered controllers can misbehave on weak hubs. If the keyboard has a power switch, turn it on now, and look for a power or backlight LED so you know it’s alive.
On macOS, MIDI is handled by the built-in Core MIDI system, so class-compliant keyboards are recognised with no driver at all. On Windows, most modern controllers are also class-compliant and work the moment you plug them in. A minority — often larger workstation keyboards or older models — want a manufacturer driver; if yours does, download it from the maker’s own support page, install it, and reboot before opening your DAW. Close and reopen your DAW after connecting, because many DAWs only scan for MIDI devices at startup.
Step 2: Enable the keyboard in your DAW’s MIDI settings
This is the step people skip. Plugging in gets the keyboard to the operating system; you still have to switch it on inside the DAW. Menu names shift a little between versions, so treat these as the reliable landmarks rather than pixel-perfect paths.
FL Studio. Go to Options > MIDI Settings. In the Input list you’ll see your keyboard; click it so it highlights, then make sure Enable is switched on for that device. Leave the controller type on (generic controller) unless FL Studio recognises your exact model. Close the panel and you’re ready.
Ableton Live. Open Preferences (Live > Preferences on Mac, Options > Preferences on Windows) and go to the Link, Tempo & MIDI tab (called Link/MIDI in older versions). Under MIDI Ports, find your keyboard in the Input rows and turn Track to On so it can play instruments. Turn on Remote too if you later want its knobs to control Live. Leave Sync off for a plain keyboard.
Logic Pro. Logic uses Core MIDI and auto-detects controllers, so there’s usually nothing to enable — connected keyboards feed the selected track automatically. If you want to confirm it, look under Logic Pro > Settings > MIDI. Notes reach whichever track is armed and selected.
GarageBand. Like Logic, GarageBand relies on Core MIDI and needs no manual enabling. Plug in, and a connected keyboard plays the currently selected Software Instrument track straight away.
The pattern is consistent: the two big Windows-and-Mac DAWs (FL Studio, Ableton) ask you to tick the device on; the two Apple DAWs (Logic, GarageBand) handle it for you. If your DAW isn’t listed, the equivalent lives under a menu called Preferences, Settings, or MIDI/Sync — the concept is identical.
Step 3: Load a software instrument and play a test note
Now give the keyboard something to trigger. Create a new instrument track and load a sound onto it:
- FL Studio: add a plugin such as FLEX or FL Keys from the plugin picker; the on-screen keyboard and your controller both drive it.
- Ableton Live: drag an instrument like Operator, Wavetable, or a preset from the Browser onto a MIDI track, then click the track’s Arm (record) button so it listens for input.
- Logic Pro: create a Software Instrument track; it loads a default piano you can play immediately, and the track is armed by default.
- GarageBand: add a Software Instrument track and pick a sound from the Library.
Press a key. You should see the track’s meter move and hear the sound. In Ableton and FL Studio, the key detail is that the target track must be armed or selected — MIDI follows the focused, record-enabled track. If you’re recording a part, drop in a click first; our free browser metronome and BPM tools are handy for setting tempo before you commit a take, and the online tuner helps if you’re layering the part against a real instrument.
Step 4: Set velocity, octave, and channel so it feels right
Once notes are landing, a few tweaks make the keyboard playable rather than just connected. The octave buttons on the controller shift the whole keyboard up or down — useful on 25- and 49-key units that don’t reach bass or lead ranges. Velocity is how hard-you-hit maps to loudness; if soft playing sounds too quiet or every note blasts full volume, look for a velocity-curve setting on the keyboard or in the instrument, and note that some budget controllers have a fixed curve.
Most of the time you can leave the MIDI channel alone — a single keyboard into a single track needs no channel juggling. It only matters when you’re running several devices or a multi-timbral setup, in which case you’d match the keyboard’s transmit channel to the track’s input channel. For one keyboard and one instrument, “all channels” or the default is exactly right.
Common problems and how to fix them
The keyboard is connected but there’s no sound. Nine times out of ten the track isn’t armed or selected, or you haven’t loaded an instrument yet — remember the keyboard makes no sound of its own. Check that a software instrument is on the track and that the track is record-enabled.
The DAW doesn’t see the keyboard at all. Reopen the DAW after plugging in, since many only scan MIDI at launch. Try a different USB cable and port — charge-only cables and dead ports are a classic culprit. On Windows, only one program can hold a MIDI input at a time, so close any other music app that might be gripping the device.
Notes lag behind your fingers. That’s audio latency, not a MIDI fault. Lower your audio buffer size in the DAW’s audio settings and use an ASIO driver on Windows. We go deep on this in what is audio latency, and getting your interface dialled in first — see how to set up an audio interface — solves most of it.
Stuck or doubled notes. A hanging note usually clears with your DAW’s panic/reset MIDI command; doubled notes often mean the device is enabled on two inputs at once, so disable the duplicate in your MIDI settings.
Stock instruments are plenty to learn on, but if you outgrow the built-in sounds and want pro-grade pianos, synths, or orchestral libraries, that’s the point to add a dedicated virtual instrument — Plugin Boutique is a solid place to browse them. Those load onto a track exactly like a stock instrument, so nothing about your keyboard hookup changes. If you’re still choosing software, our best free DAWs for beginners guide and the FL Studio review and Ableton Live review are good next reads, and what is a VST explains the instrument-and-plugin side.
For more on building out the rest of the room, browse the Home Studio Setup hub.
Frequently asked questions
Do I need drivers to connect a MIDI keyboard to my DAW?
Usually not. On macOS, Core MIDI recognises class-compliant keyboards with no driver, and most modern controllers are class-compliant on Windows too. A minority of keyboards — often larger or older models — need a driver from the manufacturer’s support page; install it and reboot before opening your DAW if yours is one of them.
Why can I connect the keyboard but hear nothing?
A MIDI keyboard sends note data, not audio, so silence is expected until you load a software instrument. Add an instrument to a track, then arm or select that track so it listens for input. If the meter still doesn’t move, confirm the keyboard is enabled in your DAW’s MIDI settings.
Can I use a MIDI keyboard without a separate audio interface?
Yes. A USB MIDI keyboard connects straight to your computer and works on its own. An audio interface only comes in if your keyboard is 5-pin DIN MIDI rather than USB, or when you want lower-latency audio output — many producers run both, but you don’t need an interface just to get notes into the DAW.



