
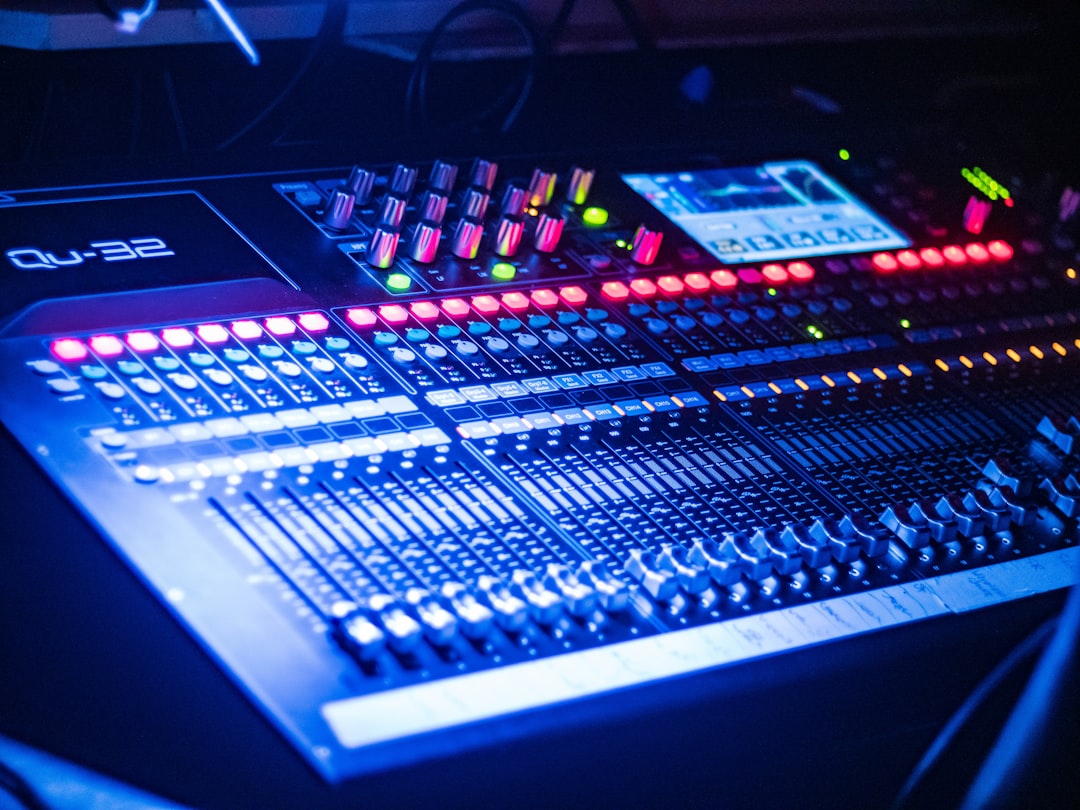
To make a mix louder without clipping, you don’t just turn everything up — you raise the average level while keeping the peaks under control. That means fixing your gain staging, taming the loudest transients and dynamics before the master bus, adding harmonic density so the track reads as louder to the ear, and only then using a limiter to lift the whole thing and hold peaks below your ceiling. Loudness is something you build in stages, not a single fader move.
Violet Recording is reader-supported — we may earn a commission from links on this page, at no extra cost to you.
This guide walks through the moves that actually raise perceived loudness cleanly, in the order they belong, with starting points you adjust by ear. It assumes you already have a balanced mix — no loudness trick fixes a muddy or lopsided one. If your balance isn’t there yet, work through our beginner’s guide to mixing your first song and the EQ and compression fundamentals first.
Why turning up the fader isn’t how you make a mix louder
The instinct is to grab the master fader and push. The problem is that raising the fader lifts the peaks and the body of the track equally — so you hit 0 dBFS and start clipping long before the mix actually feels loud. What your ear reads as “loud” isn’t the peak level, it’s the average level: how much energy is present most of the time. Two tracks can both peak at exactly 0 dBFS while one sounds twice as loud, because its average sits much higher.
So the real job is to close the gap between your peaks and your average — pull the sharpest transient spikes down and bring the quiet moments up, so the whole waveform sits fuller. Do that with dynamics and saturation before the limiter, and the limiter has far less work to do at the end. That’s the difference between a master that’s loud and open and one that’s loud and crushed.
Start with clean gain staging and real headroom
Loudness problems usually start upstream. If individual tracks are already slamming their meters, distortion and buildup creep in before you get anywhere near the master. Aim for a mix bus that peaks somewhere around -6 to -3 dBFS with genuine headroom, and channels that sit comfortably rather than pinned near 0. Proper gain staging throughout the session is what makes clean loudness possible later — if every stage breathes, nothing has to be clawed back.
Reference two or three commercial tracks in your genre while you work, and match their playback level to yours so you’re comparing tone, not volume. Everything sounds “better” when it’s louder, so a loudness-matched A/B keeps you honest. You can meter your bounce against a target with the LUFS meter in the VR free tools.
Control dynamics on the way in, not just at the end
The most reliable way to raise average level is to reduce the distance between your loudest and quietest moments before the master ever sees the signal. Compress the sources that are spiking hardest — usually drums and vocals. A vocal that jumps 8 dB between phrases will force your limiter to grab hard on every loud syllable; a compressed vocal sitting in a tighter range lets the whole mix ride higher. Typical vocal compression lives around a 2:1 to 4:1 ratio with the threshold set to catch a few dB on the loudest words. Our guide on how to mix vocals covers the settings that matter.
On the mix bus, add gentle glue compression — a low ratio around 1.5:1 to 2:1, a slow-to-medium attack near 10–30 ms so transients survive, and only 1–2 dB of gain reduction on the loudest sections. This isn’t for loudness so much as cohesion, but a tighter, more cohesive mix always translates louder. If you can obviously hear it pumping, ease off.
Use EQ to clear space so loudness lands cleanly
Muddy low end is the silent loudness killer. A pile-up around 200–400 Hz eats headroom and makes a limiter pump without adding any real punch, so small subtractive cuts (1–2 dB) in that region often let the whole track go louder before it strains. A gentle high-pass around 20–30 Hz clears subsonic rumble your speakers can’t reproduce but your limiter still reacts to — removing it frees up level for real content.
At the top, a broad, musical high-shelf boost up around 10–12 kHz adds air and presence that reads as loudness without demanding much extra level. Keep master-bus EQ moves under a couple of dB; anything bigger is a mix issue to fix earlier. A stock parametric EQ does all of this. If you want a quick reference for where instruments sit, the EQ frequency cheat sheet in the VR tools is a handy sanity check.
Add saturation for perceived loudness before you reach for a limiter
Saturation is the move most beginners skip, and it’s often the difference between a master that’s loud and open and one that’s crushed. Adding low-order harmonics with a subtle tape or tube-style saturator makes a track feel louder and denser without raising the peak level much at all — because it rounds off the very tops of transients naturally, doing a slice of the limiter’s job more musically. Drive it lightly: you want warmth and density, not audible fuzz. A little saturation across the mix bus can buy you a couple of dB of perceived loudness for almost no peak cost.
Stock saturation gets you most of the way. Where a dedicated tape machine or console-emulation plugin genuinely outperforms stock character, it’s worth auditioning options at (Plugin Boutique) — but don’t force it, stock does this job well for most material.
Tame peaks with clipping, then lift with a limiter
With dynamics and saturation handled, you’ve narrowed the peak-to-average gap and the final loudness stage becomes easy. Two tools finish the job. A clean clipper shaves the sharpest transient tips by simply flattening them, and used gently — 1 to 3 dB of peak reduction on drum-heavy material — it’s often less audible than heavy limiting, because it only acts on the tiny fraction of a second at the very peak. Many DAWs include a clipper, and there are excellent free ones.
Then a brickwall limiter goes last: set the ceiling around -1 dBTP (true peak) to leave room for inter-sample overs on lossy encoders, and pull the threshold down until you reach your target loudness. Because you’ve done the groundwork, the limiter should only be grabbing a modest amount — a few dB, not eight or ten. If it’s working harder than that, go back and let compression, saturation and clipping carry more of the load. A limiter slammed to do everything is exactly what produces a flat, lifeless “loud” master.
Know your loudness target and check it honestly
Chase loudness against a number and your ears together. For most streaming platforms, a common integrated reference is around -14 LUFS, though platforms normalise differently and plenty of modern masters sit louder (-9 to -12 LUFS) by choice. Treat -14 LUFS as a sensible ballpark rather than a hard law, and always trust a loudness-matched comparison with reference tracks over the meter. Our LUFS explained guide unpacks how normalisation actually works so you’re not fighting it.
If you’d rather hand the final loudness polish to a service — or just want a second opinion on your DIY chain — an online master is a reasonable option. (LANDR) can reference-match loudness and true-peak automatically, which is handy for a fast release. Compare the approaches in our roundup of the best online mastering services, and read what mastering actually is for the full picture.
Frequently asked questions
Why does my mix clip before it sounds loud?
Because you’re raising peaks and average level together. A few sharp transients — usually drum hits or hard vocal syllables — hit 0 dBFS and clip while the rest of the track is still quiet, so it never feels loud. The fix is to narrow that gap first: compress the spiky sources, add saturation to round transient tops, and clip or limit the last few dB. Once your peaks sit closer to your average, you can lift the whole mix far higher before anything distorts.
How loud should I make my master?
Around -14 LUFS integrated is a safe, common streaming reference, but it’s a starting point, not a rule — many genres master louder by choice, and platforms normalise playback anyway. Aim for a level that sounds competitive next to loudness-matched reference tracks in your style, and stop pushing the moment you start losing punch or clarity. Loudness that costs you the mix isn’t worth it; a slightly quieter master that keeps its impact usually wins.
Is a limiter enough to make a mix louder on its own?
It can raise loudness, but leaning on a limiter alone to do everything is what produces a squashed, flat master. A limiter works best lifting the last few dB after gain staging, dynamics, EQ and saturation have already narrowed the peak-to-average gap. Spread the work across several stages and no single tool has to strain — that’s how you reach a competitive level that still breathes.
For more on the fundamentals behind all of this, browse the full mixing and mastering category, and pair this with our guide to using reverb and delay so the mix you’re making louder has real depth worth pushing.



