
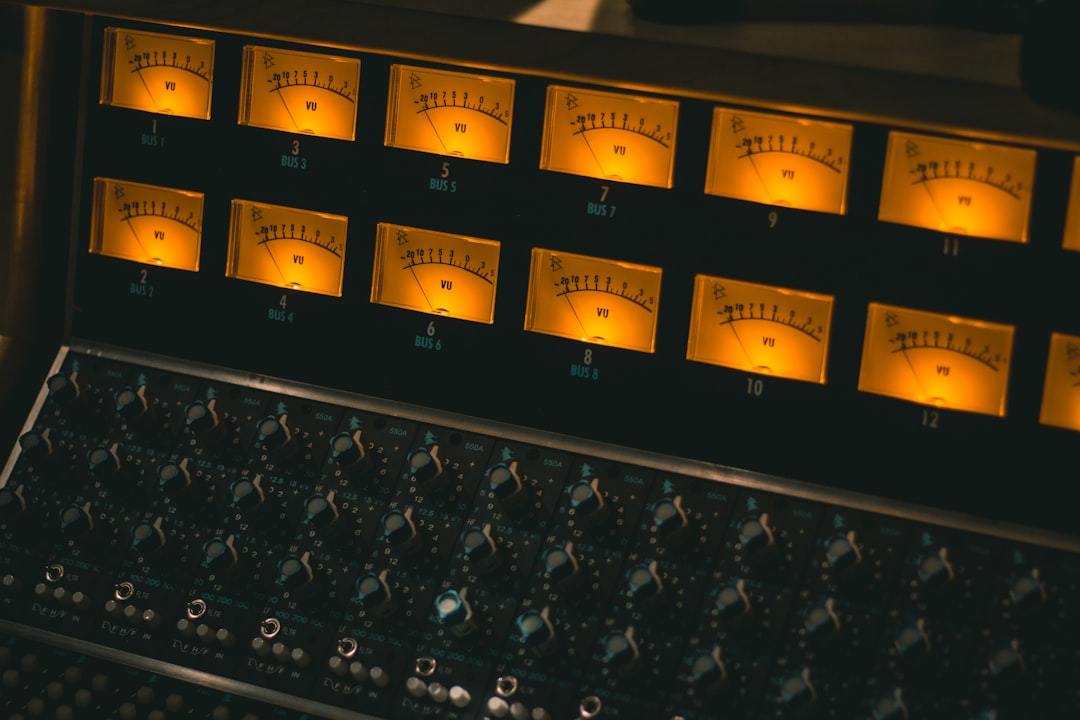
To prepare a mix for mastering, get the balance right first, then hand off a clean stereo file with real headroom — the mix bus peaking a few dB below 0, no loudness maximiser crushing the master, and any obvious mud, harshness or rumble already sorted. In practice that means turning off the limiter on your master bus, leaving roughly 3–6 dB of headroom, and bouncing a full-resolution WAV at your session’s native sample rate. Do that and whoever masters it — a human engineer, an online service, or you on another day — has room to make it loud and polished without fighting your mix.
Violet Recording is reader-supported — we may earn a commission from links on this page, at no extra cost to you.
Mastering can only improve a mix, not rescue a broken one. The single most useful thing you can do before you export is stop thinking of the bounce as “finished” and start thinking of it as a handoff — a clean, well-behaved file that gives the next stage something to work with. Here is exactly what to check, in the order that matters, so your mix arrives at mastering ready to shine.
Get the balance right before you prepare a mix for mastering
Nothing on this page matters if the balance underneath is wrong. Mastering works on the whole stereo file at once, so it can nudge the overall tone and loudness, but it cannot pull a buried vocal forward, fix a snare that’s too loud, or separate a bass and kick that are masking each other. Those are mix decisions, and they have to be settled before you bounce.
So the first job is honest listening. Play the mix on more than one system — your monitors, headphones, a phone speaker, the car — and make sure the vocal sits, the low end is controlled, and nothing jumps out as wrong. If something bugs you at the mix stage, it will still bug you after mastering, only louder. Our guides to mixing vocals and fixing a muddy mix cover the usual culprits. Get the mix to a place where you’d be happy to release it as-is, then treat everything below as final prep.
Leave real headroom on your master bus
Headroom is the space between the loudest peak of your mix and the 0 dBFS ceiling, and it’s the thing mastering needs most. A mix that already slams into 0 gives the mastering stage nowhere to go — every move it makes has to start by turning things down. Aim to have your mix bus peaking somewhere around -6 to -3 dBFS, which leaves a comfortable few dB of clean room.
The exact number matters less than the principle: don’t deliver a maxed-out file. If your mix is peaking too hot, resist the urge to yank the master fader down at the very end. Instead, trim the level earlier — pull your group buses down or add a gain trim near the top of the master chain — so the internal balance stays intact. Clean gain staging throughout the session is what makes this easy; if your levels were sensible from the start, you’ll already be close.
Turn off the limiter and loudness processing
This is the step people forget. If you’ve been mixing with a limiter or loudness maximiser on the master bus to get a “finished” feel, take it off before you export. A brickwall limiter squashes your peaks and bakes in loudness that the mastering stage is supposed to add — and once it’s baked in, it can’t be undone. Delivering a pre-limited mix ties the hands of whoever masters it and usually makes the final result sound worse, not better.
The same goes for anything doing heavy work on the whole mix purely to make it louder. Gentle, intentional mix-bus processing — a touch of glue compression or a broad EQ move you’ve committed to as part of the sound — is fine to leave on, because it’s part of your mix. But the loudness stage belongs to mastering. If you want a rough sense of how loud the master will end up, remember that a common streaming target is around -14 LUFS integrated, framed as an approximate reference rather than a hard rule — but that’s the mastering engineer’s job to hit, not yours.
Fix problem frequencies while it’s still a mix
Mastering can shape broad tone, but it’s a blunt instrument for surgical problems, because any move affects the entire mix at once. Boost to tame a dull top end and you might bring up sibilance too; cut to kill mud and you thin out the bass. So it’s far better to solve specific frequency problems while you still have the individual tracks in front of you.
Walk through the usual suspects. Low-end rumble and subsonic energy below roughly 30 Hz add nothing but eat headroom, so a gentle high-pass on the mix bus or on offending tracks tidies it up. Boxy mud tends to live around 200–500 Hz — if the mix feels congested, that’s the first place to look. Harshness and listening fatigue usually sit around 2–5 kHz, and sibilance a bit higher. Deal with these in the mix with EQ and, where needed, de-essing, rather than hoping mastering will paper over them. A quick reference like our free EQ cheat sheet and frequency tools can help you find the right region fast. The EQ and compression fundamentals guide goes deeper on making these moves cleanly.
Check mono compatibility and stereo width
Before you bounce, sum your mix to mono and give it a listen. Club systems, phone speakers, and plenty of Bluetooth setups collapse to mono, and heavy-handed stereo widening can make parts of your mix disappear or go weirdly hollow when that happens. If the bass or a key element vanishes in mono, back off whatever widener or stereo effect is causing it — keeping your low end centred and mono is a reliable habit. Our guide to checking mono compatibility walks through this properly.
Width is worth a sanity check too. A mix that sounds impressively wide in isolation can turn phasey or unstable once mastering pushes it louder. Aim for width that still feels solid and centred, not so extreme that it only holds together on one perfect pair of speakers.
Bounce a clean, full-resolution stereo file
Now the technical handoff. Export a single stereo (interleaved) WAV or AIFF file at your session’s native sample rate — if you recorded at 44.1 kHz, bounce at 44.1 kHz; if 48 kHz, keep 48 kHz. Don’t downsample or convert on the way out. Bounce at 24-bit or 32-bit float rather than 16-bit; the extra resolution gives mastering more to work with, and you’re not dithering yet. Dither belongs at the very last step of mastering, when the final file is reduced to 16-bit, so leave it off your handoff bounce.
A few practical details save headaches. Make sure there are no clicks, glitches or muted-plugin dropouts in the render — listen to the whole exported file start to finish, not just spot-check it. Leave a little silence at the top and let reverb and delay tails ring out fully at the end rather than chopping them with a hard fade; the mastering stage can trim and fade precisely later. Name the file clearly with the track title and version, and if you bounce a few options, label them so nothing gets confused. Sending a tidy, clearly-named 24-bit WAV with headroom is the mark of a mix that’s genuinely ready.
Reference, then hand it off for mastering
One last reality check before you send it: compare your mix to a professionally released track in the same style. Loudness-match them by ear so you’re not fooled by volume, and listen for tonal balance — is your low end as controlled, your top end as smooth, your midrange as clear? You’re not trying to match the loudness (that comes at mastering) — you’re checking that the tonal shape is in the same ballpark. Our guide to using reference tracks explains how to do this without chasing your tail.
When the mix is balanced, clean and bounced with headroom, it’s ready for the final stage. From here you can hand it to a mastering engineer, master it yourself another day with fresh ears, or run it through an online service like LANDR that masters your file automatically and lets you compare loudness targets. Whichever route you choose, a well-prepared mix is what makes the result competitive — see what mastering actually is and LUFS explained for the loudness side, and browse the full mixing and mastering hub for the surrounding steps. Prepare the mix well and mastering becomes the polish it’s meant to be, not a rescue mission.
Frequently asked questions
How much headroom should I leave before mastering?
A common guideline is to leave roughly 3–6 dB of headroom, with your mix bus peaking somewhere around -6 to -3 dBFS. The exact figure isn’t sacred — the real goal is simply not delivering a maxed-out file. Mastering needs clean space above your peaks to raise loudness and shape tone without introducing distortion, so err on the side of a little more headroom rather than a mix that’s already slamming into 0 dBFS.
Should I remove the limiter on my master bus before exporting?
Yes, in almost every case. A brickwall limiter or loudness maximiser on the master squashes your peaks and bakes in loudness that the mastering stage is meant to add — and it can’t be undone afterward. Take it off before you bounce. Gentle, intentional mix-bus glue compression or a broad EQ move you’ve committed to as part of your sound can stay, because that’s part of the mix, but the loudness stage belongs to mastering.
What file format and bit depth should I bounce for mastering?
Export a stereo WAV or AIFF at your session’s native sample rate — don’t change it on the way out — at 24-bit or 32-bit float rather than 16-bit. The higher resolution gives mastering more to work with, and you should leave dither off, since that’s applied at the final 16-bit reduction during mastering. Let reverb tails ring out instead of hard-cutting them, check the whole render for glitches, and name the file clearly.



