
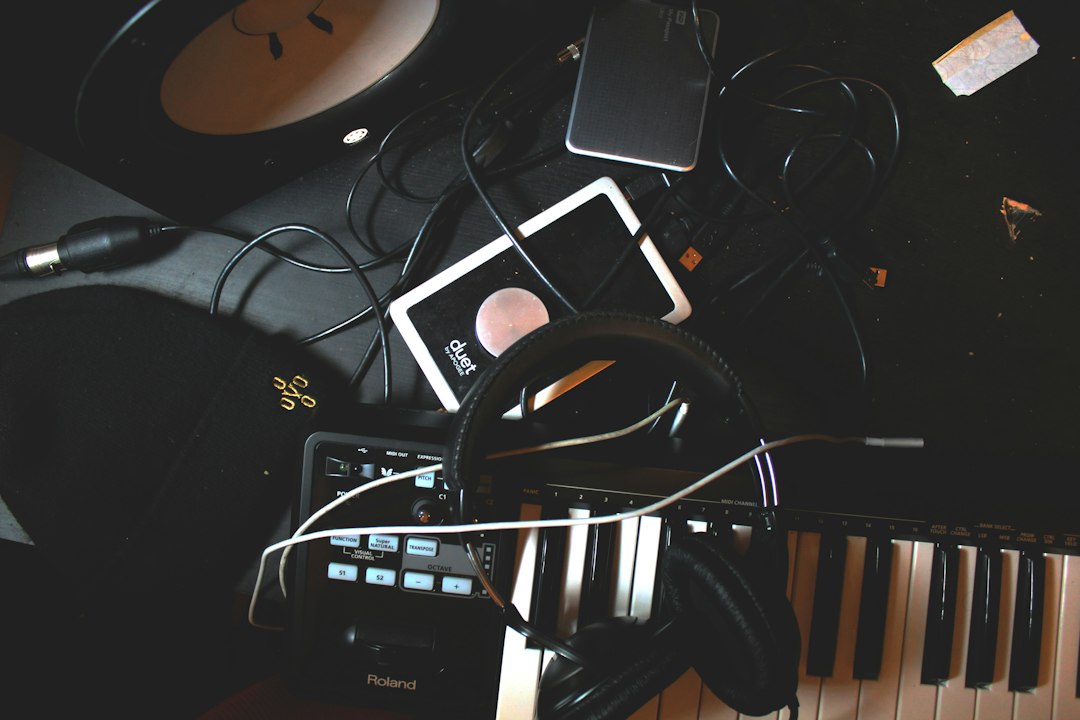
Your iPhone is a capable audio recorder, but most bad phone recordings are not the phone’s fault. They come from the wrong settings, a hand-held phone two metres from the speaker, a noisy fridge in the background or a notification that interrupts the take. The best way to record audio on iPhone is a simple routine: switch Voice Memos to lossless, put the microphone close to the source, quieten the room, and add an external mic only when the built-in one has hit its limits. This guide walks through each step in the order that makes the biggest difference, whether you are capturing a song idea, an interview, a lecture or a voiceover.
Step 1: Set Voice Memos to lossless
Apple’s free Voice Memos app is already on your phone and is good enough for most jobs, but it records compressed audio by default to save space. Open Settings, find Voice Memos (under Apps on recent iOS versions), tap Audio Quality and choose Lossless. Files get noticeably bigger, but you keep the full detail of the recording, which matters if you plan to edit, mix or transcribe it later.
While you are in that settings screen, check two more options:
- Location-based naming: handy for field recordings, but turn it off if you want neutral file names.
- Clear Deleted: deleted memos linger in a Recently Deleted folder, so set a period that suits you before you free up storage.
Some recent iPhones also offer a stereo recording toggle for the built-in microphones. Stereo is great for music, ambience and room recordings; for a single voice, mono is usually cleaner and easier to edit.
Step 2: Know where the microphones are
An iPhone has several microphones, and the main one for voice sits on the bottom edge next to the charging port. Other mics are placed near the earpiece and the rear camera to help with noise reduction and video. In practice, that means you should point the bottom of the phone toward the person speaking, not the screen or the back.
Keep your fingers and phone case away from the bottom openings. Thick rugged cases can partially cover the microphone holes and make recordings sound muffled, so test with the case off if your audio sounds dull.
The best way to record audio on iPhone: distance and placement
Distance is the single biggest factor in phone recording quality. The closer the mic is to the sound source, the louder the source is compared with the room, so the recording sounds clearer and less echoey. Use these starting points:
- Speech and voiceover: about 15 to 30 cm (a hand-span or two) from the mouth, angled slightly to the side so plosive “p” and “b” sounds do not blast the mic.
- Interviews with two people: place the phone flat on a table between you, bottom edge facing the main speaker, on a folded cloth to stop table knocks.
- Acoustic guitar: about 30 cm from the neck where it meets the body, not pointing straight into the soundhole, which booms.
- Singing: 20 to 30 cm away, a little above mouth height. Back off for loud notes. Our guide to recording vocals on iPhone goes deeper on takes, monitoring and apps.
- Bands and rehearsals: put the phone further back, around where a listener would stand, and away from the drum kit so the loudest instrument does not swamp the rest.
Hold the phone still, or better, use a small tripod or phone clamp. Handling noise from fingers sliding on glass is very obvious on playback.
Step 3: Fix the room before you fix the gear
Hard, bare rooms add echo that no app can fully remove. Before you record, walk into the room and clap: if you hear a ringing tail, move somewhere softer. Bedrooms with a bed, curtains and a wardrobe full of clothes usually beat kitchens and bathrooms. For voiceovers, recording inside a wardrobe or with a duvet draped behind you is an old trick that genuinely works.
Next, listen for background noise. Switch off fans, air conditioning and humming appliances if you can, close windows, and move away from traffic-facing walls. Our article on reducing noise when recording on a phone covers more fixes, including outdoor wind.
Finally, stop the phone interrupting you. Turn on Do Not Disturb or a Focus mode before you hit record. An incoming call or alert can pause or spoil a take, and notification sounds can end up in the recording.
Step 4: Record, check levels and do a test take
Voice Memos sets its recording level automatically, so you cannot turn the gain down by hand. The trick is to control level with distance: if the waveform looks squashed and loud passages sound distorted, move the phone back; if everything sounds thin and roomy, move closer. Always record ten seconds, play it back with headphones and adjust before the real take.
A few habits help:
- Leave two seconds of silence at the start and end of each recording so trimming is easy.
- Record a few seconds of room tone (silence in the room) if you plan to clean up noise later.
- Keep at least a couple of gigabytes of storage free so a long lossless recording does not stop unexpectedly.
- Plug in or charge before long sessions; screen-off recording is efficient but hours of lossless audio still drain the battery.
Step 5: Edit and enhance inside Voice Memos
Tap the three dots on a recording and choose Edit Recording. You can trim the start and end, or replace a section by recording over it. The Enhance Recording option (the magic wand icon) reduces background noise and room echo with one tap. It is worth trying on spoken word, but compare it with the original: on music it can make instruments sound watery, so keep the untouched version too.
Voice Memos files can be shared straight to Files, AirDrop or a messaging app, and they open in GarageBand or any desktop editor. If you need features like multitrack editing, reliable transcription or Apple Watch recording, see our roundup of the best voice recorder apps.
Step 6: Add an external microphone when it matters
The built-in mics are designed to pick up everything around the phone. That is ideal for meetings, but for voiceover, interviews in noisy places, video or music you will hear a big improvement from a dedicated mic. Recent iPhones use USB-C (models before the iPhone 15 use Lightning, so you may need Apple’s adapter). Most external mics work with Voice Memos and the Camera app with no extra setup.
- Plug-in stereo mic for music: the Shure MV88+ Video Kit is a well-regarded condenser mic with a phone clamp and mini tripod, and Shure’s companion app adds manual gain and stereo-width control, which the built-in mic lacks. A strong choice for rehearsals, acoustic sets and room recordings.
- Directional clip-on mic for video and voice: the RODE VideoMic Me-C+ plugs straight into a USB-C phone and focuses on what is in front of it, cutting side noise for talking-head clips and quick interviews.
- Wireless lav mics for interviews and walking shots: the DJI Mic Mini (2 transmitters) clips one tiny transmitter on each speaker, so the mic stays a hand-span from their mouth wherever the phone is.
For more choices by budget and connector, see our guides to the best microphones for iPhone and the best lavalier mics for phones.
Quick checklist
- Voice Memos set to Lossless.
- Do Not Disturb on, storage and battery checked.
- Soft, quiet room; appliances off.
- Bottom of the phone pointed at the source, 15 to 30 cm for voice.
- Phone on a stand or soft surface, not in a moving hand.
- Ten-second test take checked on headphones.
- External mic if the room is noisy or the result will be published.
FAQ
Is Voice Memos good enough for professional recordings?
For demos, interviews, lectures and podcast drafts, Voice Memos set to lossless is perfectly usable. The limit is usually the built-in microphone and the room, not the app. For published voiceover, music releases or noisy locations, pair it with an external mic or use a dedicated recording app with manual gain.
Why do my iPhone recordings sound muffled?
The most common causes are a case or finger covering the bottom microphone, recording from too far away in an echoey room, or using the compressed audio setting. Remove the case, move closer, switch to lossless and try again in a softer room.
Can I record audio on iPhone with the screen off?
Yes. Voice Memos keeps recording when you lock the screen, which saves battery on long sessions. Just make sure Do Not Disturb is on so calls and alerts do not interrupt the recording, and check you have enough free storage before you start.



