
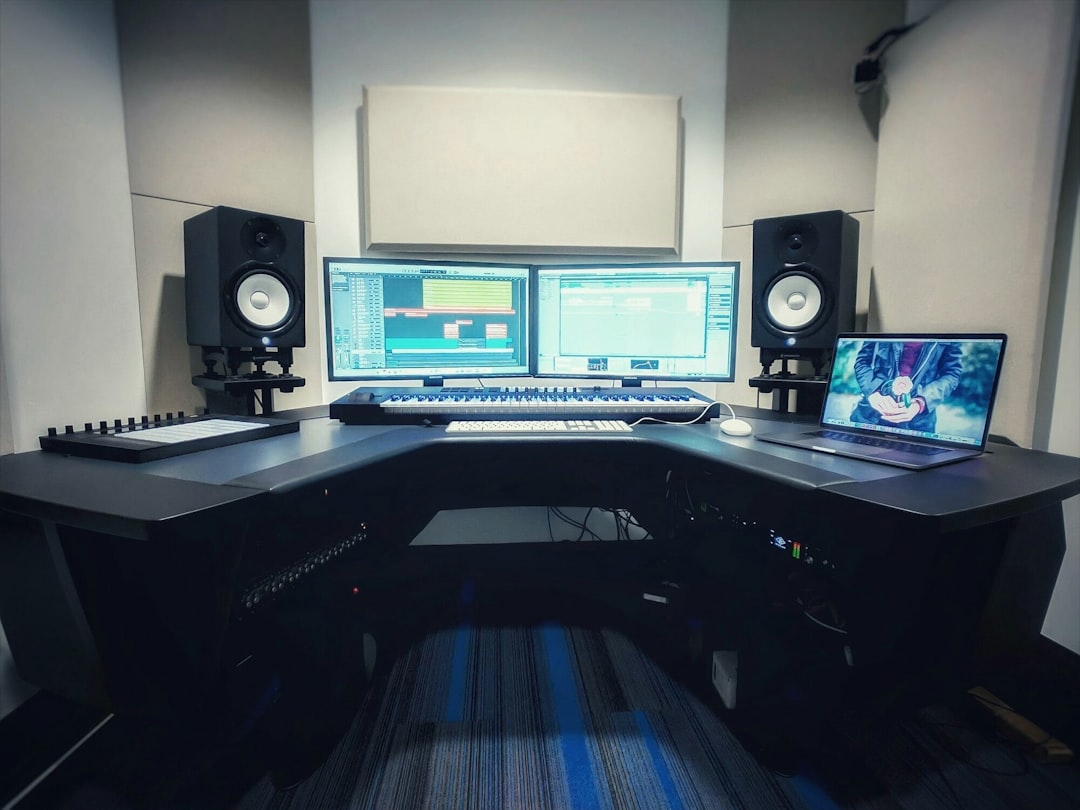
The bedroom is where most home recordings are actually made, and it can produce genuinely professional results once you understand its quirks. Recording in a bedroom means working in a small, boxy space full of parallel walls, a bed, a wardrobe, and background noise from computers and traffic. Each of those is either a problem to solve or a tool to exploit. This guide shows you how to set up your mic, control the room, manage noise, and dial in levels so your bedroom sounds like a booth instead of a bedroom.
Setting up your mic when recording in a bedroom
Small rooms have two enemies: short reflections that make sound boxy, and low-frequency buildup in the corners. Your placement choices fight both.
- Record in the middle of the room, not against a wall. Sitting close to a flat wall invites early reflections straight back into the mic. Pulling your position toward the center reduces them.
- Use a cardioid mic and aim it away from hard surfaces. A large-diaphragm cardioid condenser rejects sound from the rear, so face it toward the softest part of the room – your bed, a curtained window, or a clothes-filled wardrobe – and let its back point at the reflective wall.
- Vocals: 15-20 cm (6-8 inches) from your mouth with a pop filter, singing slightly off-axis to control plosives.
- Acoustic guitar: 20-30 cm out, aimed at the 12th fret at roughly 45 degrees, not at the soundhole.
- Amps: Mic 2-5 cm from the grille, pointed between the dust cap and cone edge for a balanced tone; move toward the center for brightness, toward the edge for warmth.
The bed itself is your best acoustic asset – a huge soft absorber. Facing the mic toward it kills reflections for free.
Cheap acoustic treatment that works
You do not need a wall of foam panels. In a bedroom, target the reflection points nearest the mic and the corners where bass collects:
- Hang thick blankets or duvets on the wall behind and beside your recording position. Moving blankets are dense enough to absorb mids and highs effectively.
- Build a portable booth by draping a duvet over a clothes rail or two mic stands around three sides of your position. A partially open wardrobe stuffed with clothes is one of the best vocal spaces you already own.
- Add a rug to stop floor bounce, and keep the mic away from the ceiling and bare desk surfaces – a reflection off a hard desk is a common source of boxiness.
- Fill corners with soft objects or dedicated bass traps if you have them; that is where low-frequency muddiness accumulates in small rooms.
Avoid the classic mistake of covering only the wall in front of you – the reflections that muddy your sound come from all around the mic. Our detailed piece on removing echo when recording goes further on this.
Controlling noise and levels
Bedrooms are full of hum and hiss. Before you hit record, kill the obvious offenders: switch off fans, air conditioning, and noisy computer setups where you can, and record when street traffic is quietest. Position yourself so the mic’s rear (its dead spot) points at the loudest noise source – a window or a running desktop tower.
Set your gain so the loudest part of your performance peaks around -12 to -6 dBFS. That leaves headroom below 0 dBFS, where clipping causes harsh, unrepairable distortion. Recording a little conservatively is smart in a noisy room, but do not set gain so low that you have to boost heavily later, which also lifts the room’s noise floor. A clean, moderate level is the sweet spot. Engage a high-pass filter around 80 Hz if your interface or mic offers one to cut low-end rumble from footsteps and traffic.
Monitoring and workflow in a small space
Always monitor with closed-back headphones in a bedroom – open-back cans and, worse, speakers leak sound the mic will capture, and speakers also excite the room’s problem frequencies. Closed-back headphones keep the signal clean and let you record at any hour without disturbing anyone.
For comfortable, delay-free monitoring, set a low buffer size (64-128 samples) while tracking, or use your interface’s direct-monitoring feature so you hear yourself instantly; raise the buffer to 512-1024 samples for mixing. If you notice an echo of your own voice in the headphones, that is a monitoring setup issue – see how to fix latency when recording.
A few workflow habits make bedroom sessions pay off:
- Record multiple takes and comp the best sections together rather than chasing one perfect pass.
- Keep mic placement consistent between overdubs so layered parts match.
- Track when the house is quiet to protect your noise floor.
A bedroom will never be an acoustically perfect room, but it does not have to be. Point a cardioid mic at soft surfaces, hang a couple of blankets, control your noise sources, and keep honest levels, and the space stops fighting you. Plenty of released records were tracked in exactly these conditions. For clean vocal technique in the same room, read our guide on recording studio-quality vocals at home, and grab a free tuner or metronome from our audio tools hub before your next session.



