
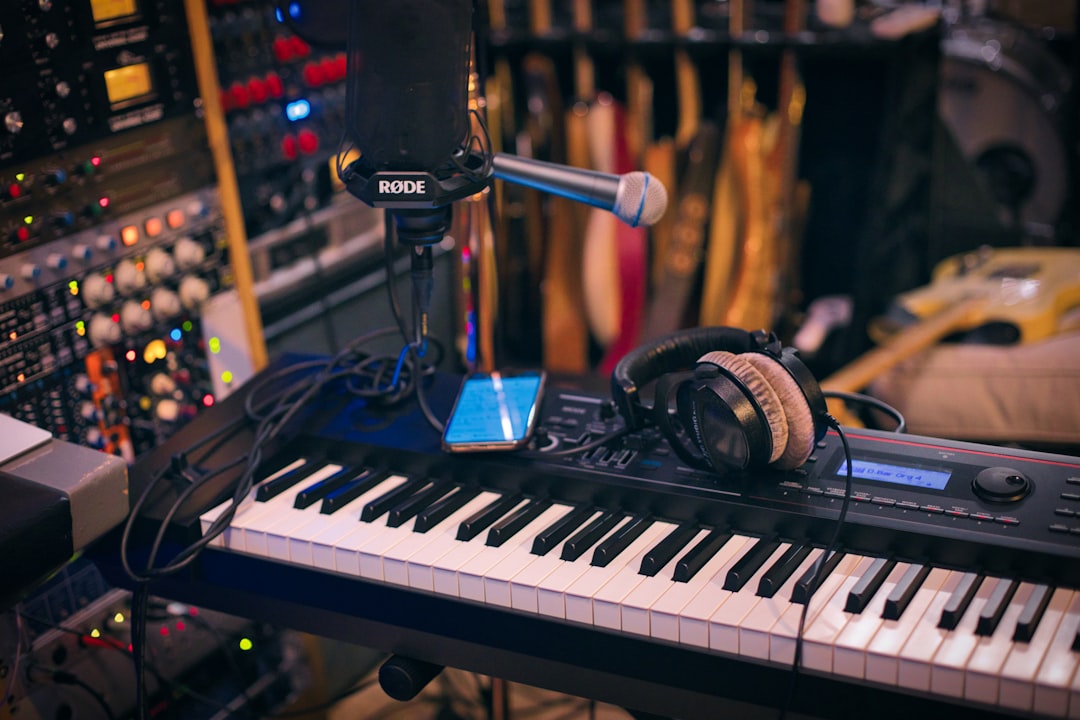
A missing pop filter is not a reason to postpone a session. You absolutely can record vocals without pop filter hardware and still get clean, plosive-free takes, because the pop filter was never the only tool for the job. Plosives, those bursts of low-end air on P, B and T sounds, are caused by a blast of air hitting the microphone diaphragm directly. Once you understand that, you can defeat them with mic angle, distance, positioning and a couple of household improvisations. This guide covers exactly how to place and address the mic so that hard consonants stop punching the capsule, plus the level and technique details that make a home vocal recording sound finished.
Why plosives happen and how to beat them without a filter
A plosive is a jet of moving air. When you say a hard P, your lips release a puff that travels straight forward and slams into the mic diaphragm, producing a low thump that no amount of EQ fully repairs. A pop filter simply disperses that jet before it reaches the capsule. Remove the filter and your job is to keep that jet of air from hitting the diaphragm head-on, which you do with geometry rather than gear.
The single most effective trick is to sing across the mic rather than straight into it. Position the microphone slightly above your mouth and tilt it down, or set it slightly to one side, so you address it off-axis by about 15 to 30 degrees. Your breath then passes across the front of the diaphragm instead of straight into it, while your voice, which radiates in all directions, is still captured fully. This one adjustment eliminates the majority of plosives on its own.
How to record vocals without pop filter gear: distance and DIY fixes
Distance is your second lever. Sit too close and even a whisper of a plosive becomes a thump. A comfortable working distance of about 15 to 20 cm (6 to 8 inches) from the mic gives the air room to dissipate before it reaches the capsule, while still keeping the voice present and intimate. Hold up a hand or a pencil vertically in the gap to gauge the distance and remind yourself not to crowd the mic. If you need more proximity for a warm, close sound, angle the mic more aggressively to compensate.
If you want a physical barrier, everyday objects stand in for a pop filter surprisingly well:
- A clean sock or thin foam stretched loosely over the mic basket disperses air like a windscreen. Keep it loose so it does not muffle the highs.
- A pencil taped vertically across the centre of the mic grille splits the air jet from plosives around both sides of the diaphragm. It is a genuinely effective old studio trick.
- A wire coat hanger and a pair of tights makes a functional DIY pop filter in two minutes if you want something more permanent.
Any dynamic microphone, like a Shure SM58 with its built-in ball windscreen, is naturally more plosive-resistant than a bare large-diaphragm condenser, so if you own one and are filter-less, it is the safer choice for an untreated home setup. The trade-off is that a dynamic captures a little less high-end air than a condenser, but for spoken word, rap, or a rougher vocal style that difference is easy to live with, and the plosive immunity you gain often matters more than the sparkle you lose.
Levels, latency and clean capture
Good technique only matters if the recording itself is clean. Set your interface gain so your loudest belted phrases peak around -12 to -6 dBFS. Vocals are dynamic, so that headroom stops the loud lines from clipping at 0 dBFS, which is unrecoverable, while keeping quiet passages well above the noise floor. If you find the level jumping wildly, record a rehearsal pass first to find the loudest moment and set gain to that.
Latency, the delay between singing and hearing yourself back, throws off timing and pitch if it is too high. Set your DAW buffer to 64 or 128 samples while tracking so the round-trip delay stays under roughly 6 ms and the singer feels connected to the performance. If you monitor with reverb, use your interface’s zero-latency direct monitoring or keep the plugin chain light. Raise the buffer to 512 or 1024 samples once you move to mixing.
Room, editing and salvaging any remaining pops
An untreated room adds boxy reflections that muddy vocals as surely as a plosive does. You do not need a studio: record in a spot with soft surfaces, hang a thick duvet behind you, throw a blanket over a clothing rack, and sing into the soft side. A walk-in wardrobe full of clothes is a genuinely good vocal booth. Damping those first reflections matters more than most beginners realise, and it costs nothing.
If a stray plosive still sneaks through, you can tame it in the mix. Draw a short volume dip right on the offending thump, or apply a steep high-pass filter automated to engage only on that word, cutting everything below about 80 to 100 Hz for that instant. It is not as clean as preventing the pop at the source, which is why placement comes first, but it rescues an otherwise perfect take. Our vocal mixing guide covers de-essing and EQ moves that keep the voice smooth, and the home recording hub has more on booth-building on a budget. For free browser-based metering and tuning tools to check your takes, visit the Violet Recording tools hub. Master mic angle and distance and you will barely miss the pop filter at all.



