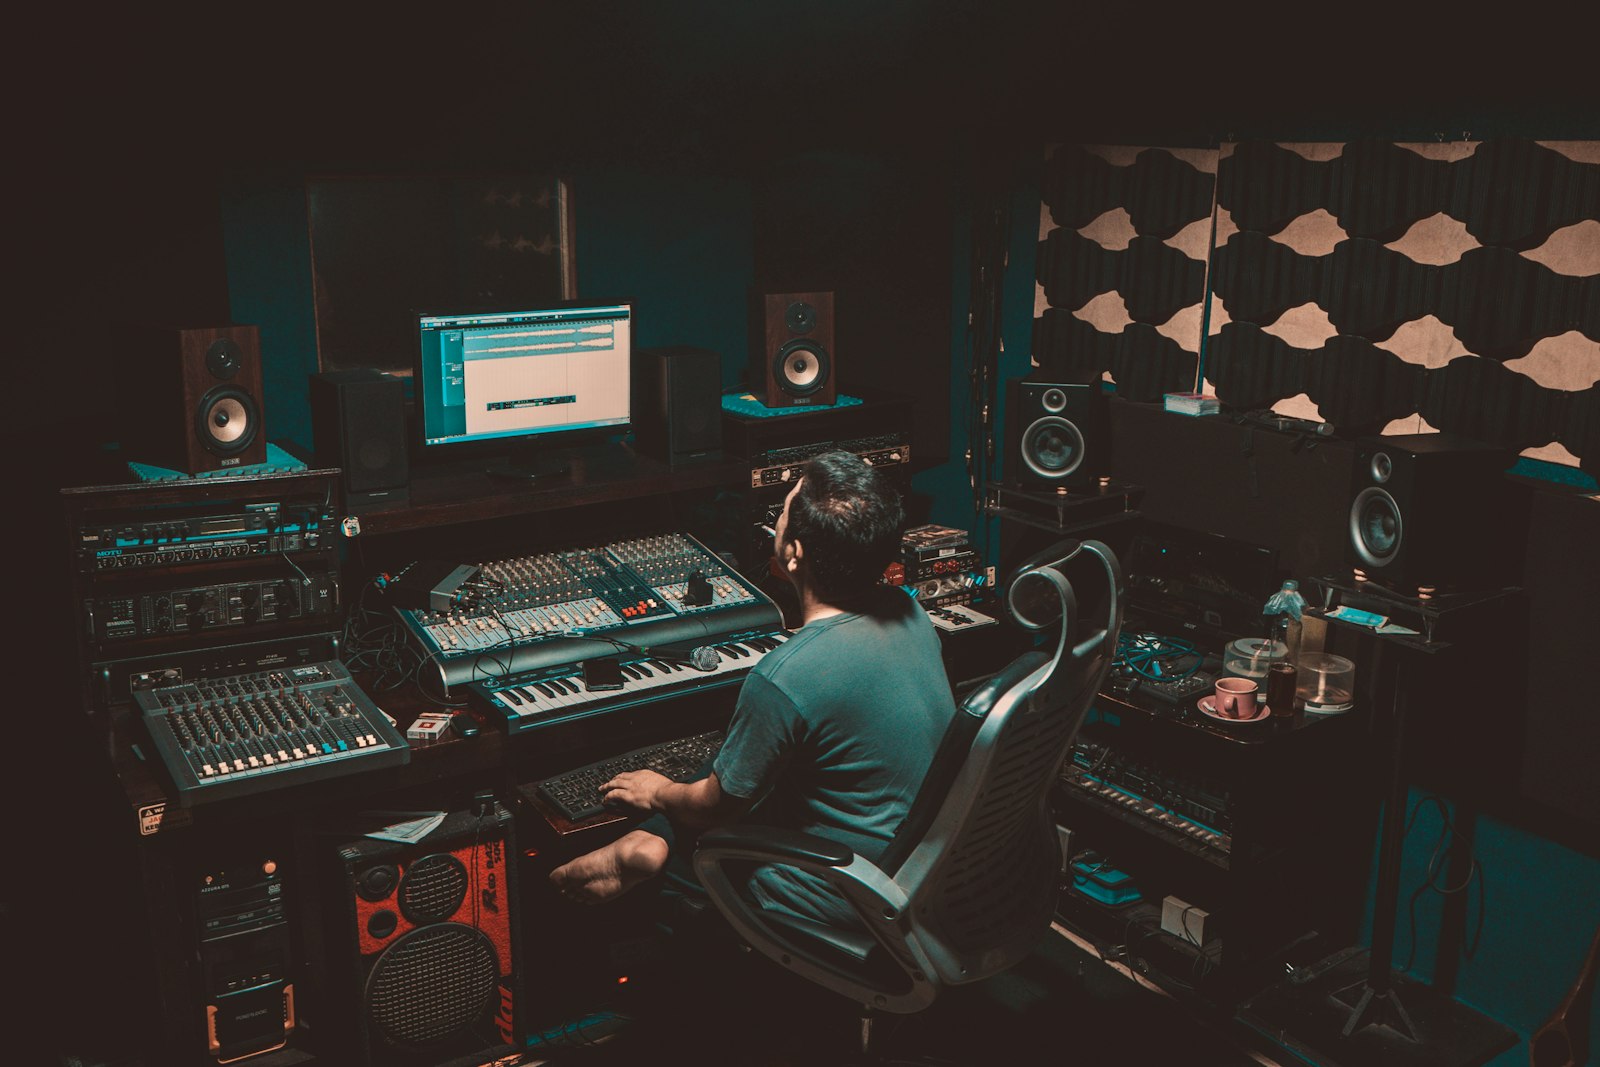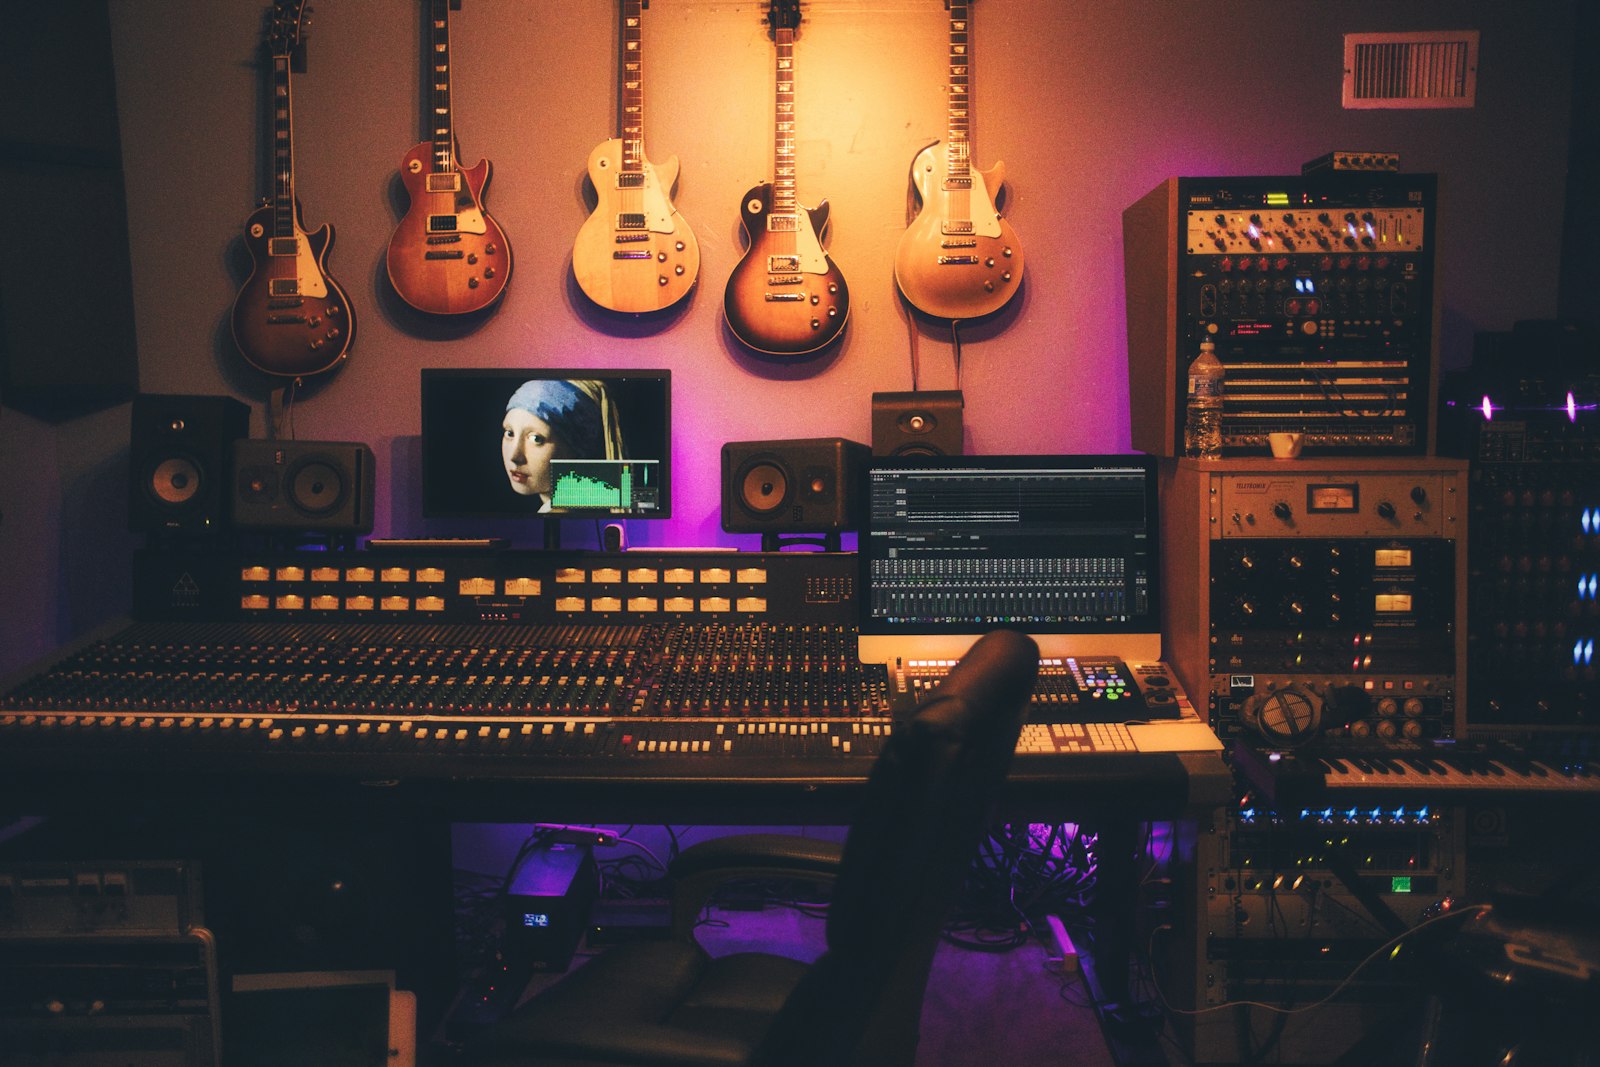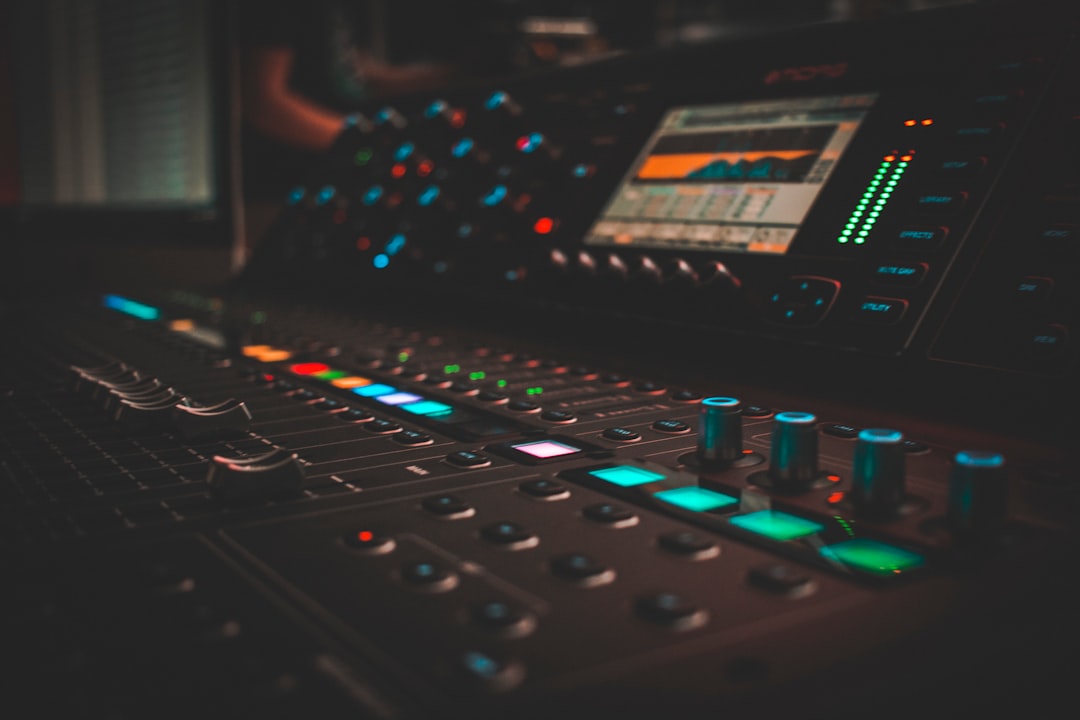
Learning to record a song start to finish at home is less about expensive gear and more about following a repeatable order of operations. If you skip a step, the problem usually shows up two stages later, wearing a disguise. This guide walks you through the whole chain a working engineer actually uses: planning the arrangement, setting up a click and scratch track, capturing clean takes with proper gain staging, and finishing with a mix that survives being played in a car. Do it in this order and every later decision gets easier.
Prep: arrangement, tempo map, and a scratch track
Before a single microphone comes out, open your DAW and set the tempo. A fixed BPM with a click keeps your overdubs in time and makes editing painless later. If your song breathes (slows into a chorus, pushes into a bridge), draw a simple tempo map rather than fighting a rigid grid.
Then record a scratch track: one instrument and a guide vocal, played all the way through. It sounds rough on purpose. Its job is to give every future overdub something musical to lock onto. Most amateur recordings fall apart because people track the drums or bass to a bare click with no harmonic context.
- Set a click level you can hear but not so loud it bleeds into open mics.
- Count in two bars so the first downbeat is never rushed.
- Commit to a key and capo/tuning now, not halfway through tracking.
Tracking order and gain staging when you record a song start to finish
The classic order is rhythmic foundation first, melody last: drums, then bass, then rhythm guitars or keys, then lead instruments, then lead and backing vocals. This lets each layer respond to the one beneath it.
Gain staging is where home recordings live or die. Set your interface preamp so the loudest part of the performance peaks around -12 to -6 dBFS. That leaves headroom for transients and plugins downstream, and it keeps you far from 0 dBFS, where digital clipping is ugly and unrecoverable. If your meters ever hit the top and hold, pull the gain down and re-take. You can always add level later; you cannot un-clip a track.
Practical placements for a home setup:
- Acoustic guitar: a small-diaphragm condenser about 20-30 cm (8-12 inches) from where the neck meets the body, angled slightly toward the soundhole but not aimed straight into it, which booms.
- Electric guitar amp: a dynamic like an SM57 right at the grille, 2-5 cm off the cloth, aimed at the edge of the dust cap for a balance of body and bite. Move toward the cone center for more treble, toward the edge for warmth.
- Lead vocal: a large-diaphragm condenser about 15-20 cm (6-8 inches) away with a pop filter roughly a hand’s width in front of the capsule. Keep the singer on-axis and consistent in distance.
Set your audio interface buffer size low (64-128 samples) while tracking so monitoring latency stays under about 6 ms and the performer isn’t fighting a delay. If you hear clicks and dropouts, bump the buffer up rather than pushing your CPU into the red.
Editing and comping
Once the parts are recorded, comp your takes: assemble one great performance from the best moments of several passes. Tighten obvious timing issues, but resist quantizing everything to a robot grid unless the genre demands it. Slight human push and pull is what makes a home recording feel alive rather than programmed.
For vocals, clean up breaths that are distractingly loud, fix a few flat or sharp notes if needed, and remove chair squeaks or lip smacks. Do this before you start mixing so you’re not chasing noises with EQ later.
Mixing so it translates
Start with faders only, no plugins. Get a rough balance where the vocal sits on top, the kick and bass define the low end, and nothing masks the melody. This static mix does most of the work. Only then reach for processing.
- EQ subtractively first: cut mud around 200-400 Hz on guitars and vocals before boosting anything. A surgical cleanup plugin like FabFilter Pro-Q makes it easy to see and hear the offending band.
- Compress for consistency, not loudness. A 3-4 dB gain reduction on the vocal with a medium attack keeps it steady without squashing the life out of it.
- Use one reverb and one delay on sends, shared across the track, so everything sounds like it’s in the same space.
Check your balance on multiple systems: laptop speakers, earbuds, and a car if you can. If the vocal disappears on the phone but sounds fine on your monitors, your room is flattering you. A little acoustic treatment (a duvet behind the mic, absorption at first reflection points) tightens both tracking and mixing.
Final steps: reference and export
Pull in a commercial reference track in a similar style and match your overall tonal balance and loudness roughly to it. Don’t try to out-loud the master; leave a couple of dB of headroom on your mix bus (aim for peaks around -3 to -6 dBFS before mastering) so a mastering stage has room to work.
Export a high-resolution WAV, not an MP3, for archiving and any mastering. Keep your session organized and labeled so future-you can revisit it. When you can run this whole loop, from scratch track to final bounce, in one sitting, you have genuinely learned to record a song start to finish.
Want to go deeper on any single stage? Our home recording guides break down tracking room by room, the mixing tutorials cover EQ and compression in detail, and the free audio tools hub has metronomes and level meters you can use right in the browser.