
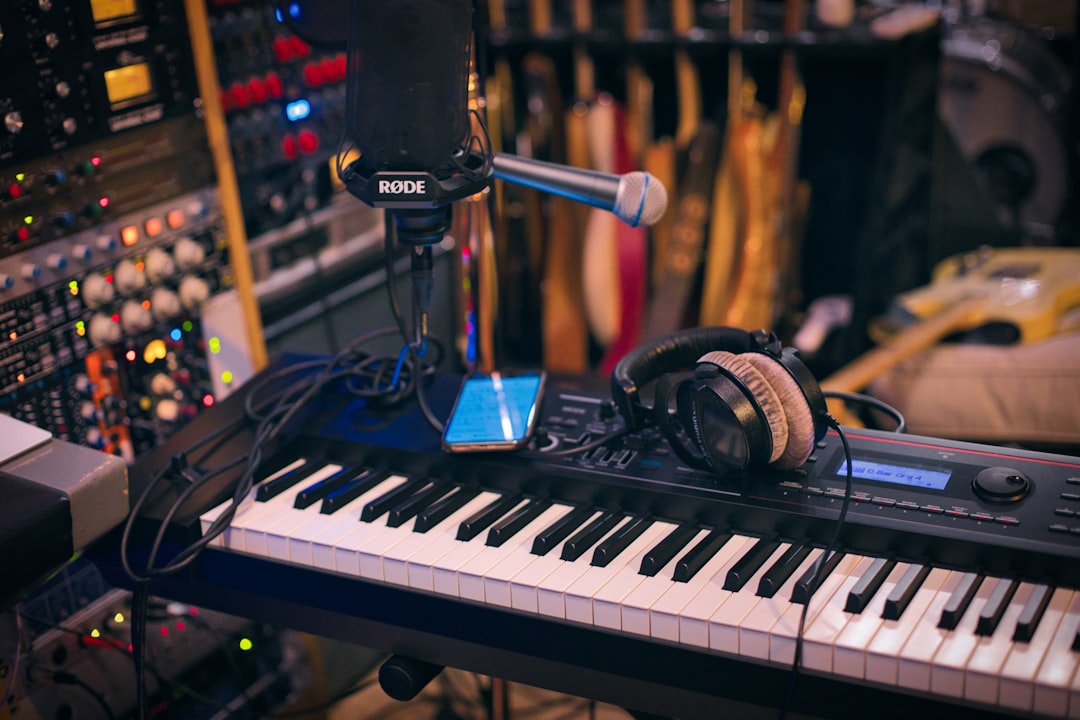
If you want to record with headphones the right way, the goal is simple: hear yourself and the backing track clearly while none of that sound leaks back into the microphone. Speakers are out of the question the moment a live mic is open, because the mic would capture your monitors and create feedback and phase smear. Closed-back headphones solve that, but only if you pick the right pair, set your monitoring path correctly, and dial in a latency-free cue mix. Get those three things sorted and every vocal, acoustic guitar or voiceover take you record at home will be tight, on-time and free of bleed.
Choose closed-back headphones and set the level
Open-back headphones sound gorgeous for mixing, but they spill audio out of the earcups straight into a nearby vocal mic. For tracking you want closed-back designs that seal the sound in. The Audio-Technica ATH-M50x, Beyerdynamic DT 770 Pro and Sony MDR-7506 are the long-standing home-studio staples because they isolate well and take a beating. Whichever you use, keep the monitoring level sensible: loud enough to hear pitch and timing, quiet enough that the click and instrumental do not bleed past the seal. If you can hear the singer’s headphone mix from a metre away in the room, the mic can hear it too.
- Seal matters more than price. A snug fit around the ear blocks far more bleed than an expensive pair worn loosely.
- One ear off is fine for pitch. Many vocalists slip one cup back to hear their natural voice; that is normal and helps intonation.
- Watch the click track. A ticking metronome is the most common culprit for bleed. Use a softer click sound and drop its level once the take is locked in.
Kill latency so you can record with headphones in time
The single biggest frustration when you record with headphones is latency: you sing a note and hear it back a fraction of a second late, which makes it impossible to stay in time. Latency comes from the round trip your signal makes through the interface, into the computer, through your DAW, and back out. Two fixes solve it.
- Use direct (zero-latency) monitoring. Almost every audio interface has a hardware monitoring path that sends the mic straight to your headphones before it ever reaches the computer. Turn the interface’s monitor mix knob toward “input” so you hear yourself instantly, and mute the DAW track’s input monitoring to avoid a doubled, slap-back sound.
- Lower your buffer size for software monitoring. If you must monitor through the DAW (for example to hear a reverb while singing), set the buffer to 64 or 128 samples. At a 48 kHz sample rate, 128 samples is roughly 2.7 ms of latency each way, which is inaudible. Push the buffer back up to 512 or 1024 samples when you switch to mixing, so your plugins do not overload the CPU.
Build a dedicated cue mix rather than making the singer listen to your rough mix. Bring the backing track down and the lead vocal up so the performer can hear themselves clearly. A touch of reverb in the headphones (monitoring only, not printed to the track) helps most vocalists relax and sing more confidently.
Mic technique that stays clean under headphones
Monitoring is only half the job. The recording still needs good mic placement and healthy levels. For a home vocal take, a large-diaphragm condenser such as an Audio-Technica AT2020 or a Rode NT1 works well, and a dynamic like the Shure SM7B is superb in an untreated room because it rejects background sound. Set the mic about 15-20 cm (6-8 inches) from the mouth with a pop filter roughly halfway between, and angle the capsule slightly off-axis, tilted a few degrees so plosives blow past rather than into the diaphragm.
- Set gain for headroom. Have the singer perform the loudest part of the song and set your interface preamp so peaks land around -12 to -6 dBFS. That leaves headroom and guarantees you never clip. Digital clipping is unrecoverable, so err quieter.
- Treat the room quickly. Record into a corner draped with a duvet, hang a thick blanket behind the mic, or build a wall of pillows behind the singer. Soft mass in the reflection points tames the boxy room sound that headphones will not let you hear until playback.
- Check for bleed on playback. After the first take, solo the vocal and listen in the quiet gaps. If you hear a faint ghost of the backing track, lower the headphone level and try again.
Because closed-back headphones colour the sound (usually a hyped low end and bright top), never make final tonal decisions on them. Use them to capture clean, in-time takes, then move to monitors or a trusted reference pair for mixing.
A quick workflow checklist
Put it together and every session follows the same reliable path. Plug in your closed-back headphones, enable direct monitoring on the interface, and build a cue mix with the vocal loud and the track supporting it. Set the buffer to 128 samples if you monitor through software, otherwise leave the DAW’s input monitoring off. Position the mic 15-20 cm out, off-axis, behind a pop filter, and set gain for -12 to -6 dBFS peaks. Record a test, check for click and backing-track bleed in the quiet moments, and adjust the headphone level down until the take is spotless.
If you are still fighting timing or noise, our home recording guides break down monitoring and gain staging in more depth, the microphone guides help you match a mic to your voice and room, and the free metering utilities in our audio tools hub let you check your levels and latency without spending a cent. Learn to record with headphones properly once and it becomes second nature: clean input, perfect timing, zero bleed, every session.



