
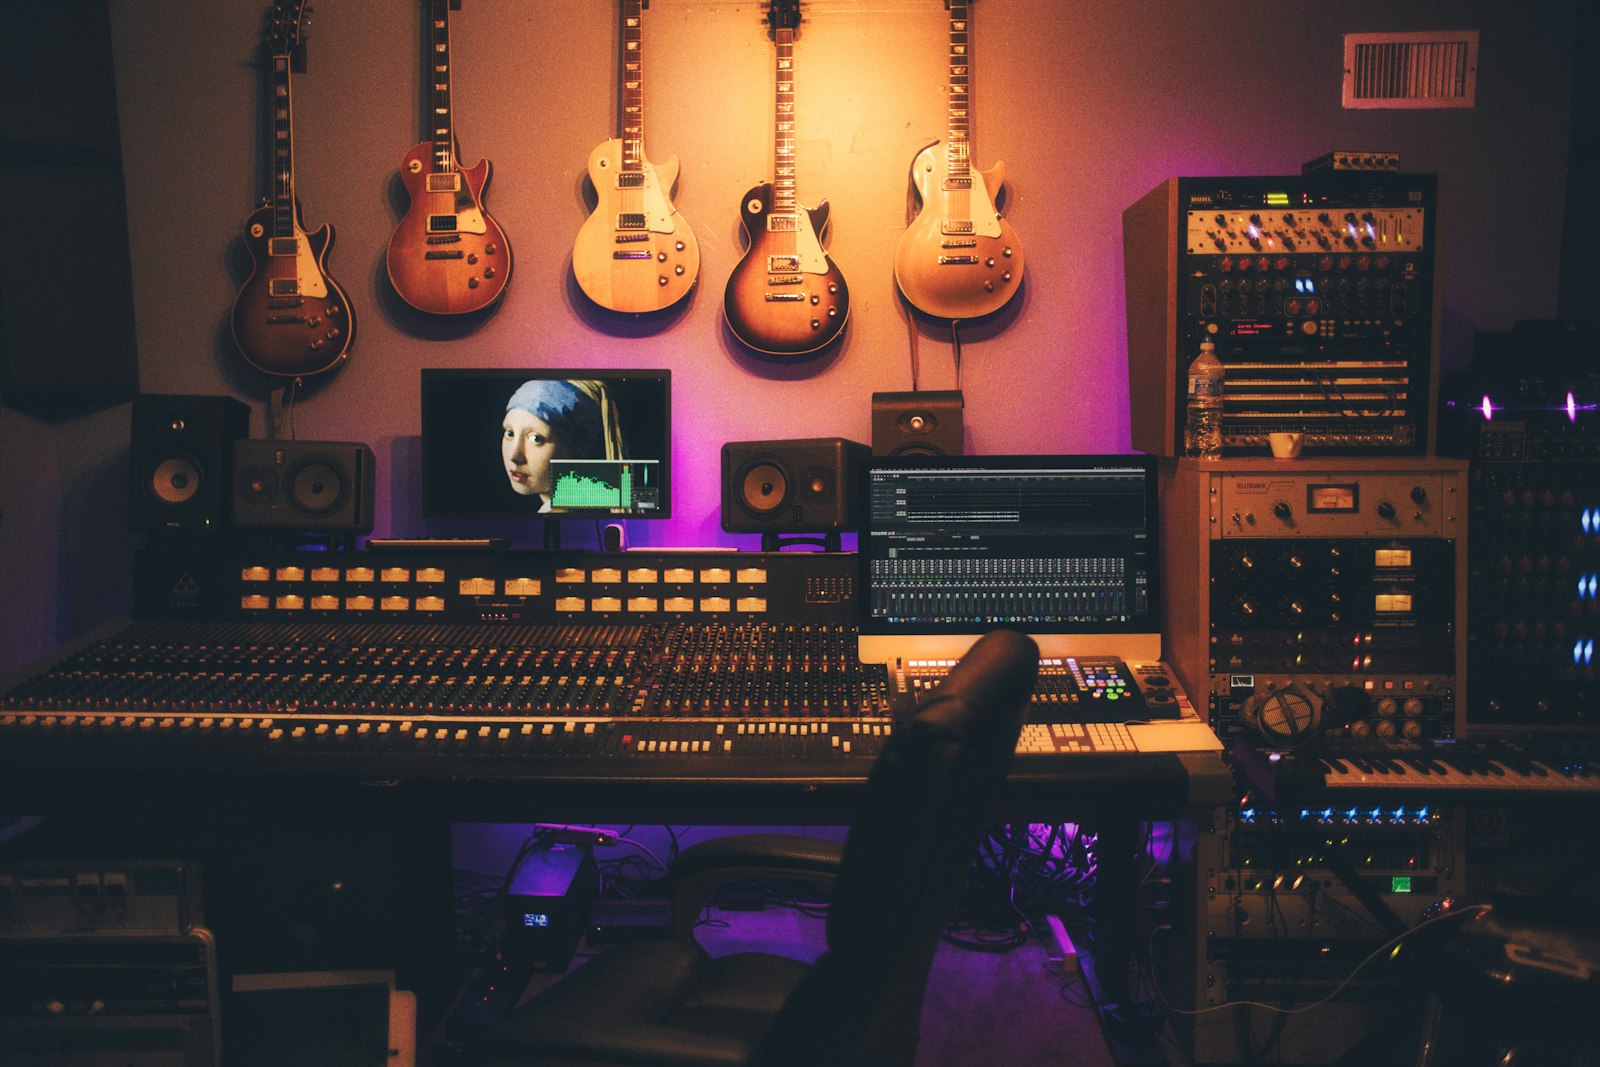
Your audio interface is the single most important piece of gear in a home studio. It converts your microphone and instrument signals into clean digital audio your computer can record, sends sound back to your headphones and monitors, and powers your mics. Get a good one and everything downstream sounds better; get a bad one and you’ll fight noise and latency forever.
The good news: beginner interfaces have never been better or more affordable. This guide explains what actually matters, decodes the jargon, and recommends specific interfaces for every kind of setup.
Some links in this article are affiliate links. If you buy through them we may earn a small commission, at no extra cost to you. We only recommend gear we’d use ourselves.
The quick answer
For most beginners, a 2-in / 2-out USB-C interface from a reputable brand is the sweet spot: enough inputs for a mic and an instrument, clean preamps, reliable drivers, and room to learn. Only size up to 4+ inputs if you’ll record drums or a full band.
What an audio interface actually does
Four jobs: it converts analog signals to digital (and back) with better quality than your computer’s built-in sound card; it provides preamps that boost quiet mic signals cleanly; it supplies phantom power for condenser mics; and it gives you low-latency monitoring so you can hear yourself without distracting delay. If you’re still weighing whether you need one at all, our guide on whether you need an audio interface breaks down the decision.
What to look for in a beginner interface
Inputs and outputs
Count what you’ll record at once. A solo creator needs 2 inputs; a two-person podcast needs two mic (XLR) inputs; a band or drum kit needs four or more. Make sure mic inputs are XLR with phantom power, and that there’s a dedicated instrument (Hi-Z) input for guitar or bass.
Preamps and gain
Preamps boost your mic signal. You want clean, quiet preamps with enough gain headroom – important if you ever use a low-output dynamic like the Shure SM7B, which is famously gain-hungry.
Connection type
- USB-C / USB: standard for beginners – reliable, affordable, plenty fast for home recording.
- Thunderbolt: lowest latency, higher cost – overkill for most beginners.
- Most people should simply choose a solid USB-C interface.
Latency and drivers
Latency is the delay between playing and hearing it back. Good drivers (ASIO on Windows; class-compliant on macOS) keep it low. Stick to established brands with a track record of stable driver updates – this matters more than headline specs.
Direct monitoring
Direct (or zero-latency) monitoring lets you hear your input straight through the interface with no delay while recording – a feature you’ll use constantly. Almost all good interfaces include it.
Bundled software and build
Many interfaces include a DAW and effects, which can save a beginner real money. A metal chassis and solid knobs also signal an interface that will survive daily use.
Specs that sound scary but aren’t
Two numbers come up constantly on spec sheets, and beginners often overthink both. Sample rate (measured in kHz) is how many times per second the converter measures the incoming signal; bit depth (measured in bits) is how finely it measures the level of each of those samples. Higher bit depth means a lower noise floor and more dynamic range to work with.
For almost all home recording, 24-bit at 44.1 kHz or 48 kHz is the practical standard. 24-bit gives you generous headroom so you don’t have to track on the edge of clipping, and 48 kHz is a sensible default – especially if your recordings will end up in video. Higher rates like 96 kHz are real, but they double your file sizes and CPU load for a difference you’re unlikely to hear on beginner gear. Set it once and stop worrying about it; our deep dive on sample rate and bit depth explains why. The other figure worth a glance is maximum input gain: more available gain means quieter, cleaner results with hungry dynamic mics.
How many inputs do you need?
- Solo musician / voiceover: 2-in / 2-out is plenty.
- Two-person podcast: two XLR inputs with independent gain.
- Singer-songwriter (vocal + guitar at once): 2 inputs, one with Hi-Z.
- Band or drum kit: 4-8 inputs.
When in doubt, buy for the way you record now plus one channel of breathing room, not for a setup you imagine having in three years. An interface you outgrow is an easy, cheap thing to upgrade later; an oversized one you never fill just adds clutter and cost up front.
Best audio interfaces by category
Best overall for beginners
The interface most home studios should start with – the right balance of quality, reliability and price.
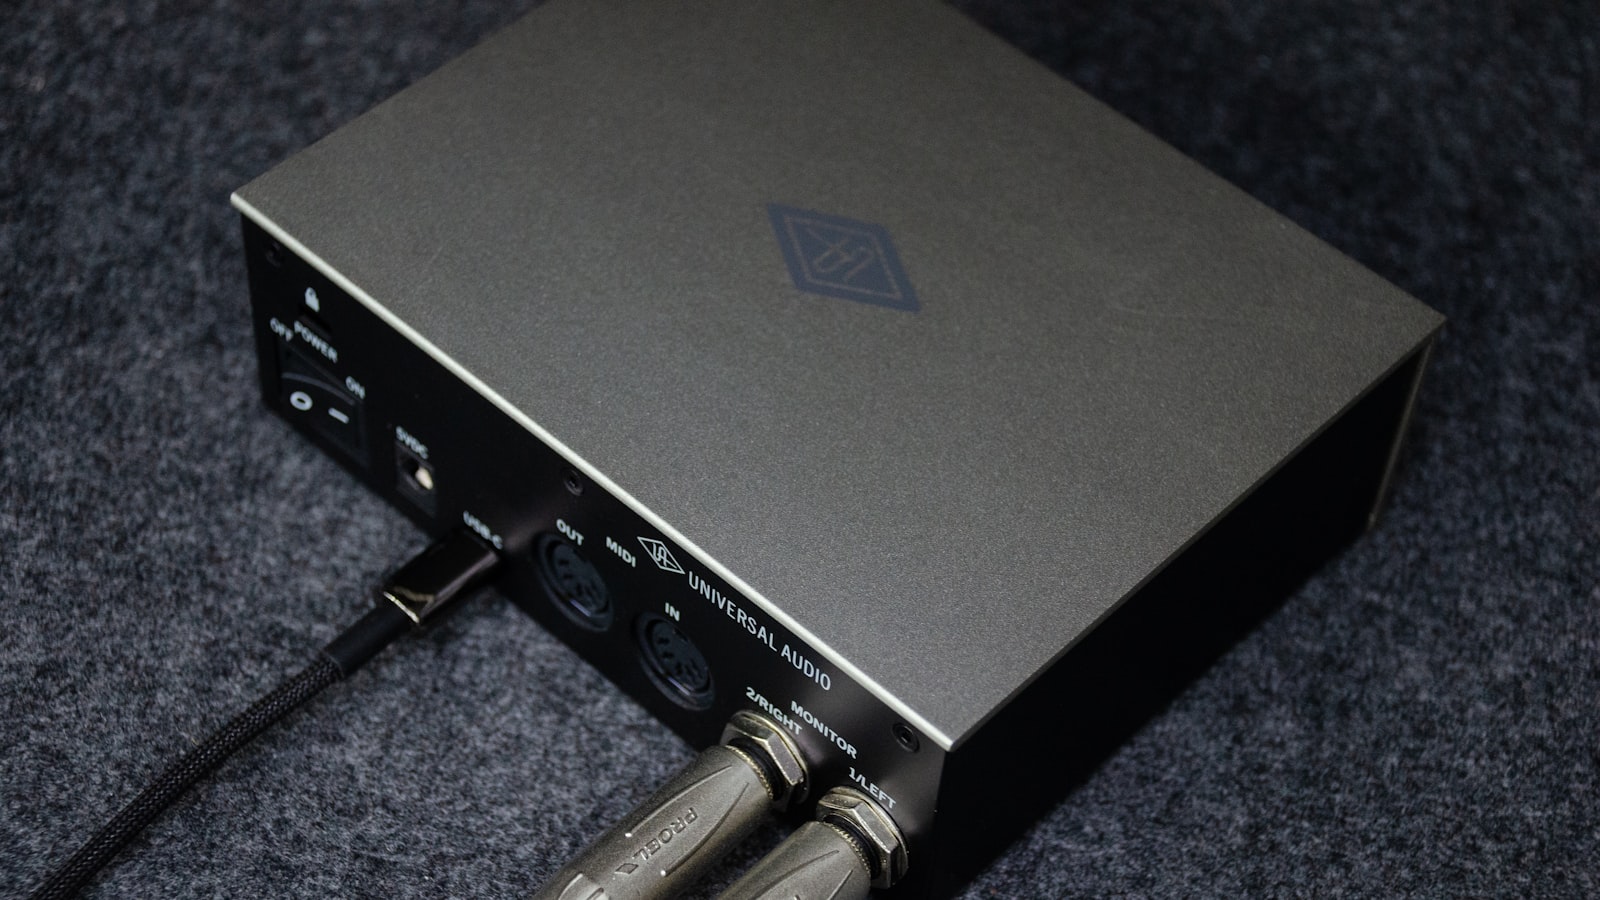
Clean preamps and low-latency USB-C — the sweet spot for most home studios.
Best budget pick
Gets you recording cleanly for the least money, without nasty compromises. Two perennial favourites at this price sit close together, so it’s worth reading our Behringer UMC22 vs Focusrite Scarlett Solo comparison before you decide which budget interface to buy.
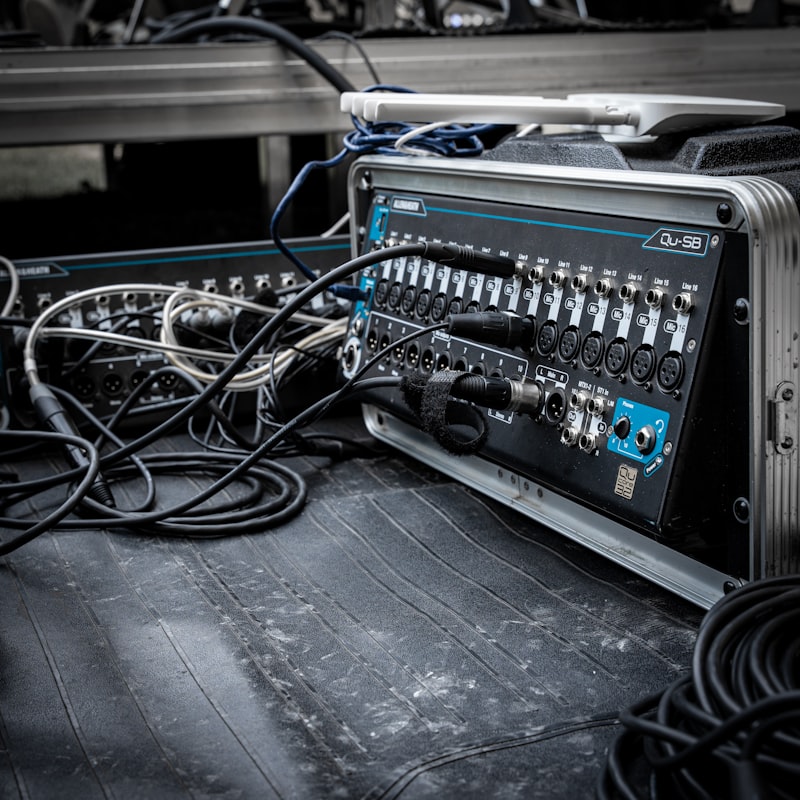
Best for podcasting
Two clean mic inputs and easy monitoring for spoken-word recording.
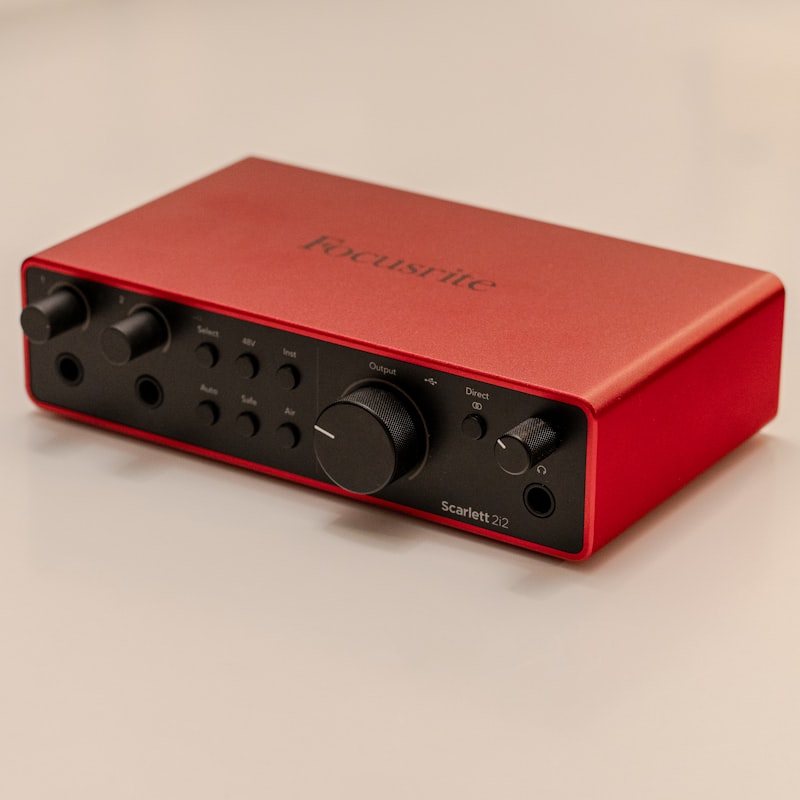
A compact interface with great preamps and auto-gain — easy two-mic podcasting.
Best for recording a band
More inputs for tracking drums or multiple players at once.
→ Browse all audio interfaces in the Violet Recording shop
Common beginner mistakes to avoid
Most early problems with home recording aren’t the interface’s fault – they come from a handful of avoidable habits. Watch out for these:
- Setting gain too hot. Beginners often crank the gain until the signal is loud, then clip on the first loud word or strum. Aim for healthy peaks with headroom to spare – 24-bit recording means you don’t need to push levels near the top.
- Forgetting phantom power. Condenser mics need 48V phantom power switched on at the interface; dynamic mics don’t. A silent condenser is almost always a forgotten phantom switch.
- Buying more inputs than you’ll use. Channels you never plug into are money spent on desk space, not better sound.
- Ignoring driver installation. Plugging in and recording before installing the maker’s drivers is the most common cause of crackles, high latency and no-sound errors on Windows in particular.
- Blaming the interface for the room. A clean preamp can’t fix a reflective, echoey room. Treat your space and mic technique before assuming the hardware is the limit.
Getting set up
Whichever you choose, install the drivers first and set your levels with headroom. Our step-by-step setup guide walks through drivers, sample rate, gain and DAW configuration, and fixes the usual latency and no-sound issues.
Frequently asked questions
Do I need an interface if I have a USB mic?
No – a USB mic has a small interface built in. But if you want to use better XLR microphones or record more than one source, a dedicated audio interface is the upgrade path. If you’re torn between the two, our USB mic vs audio interface comparison lays out the trade-offs.
Is USB or Thunderbolt better for a beginner?
USB-C is the right choice for almost every beginner: reliable, affordable and fast enough. Thunderbolt’s lower latency mainly benefits large, professional sessions.
How much should a beginner spend?
Enough for a reputable 2-in/2-out USB-C interface with clean preamps and good drivers. Spending more buys more inputs and features you may not need yet.
Will it work with my DAW?
Yes – standard audio interfaces work with every major DAW. Many even include a free DAW to get you started.
Can one interface power two condenser mics at once?
Yes. On most interfaces the 48V phantom power switch feeds all the XLR mic inputs at once, so two condensers can run together – just make sure both are plugged into proper mic inputs, not the line or instrument jacks.
Does a more expensive interface make my recordings sound better?
Only up to a point. Modern budget interfaces already have clean converters and quiet preamps, so once you’re past the cheapest no-name gear, your mic choice, room and technique shape the sound far more than the price of the interface.
Next, pair it with the right mic – see the best microphones for home recording and our wider home studio on a budget guide.



