
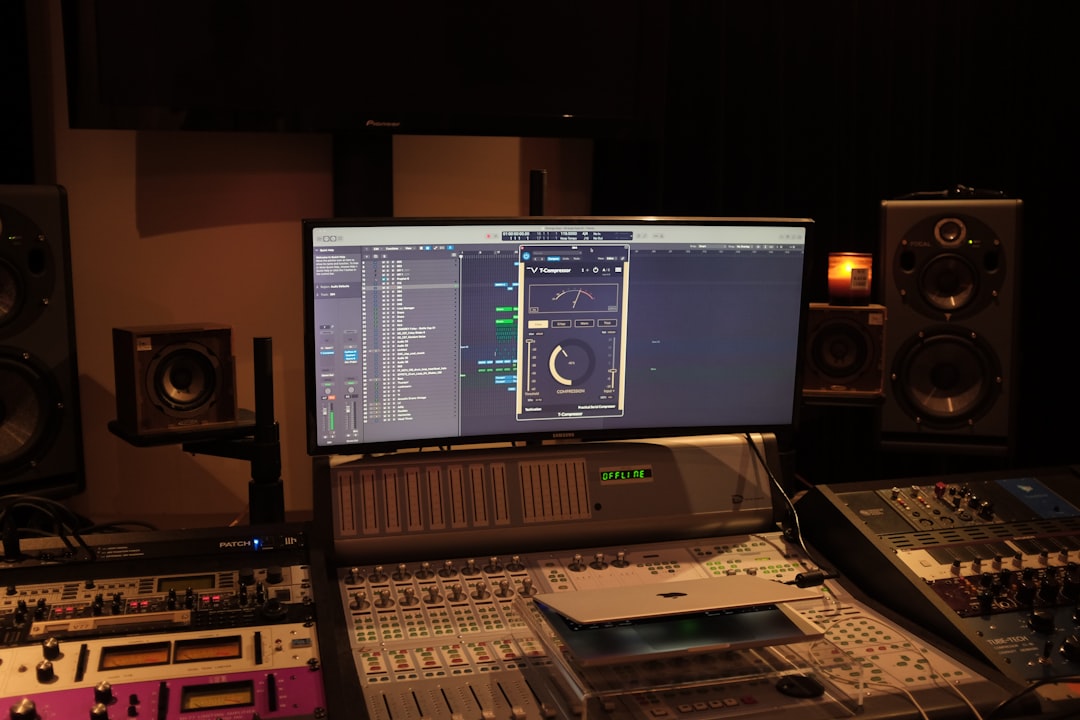
If you want to master for Spotify and have your track sound as good as the references in your playlist, you need to understand one thing first: Spotify turns loud masters down. Its loudness normalisation means the days of winning by sheer volume are over. What survives instead is a master that hits the right integrated loudness, keeps enough true-peak headroom to encode cleanly, and holds its dynamics. This guide gives you the exact numbers and the reasoning behind each one.
The numbers that matter when you master for Spotify
Spotify normalises playback to roughly -14 LUFS integrated by default (the “Normal” volume setting most listeners use). If your master is louder than that, Spotify applies negative gain to bring it down to -14; if it is quieter, Spotify can raise it (and, in Normal mode, applies a limiter to protect against clipping when it does). The practical takeaways:
- Integrated loudness: aim for around -14 LUFS if you want Spotify to leave your file essentially untouched. Master louder only if the density genuinely suits the genre, knowing it will be turned down.
- True-peak ceiling: keep peaks at or below -1 dBTP. Spotify encodes to Ogg Vorbis (and AAC), and lossy encoding introduces inter-sample peaks. One dB of headroom absorbs those overshoots so the track does not clip on playback.
- Louder Spotify recommendation: Spotify itself advises targeting -14 LUFS and a -1 dBTP ceiling; if you master hotter than -14, drop your ceiling to -2 dBTP because their normalisation limiter behaves better with the extra room.
Why louder no longer wins
Before normalisation, the loudest master on a playlist jumped out and felt more exciting — the “loudness war” logic. Now every track is played back at a matched level, so a master crushed to -7 LUFS gets turned down 7 dB to sit beside a -14 LUFS master at the same volume. The crushed track does not sound louder; it sounds more distorted and flatter at equal loudness because you sacrificed transients and dynamic range for gain the platform simply removed. A master with punch, a real kick transient and breathing space almost always wins the loudness-matched comparison.
The mistake to avoid is chasing a commercial reference’s raw LUFS number without loudness-matching your A/B. Turn your reference and your master to the same integrated level and then compare tone and punch. That is the comparison Spotify listeners actually hear.
A Spotify-ready mastering chain
Build the chain in order and let the limiter be the last thing that touches the signal.
- Broad tonal EQ: gentle moves only — a 0.5 to 1.5 dB high-shelf above 10 kHz for air, a similar low-shelf around 60-100 Hz for weight, and a narrow cut if a resonance annoys you. Big EQ moves belong in the mix, not the master.
- Bus compression: 1 to 2 dB of gain reduction at a slow attack and auto release for glue, not for loudness.
- Optional multiband or dynamic EQ: tame a boomy 150-250 Hz build-up by 1-2 dB only when it pumps, using a tool like FabFilter Pro-MB.
- Limiter: ceiling at -1 dBTP with true-peak mode on, input gain raised until integrated loudness reads about -14 LUFS with only 2-4 dB of gain reduction on peaks.
Metering is non-negotiable here. Use a compliant loudness meter such as Youlean Loudness Meter to read integrated LUFS over the whole track (not short-term), and confirm the true-peak stays under -1 dBTP. The full-featured route is iZotope Ozone, whose codec preview lets you audition the Ogg Vorbis and AAC versions before you ever upload, so you hear any clipping in advance.
Export and delivery settings
Deliver the highest-quality file the distributor accepts. Bounce a WAV or FLAC at 24-bit and your project’s native sample rate (44.1 kHz is fine; there is no benefit to upsampling a 44.1 kHz project). Do not apply dither if you are staying at 24-bit; add TPDF dither only when reducing to 16-bit. Never upload an MP3 as your master — you want Spotify encoding from a lossless source, not re-encoding your lossy file. Keep the -1 dBTP ceiling in the delivered file; do not “top up” the loudness after metering.
One master genuinely serves Spotify, Apple Music, YouTube and most others because they all cluster around the same -14 LUFS reference and reward the same headroom discipline. If you want to sanity-check your file against those targets for free before release, run it through the meters on our tools hub, and for the tonal decisions upstream see our mixing and mastering guide. Get the loudness and true-peak right and Spotify will play your track exactly as you intended.



