
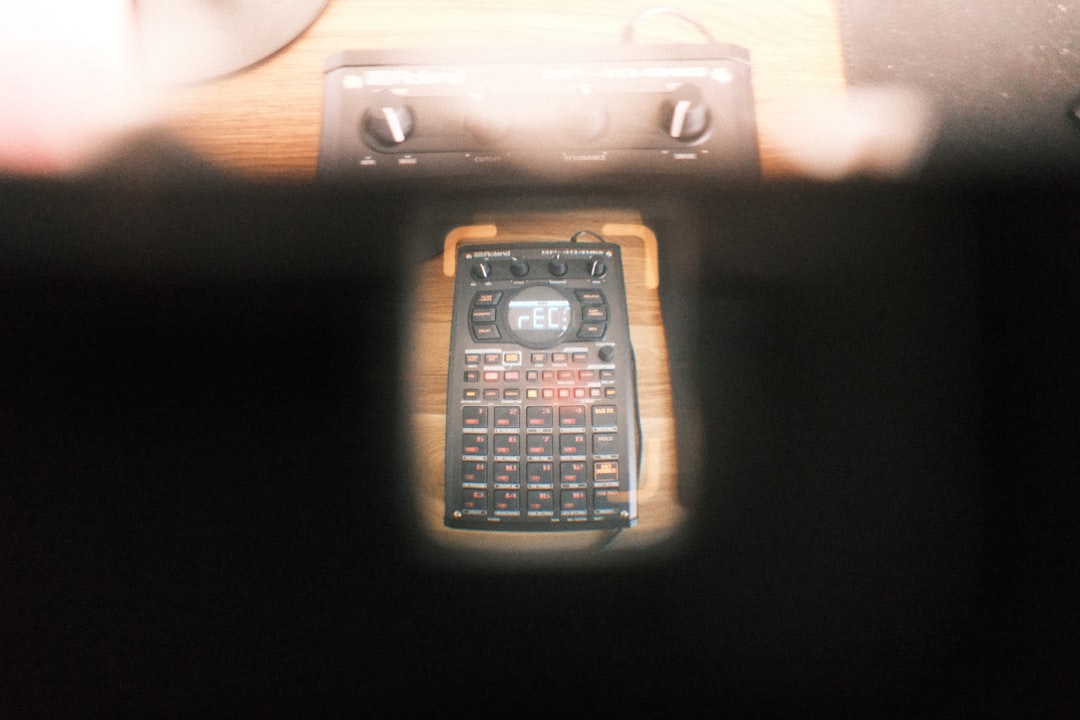
To set up a home recording studio that actually sounds good, you spend your first effort on the room and the signal flow, not on shiny gear. A modest interface in a treated corner beats a boutique preamp in a bare, echoey bedroom every time. This guide takes you from an empty room to a working setup: choosing and arranging the space, positioning monitors, adding cheap but effective treatment, wiring a clean signal chain, and dialling in the levels and buffer settings that keep sessions fast and quiet.
Choosing and Arranging the Room
Pick the room with the most soft furnishings and the least symmetry of hard surfaces. Carpet, curtains, a sofa, and a full bookshelf all absorb and scatter sound that a tiled or glass-walled room would bounce straight back into your mics and monitors. Avoid cube-shaped rooms if you can, because equal dimensions pile up resonances at the same frequencies.
Set your desk against the shorter wall and work along the room’s length, so sound travels away from you before it reflects. Leave a gap of at least 30 to 40 cm between the desk and the wall behind your monitors to reduce low-frequency buildup. Keep the desk off the exact centre of the room, where bass nulls are worst, but roughly on the room’s centre line left to right so both speakers see a symmetrical space.
How to Set Up a Home Recording Studio for Accurate Monitoring
Your monitors and your listening position form an equilateral triangle: the two speakers and your head each sit at a corner of a triangle with equal sides, commonly 1 to 1.5 metres per side in a small room. Angle each monitor inward so it points at your ears, and set the height so the tweeters land level with your ears when you sit, tilting the cabinets if needed. Pull the speakers away from walls and corners because boundaries exaggerate bass and blur your judgement.
The single most useful trick for a small room is treating the first reflection points. Have a friend slide a mirror along each side wall while you sit at the desk; wherever you can see a monitor in the mirror, that spot needs an absorption panel. Cover those points, plus the wall behind your head, and your stereo image tightens dramatically. Our detailed walkthrough on positioning studio monitors covers toe-in and boundary distance in more depth.
Cheap, Effective Acoustic Treatment
You are managing two problems: mid and high reflections, and low-frequency buildup in corners. Handle them in order of impact.
- First reflections: Two to four 5 to 10 cm thick absorption panels at the mirror points do most of the work. Thicker panels absorb lower frequencies, so do not buy the thinnest foam you can find.
- Corners (bass traps): Low frequencies gather in room corners. Floor-to-ceiling traps in the front two corners even out the boomy, uneven bass that makes mixes fall apart on other systems.
- The recording spot: For tracking vocals, build a temporary booth with a duvet over a clothes rail or a thick blanket on the wall the mic faces. You want to stop reflections reaching the capsule, not deaden the whole room.
- Skip: Egg cartons and thin foam tiles. They do almost nothing below 1 kHz and give a false sense of a treated room.
Wiring a Clean Signal Chain
Signal flow in a home studio is simple once you see it: microphone or instrument into the interface’s input, interface into the computer over USB, and monitors and headphones out of the interface. Keep these principles in mind as you wire it:
- Use balanced TRS or XLR cables for your monitor connections to reject hum and interference over the run to the speakers.
- Plug the interface directly into the computer, not through an unpowered USB hub, so it gets stable power and a reliable data connection.
- Route condenser mics through the interface’s 48V phantom power, which condensers need to work; dynamic mics do not use it and should have it off.
- Keep audio cables crossing power cables at right angles rather than running parallel to them, which minimises induced buzz.
If you plan to record electric guitar or bass silently, you can take a DI straight into an interface input and shape the tone with an amp-sim plugin like Amplitube, which keeps the room quiet and gives you re-amp flexibility after the take.
Keep your instruments on a proper stand within arm’s reach of the desk, not leaning against a wall or lying on the floor. Our guide to the best guitar stands covers single, multi-guitar and wall-hanger options for small rooms.
Levels, Buffer Size, and Session Setup
With the room and wiring sorted, set the software up for fast, clean sessions. Choose a sample rate of 44.1 or 48 kHz and a bit depth of 24-bit, which gives you plenty of dynamic range and forgives conservative gain settings. Set your interface gain so tracked peaks hit -12 to -6 dBFS, never touching 0 dBFS where clipping is permanent. Recording a little quieter is always safer than recording too hot.
For latency, drop your DAW buffer to 64 or 128 samples while tracking so monitoring feels instant, then raise it to 512 or 1024 samples for mixing, when a plugin-heavy project needs the extra headroom and real-time delay no longer matters. If your interface offers direct hardware monitoring, use it while tracking vocals so you hear yourself with zero delay. Once your room and levels are dialled in, our gain staging guide and the free metering utilities in our audio tools hub help you keep every stage of the chain clean.
Frequently Asked Questions
How big does a home studio room need to be? Smaller is harder acoustically but entirely workable. Even a bedroom or a spare corner produces professional results once you treat the first reflection points and corners; the room’s behaviour matters far more than its size.
Do I need soundproofing? Soundproofing (stopping sound leaving or entering the room) is expensive and rarely necessary at home. What you actually need is acoustic treatment, which shapes the sound inside the room. They are different jobs, and treatment is the one that improves your recordings.
Should I buy monitors or headphones first? If your room is untreated and you cannot play loud, start with a trusted pair of headphones and add monitors once you have treated the space. Ideally you check mixes on both, since each reveals problems the other hides.



