
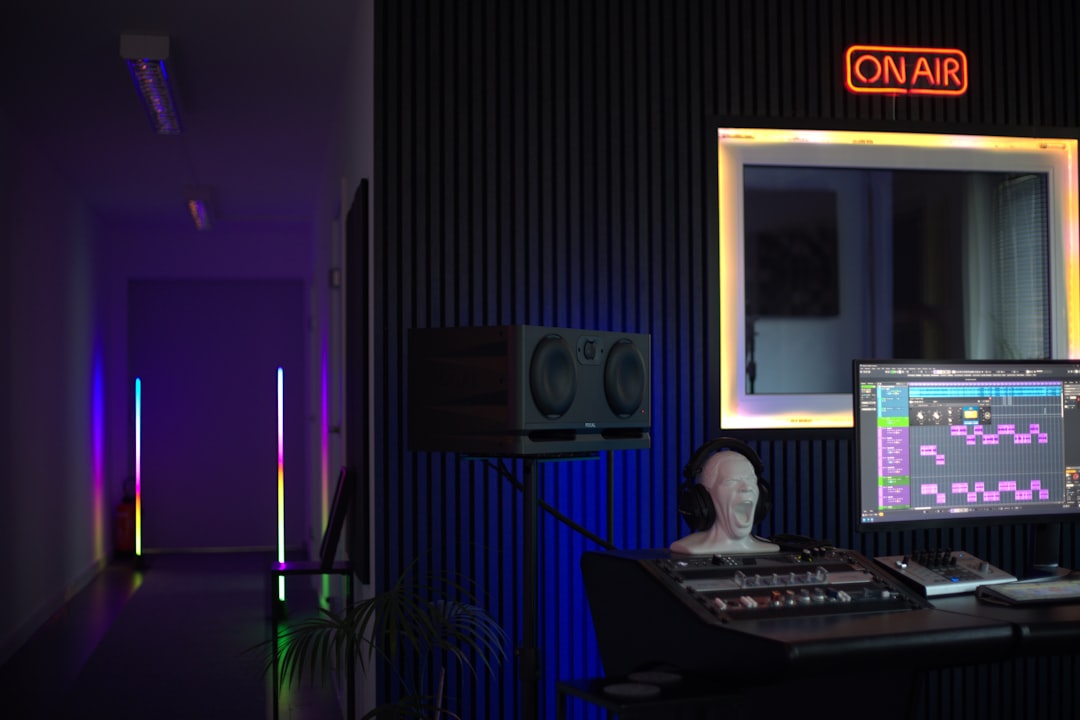
The honest answer to what you need to record music at home is far less than the gear ads suggest. Four things get you from silence to a finished song: a computer running a DAW, an audio interface, one good microphone, and a pair of closed-back headphones. Everything else is refinement. This guide walks through each piece, tells you the specs that actually matter, and gives you concrete level and placement targets so your first recordings sound intentional rather than accidental.
The Four Essentials You Genuinely Need to Record Music at Home
Start here and resist the urge to add before you have used these. A capable starter chain looks like this:
- A computer and a DAW. Any laptop from the last five years can track several inputs at once. The DAW (Digital Audio Workstation) is the software you record into. Reaper is inexpensive and light on CPU, GarageBand ships free on Mac, and Cakewalk is free on Windows. Do not overthink this early; the workflow habits transfer between them.
- An audio interface. This is the single most important purchase because it converts your mic and instrument signals into clean digital audio and drives your headphones. A solid two-input interface handles a vocal, a guitar, or a mic-plus-DI at once. Look for a real preamp with at least 55 to 60 dB of gain so quieter dynamic mics have room to breathe.
- One microphone. A large-diaphragm condenser is the versatile choice for vocals and acoustic instruments in a treated corner. A dynamic mic like an SM57 or SM58 is more forgiving in an untreated, echoey room because it rejects more of the space around the source.
- Closed-back headphones. You need closed-back so the click and backing track do not leak into the mic while you sing or play. Save open-back pairs for mixing later.
Setting Levels and Placement So It Sounds Professional
Gear matters less than technique, and two habits separate amateur tracks from clean ones: correct gain staging and deliberate mic placement. When you set your interface gain, aim so your loudest performance peaks land around -12 to -6 dBFS on the DAW meter. That leaves headroom, keeps the converter in its sweet spot, and guarantees you never hit 0 dBFS, where digital clipping ruins a take permanently. If you see the peak light flash red, turn the gain knob down and retake; you cannot fix a clipped file afterward.
Placement is where cheap gear starts to sound expensive. For vocals, position a condenser roughly 15 to 20 cm (6 to 8 inches) from your mouth with a pop filter about halfway between you and the capsule, and sing slightly off-axis, angling the mic maybe 10 to 15 degrees past your lips to soften plosives and sibilance. For an acoustic guitar, aim the mic where the neck meets the body, about 20 to 30 cm (8 to 12 inches) back, tilted away from the soundhole so it does not boom. Small moves of a few centimetres change the tone more than any plugin will. Our guide to microphone placement for vocals goes deeper on angle and distance.
Taming Your Room and Your Latency
Two invisible problems trip up beginners: a reflective room and audible delay while monitoring. Both are cheap to fix.
For the room, you do not need a fully treated studio. Record in the most soft-furnished space you have, throw a duvet over a clothes rack behind the mic, and put a thick blanket or absorption panel on the wall the mic is pointing toward. You are trying to stop early reflections from bouncing off bare walls back into the capsule. Even a walk-in wardrobe full of clothes makes a better vocal booth than a tiled bedroom.
For latency, the delay between playing a note and hearing it back through the computer, lower your DAW’s buffer size to 128 or 64 samples while tracking so monitoring feels immediate. If you hear clicks and pops during playback of a busy project, raise the buffer to 512 or 1024 samples for mixing, when latency no longer matters. Many interfaces also offer direct (zero-latency) hardware monitoring, which sidesteps the problem entirely while you record.
What You Can Add Later, and What to Skip
Once the four essentials are earning their keep, sensible upgrades are a second mic for stereo or a different voice, a pop filter and a proper stand, and a couple of real acoustic panels for first reflections. A monitor controller, outboard preamps, and a wall of plugins can wait. If you record electric guitar, you can skip a loud amp and a mic entirely by going direct into the interface and using an amp-sim plugin such as Guitar Rig, which turns a silent DI signal into a full amp tone you can shape at any hour. Our walkthrough on recording electric guitar covers the DI-and-reamp approach in detail.
Free software gets you surprisingly far, too. Before spending on plugins, run through the metering, tuning, and reference utilities in our audio tools hub so you understand your levels and pitch before you pay for anything.
A Realistic First Session
Put it together like this. Plug the interface in over USB, set the sample rate to 44.1 or 48 kHz, arm a mono track, and speak or play at your loudest to set gain for a -9 dBFS peak. Position the mic at the distances above, drop the buffer to 128 samples, enable direct monitoring, and record a scratch take. Listen back on the closed-back headphones, move the mic a few centimetres, and try again. That loop of adjust, record, and audition is the entire craft. When your takes are clean and consistent, our beginner’s mixing guide shows you how to turn them into a finished mix.
Frequently Asked Questions
Do I need a mixing desk to record at home? No. A modern audio interface replaces the old mixer-plus-tape setup entirely, handling preamps, conversion, and headphone monitoring in one box.
Is a USB microphone good enough to start? It works for spoken word and demos, but it locks you into one capsule and one preamp. An interface plus an XLR mic costs a little more and grows with you, which is why most engineers steer beginners there.
How much should I spend to begin? A workable interface, one dependable mic, a stand, a pop filter, and closed-back headphones form a complete entry rig. Buy the interface and mic new, and save money on stands and cables. Skill, not spend, is what makes early recordings sound good.



