
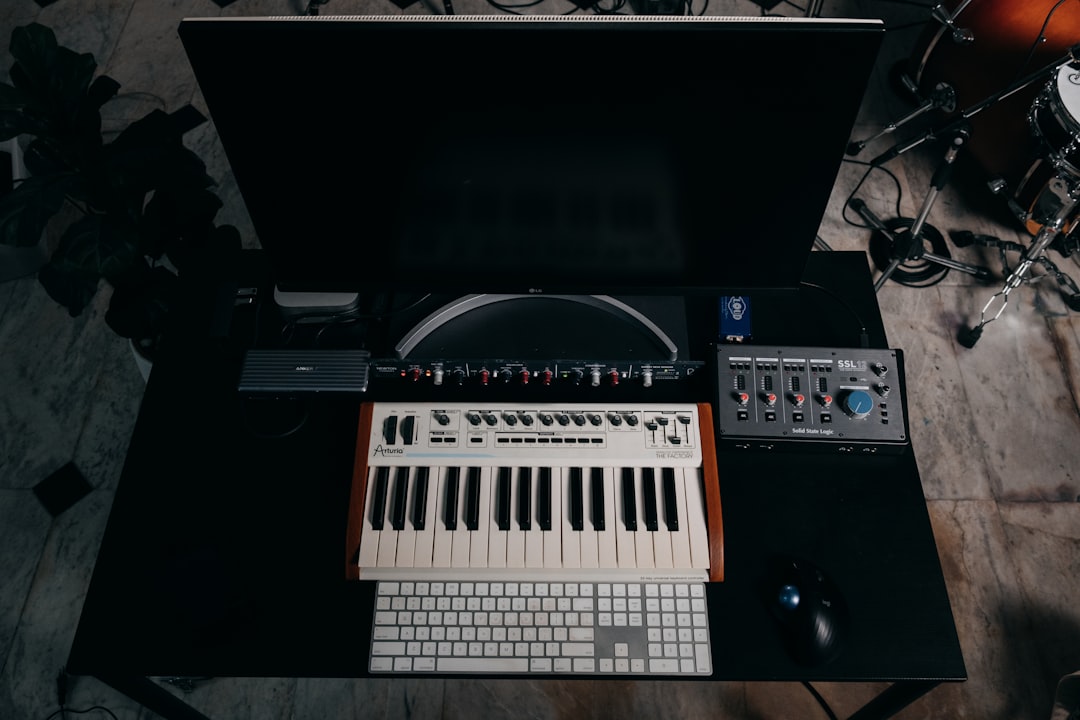
The drummer in garageband is a virtual session player that lays down realistic acoustic and electronic beats for you — no MIDI programming required. To use it, add a Drummer track, choose a genre and a drummer “character,” then shape the performance with the XY pad and the kit controls in the Drummer Editor. Below is the full walk-through, plus the tweaks that make a canned beat sound like it was played for your song.
Violet Recording is reader-supported — we may earn a commission from links on this page, at no extra cost to you.
What the Drummer track actually is
Drummer is not just a loop. It is a performance engine: you tell it the style, the intensity and how busy to play, and it generates a full drum part that follows those instructions across your whole arrangement. Because it renders real multi-mic drum recordings (and electronic kits), the results sit in a mix far better than a single repeating loop. Think of it as hiring a session drummer who never gets tired and always plays in time — you just have to direct them. If you are still choosing software, our roundup of the best free DAWs for beginners explains why GarageBand’s Drummer is one of the strongest freebies on any platform.
How to add and use Drummer in GarageBand
Start a new or existing project, then create the track:
- Click the + (Add Track) button above the track headers, or choose Track > New Track from the menu bar.
- In the track-type chooser, select Drummer and click Create.
- GarageBand adds a Drummer track already filled with yellow Drummer regions, and the Drummer Editor opens across the bottom of the window. If it doesn’t, double-click a Drummer region or press E to toggle the editor.
Each region defaults to eight bars. Press the spacebar and you’ll immediately hear a full groove — that’s your starting point, and everything from here is refinement.
Choosing a genre and drummer character
On the left side of the Drummer Editor you’ll see the genre and character picker. GarageBand groups its drummers into genres such as Rock, Alternative, Songwriter, R&B and others, and each genre contains several named characters — each with their own kit, feel and default patterns. Click a genre, then click a drummer’s portrait to audition them. The character you pick changes both the drum sound and the way the part is played, so it’s worth trying a few before you settle. A “Songwriter” brush kit and a hard-hitting “Rock” drummer will take the same song in completely different directions.
If you want to change the kit sound without changing the whole performance, open the Library (click the Library button or press Y) with the Drummer track selected — GarageBand lists alternative drum kits and patches you can swap in.
Shaping the groove with the XY pad and kit controls
The centre of the Drummer Editor holds the XY pad — a square with a movable puck. This is where most of the magic happens:
- Left to right (horizontal): moves the part from Simple to Complex. Drag right for more ghost notes, busier hi-hats and more fills; drag left for a stripped-back, holds-the-pocket feel.
- Bottom to top (vertical): moves from Soft to Loud, changing the dynamics and how hard the drummer hits.
Drop the puck anywhere and the beat updates in real time. To the left of the pad you’ll also find a list of presets for the current drummer — quick starting points if you’d rather not build from scratch.
On the right side of the editor is a visual of the drum kit plus controls for the individual pieces. You can click kit pieces to enable or disable them (for example, mute the toms, or switch the hi-hat for a ride), and adjust how the kick, snare and cymbals are played. Most versions also give you Fills and Swing knobs — turn Fills up for more frequent transitions between sections, and add Swing to loosen straight sixteenths into a shuffle. Small moves here matter: a touch of swing and a slightly lower fills setting is often all a busy loop needs to breathe.
Making the drummer follow your other tracks
One of the most useful features is Follow. In the Drummer Editor there’s a “Follow” pop-up menu that lets the drummer lock its kick and snare to the rhythm of another track in your project — usually a bass line or a rhythm guitar. Choose the track you want it to follow, and Drummer re-plays its part to sit with that groove instead of running its own generic pattern. This is the single fastest way to make Drummer feel like it belongs in your song rather than a template. If your rhythm section still feels loose after this, check your gain staging and timing on the source track first — Drummer can only follow what you feed it.
Building a full song: editing regions section by section
A single eight-bar region playing the same intensity for three minutes gets boring fast. Real arrangements change. To vary the part across your song:
- Click a Drummer region to select it, then drag its edge to lengthen or shorten it, or use Edit > Split Regions at Playhead (Cmd-T) to cut it into sections.
- Give each section its own settings — pull the verse back toward Simple/Soft, push the chorus toward Complex/Loud, and add a fill going into each new section.
- Copy and paste regions (Option-drag) to reuse a section you like, so your second verse matches your first.
Line up those changes with the rest of your arrangement and the drums will guide the energy of the track instead of flattening it. If you’re sketching an original song from scratch and want a quick melodic idea to build the drums around, an AI tool like Solmi can spark a starting phrase you then arrange yourself in GarageBand.
Common problems and pro tips
A few issues come up again and again:
- The beat is out of time with my song. Drummer always follows the project tempo, so set your tempo first (in the LCD/control bar at the top) before you commit to a part. Use our free online metronome and BPM tools if you’re matching an existing recording or trying to nail a target tempo.
- It sounds too “perfect” and robotic. Nudge the puck slightly off the presets, add a little Swing, and vary the intensity between sections. Human drummers don’t play the same eight bars forever.
- The fills are too frequent (or never happen). That’s the Fills knob — turn it down for a steadier part, up for more transitions. You can also split a region so fills only land where you want them.
- The kit is too loud or too dry in the mix. Treat it like any recorded drum kit: balance it, then EQ and compress to taste. The same principles in our guide to EQ and compression fundamentals apply directly, and the drums should support — not fight — your vocal mix.
When you outgrow the stock kits and want deeper control — individual mic channels, dozens of articulations, custom room sounds — a dedicated drum instrument is the natural upgrade. Third-party sampled drum plugins available from Plugin Boutique give you studio-grade acoustic kits that drop straight into GarageBand as a software instrument. For most songwriting and demo work, though, the built-in Drummer is genuinely all you need. For more foundational workflow tips, browse the Home Studio Setup hub.
Frequently asked questions
Can I convert a Drummer part into editable MIDI in GarageBand?
GarageBand’s Drummer regions are performance regions, not standard MIDI regions, so you can’t freely edit every note the way you can in the Piano Roll. Your control comes from the Drummer Editor — the XY pad, kit pieces, Fills, Swing and the Follow feature. If you need note-level editing, program a Software Instrument drum track instead, or move the project up to Logic Pro, which offers more Drummer detail and MIDI conversion.
Why does my Drummer track sound different after I change the tempo?
Drummer re-performs its part to fit the project tempo, so a fill or groove that felt right at 90 BPM can feel busy at 140 BPM. Set your tempo before fine-tuning the part, and re-check the Simple/Complex position after any big tempo change so the busyness still matches the song.
How many Drummer tracks can I use in one project?
You can add more than one Drummer track — for example, an acoustic kit for the verses and an electronic kit for a breakdown. Just remember each one is a full performance, so layering two busy drummers usually muddies the low end. Mute or split regions so only one drives the groove at a time.



