
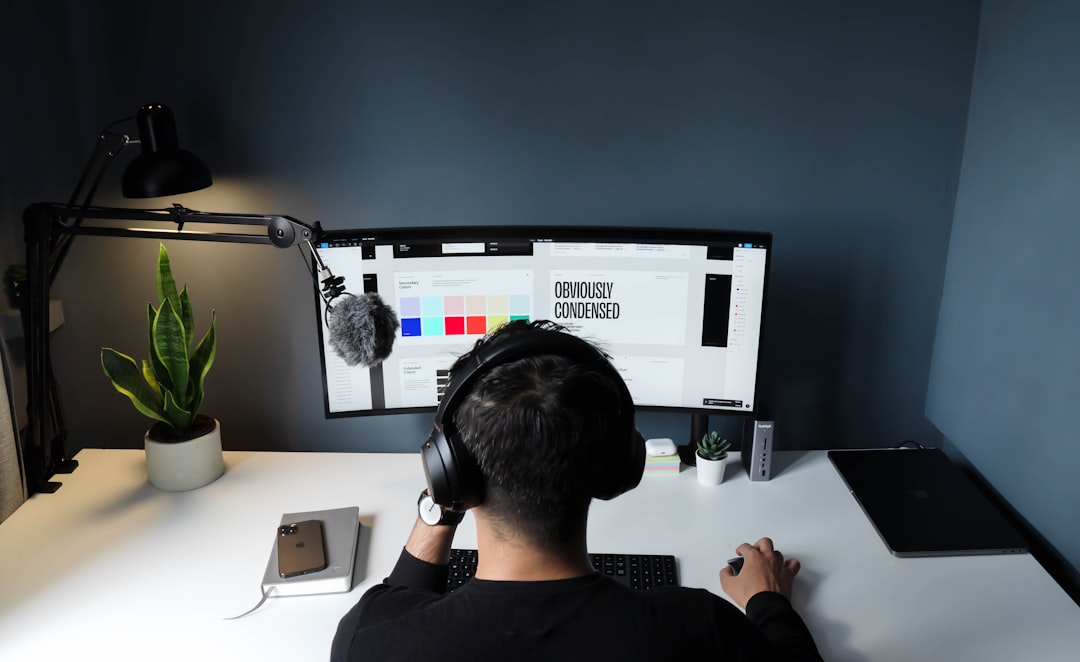
To set up a DAW for the first time, you install the software, point it at your audio device (an ASIO driver on Windows or Core Audio on a Mac), choose a sensible sample rate and buffer size, connect any microphone, interface, or MIDI keyboard, then create a project and arm a track to record. That is the whole job — everything below is just doing those steps in the right order so you hear sound the first time you press play.
Violet Recording is reader-supported — we may earn a commission from links on this page, at no extra cost to you.
The exact menu names differ slightly between FL Studio, Ableton Live, Logic Pro, and GarageBand, but the concepts are identical in every DAW. Get these fundamentals right once and you will never fight your setup again. Still choosing software? See our guide to the best free DAWs for beginners.
Install the DAW and open it before you plug anything in
Download the installer from the developer’s own website — not a third-party mirror — and run it. On macOS, GarageBand is already in the Applications folder and Logic Pro comes from the Mac App Store, so there is nothing to download separately. For FL Studio and Ableton Live you install a full application plus a bundle of stock instruments and effects, so the download can be several gigabytes; let it finish completely.
Open the DAW on its own first, before connecting a microphone or interface, so you can tell whether a later problem is the software or the hardware. Most DAWs launch with a demo project or an empty template. Close any demo and start a blank project so nothing distracts you while you configure audio.
Choose the right audio driver so the DAW can talk to your hardware
This is the single most important step, and the one beginners skip. Your DAW needs a low-latency audio driver to send sound to your speakers or headphones without a delay.
- On Windows, use an ASIO driver. If you own an audio interface (Focusrite, PreSonus, Behringer, etc.), install that manufacturer’s ASIO driver from their website and select it in the DAW. If you have no interface and are using the computer’s built-in headphone jack, install the free ASIO4ALL driver, which lets your DAW use onboard audio with far less latency than the generic Windows driver.
- On macOS, you do not need to install anything — Core Audio is built in and handles low latency natively. Just pick your interface (or “Built-in Output”) in the audio settings.
You set the driver in the DAW’s audio preferences: Options > Audio Settings in FL Studio, Preferences > Audio in Ableton Live, Settings > Audio in Logic Pro, and Preferences > Audio/MIDI in GarageBand. Choose your interface as both the input and output device. If you hear nothing later, this screen is the first place to look. Our walkthrough on how to set up an audio interface covers the hardware side in more detail.
Set your sample rate and buffer size correctly
In the same audio settings window you will see two numbers that matter: sample rate and buffer size.
Sample rate is how many times per second the audio is measured, in kHz. Set it to 44.1 kHz or 48 kHz and leave it there. 44.1 kHz is the traditional standard for music; 48 kHz is standard for video and podcasting. Either is fine — just pick one and keep every project on it, because changing the rate mid-project can cause pitch and playback issues. Higher rates like 96 kHz use more CPU for benefits most beginners will never hear. If you want the background, read sample rate and bit depth explained.
Buffer size is the trade-off between latency and CPU load, measured in samples. A smaller buffer (for example 128 samples) gives lower latency — less delay between playing a note and hearing it — but strains the CPU and can cause crackling. A larger buffer (512 or 1024) is smoother but adds a noticeable delay. The practical rule: use a small buffer while recording so you are not playing to a laggy monitor, then raise it when mixing so your computer can run more plugins. If you hear clicks and pops, raise the buffer first. There is more on this in what is audio latency.
Connect your microphone, interface, and MIDI keyboard
Now bring in the hardware. Plug your audio interface into the computer with USB before opening the DAW, so the driver is detected on launch. Connect a microphone to the interface with an XLR cable, and if it is a condenser mic, switch on 48V phantom power on the interface — see what is phantom power if that term is new. Plug headphones into the interface’s headphone output, not the laptop, so you monitor through the low-latency driver.
If you have a MIDI keyboard or pad controller, connect it by USB. Most class-compliant controllers are recognised automatically, but check your DAW’s MIDI settings (the same preferences area) and make sure the controller is enabled as an input. In Ableton Live, for instance, you switch on both Track and Remote for the controller under Preferences > Link/Tempo/MIDI. Once it is enabled, playing a key should light up the DAW’s input meter.
How to set up a DAW project and record your first track
With audio and MIDI configured, you are ready to make sound. The steps to set up a DAW project and capture your first recording are the same everywhere, even though the buttons look different:
- Create a track. Add an audio track for a microphone or guitar, or a MIDI/instrument track for a software instrument. In Logic and GarageBand you choose the track type in a dialog when you start a project; in FL Studio and Ableton you add tracks from a menu or right-click.
- Set the input. On an audio track, choose the interface input your mic is plugged into (Input 1, for example). On an instrument track, load a stock synth or sampler so the track makes a sound.
- Set your levels. Speak or play and watch the meter. Aim for peaks around −12 to −6 dB, well short of the red. This is called gain staging, and getting it right early saves headaches later — see gain staging explained.
- Arm the track and record. Click the record-enable (arm) button on the track, then press the transport record button. Play or sing, then stop. You should see a waveform appear.
- Play it back. Disarm the track, rewind to the start, and press play. Hearing your own recording is the moment everything clicks.
Set your project tempo before you record anything rhythmic, so the metronome and grid match your track. Our free browser tools include a metronome and BPM finder you can use alongside the DAW.
Save a template so you never repeat this setup
Once your audio device, sample rate, and a couple of default tracks are the way you like them, save the project as a template or default project. Every DAW supports this: Ableton has a Save Live Set as Default-style option, Logic lets you save a project template, and FL Studio lets you set a default template file. From then on, every new song opens with your driver, levels, and starter tracks already in place, so you go straight to making music instead of reconfiguring.
Save often, and save incrementally — File > Save As with a new version number now and then — so a crash never costs you a whole session. Keep your projects in one dedicated folder, and use your DAW’s “collect and save” or “consolidate” option to gather all the audio into the project folder.
Common first-time problems and how to fix them
Almost every “my DAW isn’t working” problem traces back to the audio settings you configured above.
- No sound at all. Wrong output device. Open audio settings and confirm the output is your interface or headphones, not a disconnected device. On Windows, confirm an ASIO driver is selected rather than the generic one.
- Crackling, popping, or dropouts. Buffer size too low, or too many plugins for your CPU. Raise the buffer size, and freeze or bounce heavy instrument tracks while mixing.
- Noticeable delay when monitoring. Buffer size too high while recording, or you are monitoring through the DAW instead of the interface. Lower the buffer, or use your interface’s direct/zero-latency monitoring for tracking.
- Microphone records nothing. Phantom power off on a condenser, wrong input selected on the track, or the track isn’t armed. Check all three.
- MIDI keyboard does nothing. Controller not enabled in MIDI settings, or the instrument track isn’t armed and holding a loaded instrument.
Stock instruments and effects are genuinely good now, so resist buying plugins on day one — learn the tools that came with your DAW first. When you outgrow the stock EQ or compressor and want a specific character, that is when a third-party plugin earns its place, and shops like Plugin Boutique are where most producers browse for those. Until then, everything you need to record and mix a first song is already installed.
Frequently asked questions
Do I need an audio interface to set up a DAW?
No — you can install a DAW and use your computer’s built-in audio to learn the software. On Windows, use the free ASIO4ALL driver to keep latency low. That said, an interface gives you a proper mic input, headphone output, and much better performance, so it is the first upgrade most people make once they are recording seriously.
What sample rate and buffer size should a beginner use?
Set the sample rate to 44.1 kHz or 48 kHz and leave it there for every project. For buffer size, use a small buffer such as 128 or 256 samples while recording to minimise delay, then raise it to 512 or 1024 when mixing so your computer can run more plugins without crackling.
Why is there a delay when I play my MIDI keyboard or sing?
That delay is latency, and it is almost always the buffer size. Lower the buffer in your DAW’s audio settings while tracking. If it is still noticeable, make sure you are using an ASIO driver on Windows or Core Audio on a Mac, and consider using your interface’s direct monitoring so you hear the input without passing through the software.
Setting up a DAW is a one-time chore that pays off for years. Once your driver, sample rate, and template are dialled in, dive into the rest of our home studio setup guides — and when you are ready to arrange your first idea into a finished piece, our beginner’s guide to mixing your first song picks up right where this leaves off.



