
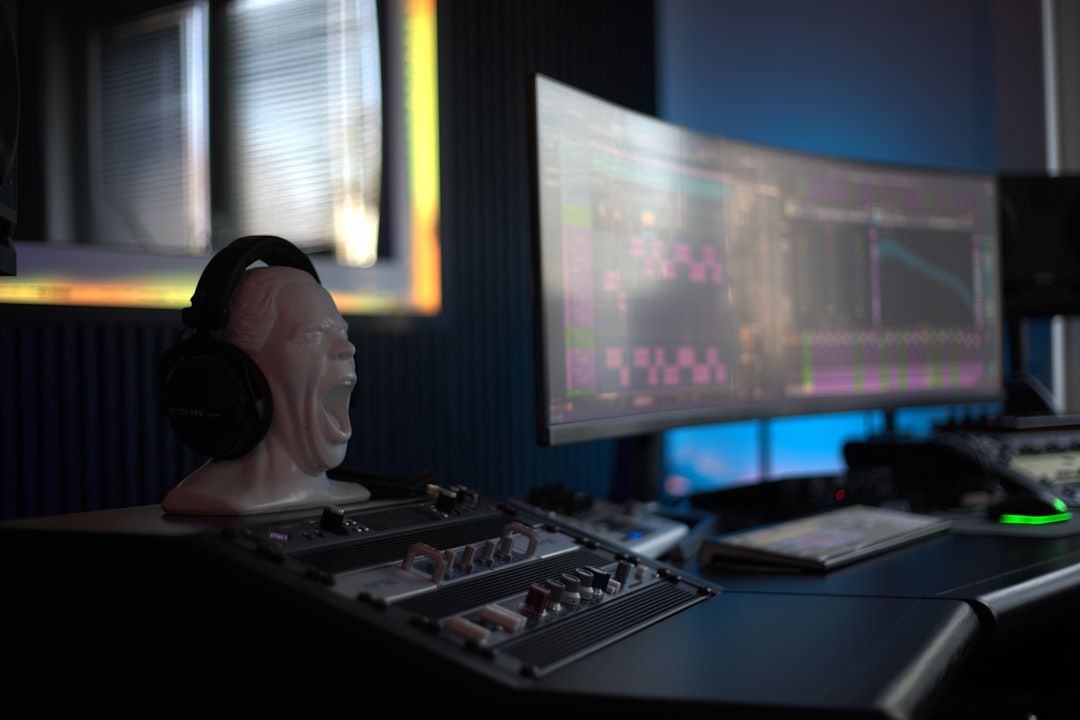
GarageBand for beginners comes down to a handful of moves: create a project, add a track, record or drag in a loop, arrange your regions on the timeline, then export the finished song. It is free with every Mac, it uses the same core engine as Logic Pro, and you can make a real, shareable track your first afternoon. This guide walks you through it in order, the way a friend would sit beside you and show you.
Violet Recording is reader-supported — we may earn a commission from links on this page, at no extra cost to you.
Creating your first project and understanding the workspace
Open GarageBand from your Applications folder or Launchpad. When the project chooser appears, pick Empty Project — it is the cleanest starting point once you know your way around, and it avoids the pre-loaded clutter of the demo songs. GarageBand then asks what kind of track you want to start with. You will usually choose one of three:
- Software Instrument — a virtual instrument (piano, synth, drums) you play with your keyboard or a MIDI controller.
- Audio (microphone or line input) — for recording vocals, guitar, or anything through your audio interface or the Mac’s built-in mic.
- Guitar or Bass — an audio track pre-loaded with amp and pedal presets.
Once inside, learn the layout. The large area in the middle is the Tracks area, where your recordings appear as coloured blocks called regions laid out left-to-right along a timeline. Down the left edge is the track header list, with a mute, solo and record-enable button on each track. Along the top runs the control bar with the transport controls — play, stop, record and cycle. If a panel is missing, the toolbar buttons on the top right toggle the Library, Editors, Loop Browser and Smart Controls in and out of view.
Setting your tempo, key and audio input before you record
Get these right before you record a note — changing them later is fiddlier than setting them up front. At the top of the window is the LCD display. Click the tempo number to type your song’s speed in BPM, and click the key signature beside it to set the key. Not sure what tempo to aim for? Tap it out with our free Violet Recording tools (the BPM tapper and metronome) and enter the number here.
Next, tell GarageBand which audio device to listen to. Go to GarageBand > Settings (called Preferences on older versions) and open the Audio/MIDI tab. Set the Output Device and Input Device to your audio interface if you have one, or the built-in options if you do not. This is also where the buffer size lives if you hit latency. For more, see our guide on how to set up an audio interface and our explainer on audio latency.
Recording audio and playing software instruments
To record a real instrument or vocal, select an Audio track and check that its record-enable button is armed. Set your level using your interface’s gain knob so the loudest part peaks comfortably short of the top — clipping in GarageBand shows as red on the track meter and cannot be undone after the fact. If you want to hear yourself through headphones as you record, click the Input Monitoring button (the small icon in the track header). Position the playhead where you want to start, hit the round red Record button in the control bar, wait for the one-bar count-in, and perform.
For a Software Instrument track you play notes instead of capturing sound. Open the Library and browse sounds by category — Piano, Synth, Drum Kit and so on. No MIDI keyboard? Press Command-K for the Musical Typing window, which turns your Mac keyboard into a playable octave. Record the same way: arm the track, hit record, play in time with the metronome. Because these recordings are MIDI, you can fix wrong notes and timing afterwards, which makes them forgiving for beginners. Good mic technique still matters on audio tracks — our guide to recording vocals at home will save you re-takes.
Using Apple Loops to build a track fast
If you do not play an instrument, loops are how you get a full arrangement quickly, and they are one of the best reasons to learn GarageBand for beginners. Click the Loop Browser button (the icon that looks like a loop or a musical note ring) on the top right to open Apple’s built-in library of royalty-free drum, bass, synth and instrument phrases.
- Filter by instrument, genre or mood using the keyword buttons, or type a word like “hip hop drums” into the search field.
- Click any loop to audition it — GarageBand automatically previews it at your project’s tempo and key, so everything stays in sync.
- When you find one you like, drag it straight from the browser into the Tracks area. Blue loops are audio; green loops are software-instrument (MIDI) and can be edited note by note.
- Grab the top-right edge of the region and drag sideways to repeat the loop for as many bars as you need.
Stack a drum loop, a bassline and a melodic part on separate tracks and you have the skeleton of a song. Loops and your own recordings mix freely on the same timeline, so a common beginner workflow is to build a loop-based backing, then record vocals or guitar over the top.
Editing and arranging your regions on the timeline
Arranging is just moving and trimming those coloured regions until the song flows. Click a region and drag it left or right to reposition it in time. To shorten a region, hover over its edge until the cursor changes and drag inward. To split one, place the playhead where you want the cut, select the region and press Command-T (or Edit > Split Regions at Playhead). To copy a section, hold Option and drag it to duplicate.
Leave Snap to Grid switched on while you are learning so regions lock neatly to the bar lines. For finer work, double-click a region to open the Editors pane at the bottom: audio regions show a waveform you can trim, while green MIDI regions open the Piano Roll, where you drag individual notes up or down in pitch and left or right in time. A slightly sloppy MIDI take can be nudged into place in a couple of minutes.
Basic mixing: volume, panning and stock effects
Before you export, balance the parts so nothing buries anything else. Each track header has a volume slider and a pan knob — pull louder parts down rather than shoving quiet ones up, and pan supporting elements slightly left or right to open space in the centre for vocals. For a primer on levels, our gain staging guide helps.
GarageBand ships with genuinely usable stock effects. Select a track and open Smart Controls (press B or click the dial icon top-left) to reveal EQ, compression, reverb and more, with simple knobs mapped to the important parameters. For most beginner projects the built-in Channel EQ and Compressor are all you need — do not rush to buy plugins. Once you outgrow them and want a more surgical EQ or a characterful compressor, third-party options from Plugin Boutique are the natural next step. . To understand what those plugins are first, read what is a VST, then our EQ and compression fundamentals.
Exporting and sharing your finished song
When the arrangement sounds right, bounce it to a file you can share. Go to Share > Export Song to Disk. Choose your format — AAC or MP3 for a small file to send around, or AIFF/WAVE for full, uncompressed quality if you plan to master it or upload it somewhere that wants a lossless file. Pick a quality setting, name the file, choose a destination and click Export.
One tip: GarageBand exports only the length covered by your song, so if the export sounds cut off, check that the project’s end marker extends past your last region. If you are chasing a competitive loudness for streaming, learn how loud your master should be in our LUFS guide. And if you would rather write over an original, royalty-free backing track instead of loops, Solmi can generate one in seconds.
Common problems and quick fixes for GarageBand for beginners
A few issues trip up almost everyone. If you hear no sound on playback, check that the master volume is up, that no track is soloed by accident, and that your Output Device points at the right speakers or interface. If your recording is silent, the track’s input probably points at the wrong source — revisit the Audio/MIDI settings and the track’s input menu. A delay between playing and hearing yourself is latency: lower the buffer size in Audio settings and use your interface’s direct monitoring if it has it. And if a loop plays at the wrong pitch or speed, it is following the project tempo and key — change those in the LCD display rather than fighting the loop.
That is the whole loop: set up a project, get sound in, arrange it, balance it and export. Everything else in GarageBand is a variation on these steps, so the fastest way to improve is to finish tracks. When you are ready to compare it against other free options, see our roundup of the best free DAWs for beginners, and browse more guides in the Home Studio Setup hub.
Frequently asked questions
Is GarageBand actually free, and is it good enough for real music?
Yes — GarageBand is free with every Mac and iOS device, with no trial period or locked features. It shares its audio engine and many instruments with Logic Pro, so it is genuinely capable: plenty of released songs have been produced in it. Its main limits are track counts on very large projects and the lack of some advanced routing, which most beginners will not hit for a long time.
Do I need a MIDI keyboard or an audio interface to start?
No. You can play software instruments with Musical Typing (Command-K) using your Mac keyboard, and record voice or an acoustic instrument through the built-in microphone. A cheap MIDI keyboard makes playing parts easier, and an audio interface gives you cleaner recordings and lower latency once you are serious, but neither is required to make your first track.
How do I move a GarageBand project into Logic Pro later?
Logic Pro opens GarageBand projects directly — just open the project file in Logic and it converts, keeping your tracks, regions and most settings intact. This upgrade path is a big reason GarageBand is such a good place to learn: nothing you build is wasted if you decide to move up.
