
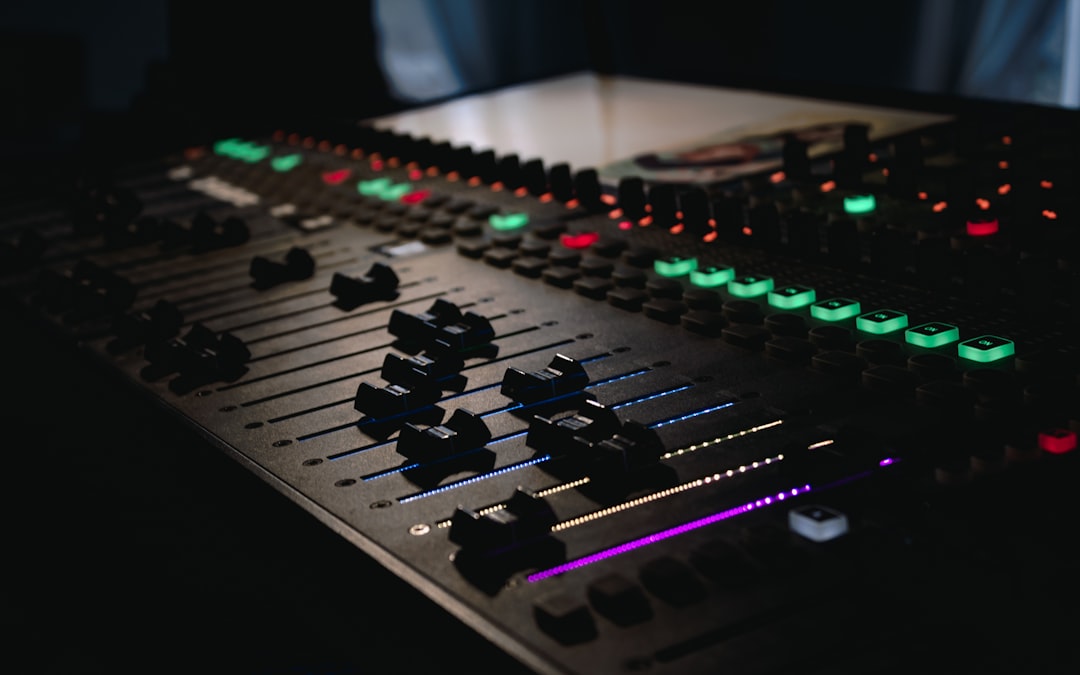
Cutting a record is a physical process, and that changes everything about how you prepare a master. Mastering for vinyl is not about hitting a loudness number the way a streaming master is; it is about respecting what a stylus can physically trace in a groove. Bass that is too wide, sibilance that is too hot, or a side that runs too long will all cause real, audible problems on the pressed record, from distortion to skipping. This guide explains the specific constraints of the format and the moves that keep your cut clean, loud and faithful to the mix.
Why mastering for vinyl is different
A digital file can hold anything up to full scale, but a record groove is carved by a cutting lathe and read by a stylus that has to physically stay in that groove. Two facts drive almost every decision. First, low frequencies in the stereo side channel cause the groove to swing wildly and can throw the stylus out, which is why deep bass must be centred. Second, high-frequency energy and loudness eat groove width, so the longer a side runs, the quieter and duller it has to be cut. Understanding these two constraints is most of the job.
The playback side matters too, because a worn or poorly matched stylus mistracks loud, bright passages that a good one plays cleanly. When you check test pressings, it helps to know what your own deck is fitted with, and our guide to the best turntable cartridges and replacement styluses explains the options.
You do not need a totally separate mix for vinyl, but you should deliver a dedicated vinyl master rather than the same file you send to Spotify. A streaming master pushed to -9 LUFS with a brickwall limiter will make a cutting engineer’s life difficult and can translate to a compromised cut.
The core moves for a vinyl master
Prepare a master that gives the cutting engineer a clean, generous starting point. The key adjustments:
- Make the low end mono. Everything below roughly 100 to 150 Hz should be summed to mono, or very close to it, so the bass sits in the vertical plane of the groove rather than swinging it side to side. An elliptical EQ or a simple bass-mono band in a stereo tool handles this. A mid/side capable EQ such as FabFilter Pro-Q lets you narrow the stereo width progressively below your chosen crossover.
- Control sibilance and harsh highs. The cutting head struggles with intense high-frequency energy, and hot sibilance can literally distort in the groove. Tame vocal esses with gentle de-essing and a broad -1 to -2 dB reduction around 5 to 8 kHz only if the mix is genuinely bright. A dynamic high-frequency tamer like soothe2 reduces harshness without dulling the whole top end.
- Leave headroom, do not brickwall. This is the biggest mindset shift. Instead of limiting to -1 dBTP for maximum loudness, leave 3 to 6 dB of peak headroom and let the transients breathe. Aim for a master that is dynamic and clean rather than loud; a cutting engineer would far rather receive a punchy master with real transients than a squashed one. If you do use a limiter, use it lightly for peak taming only, 1 to 2 dB of reduction, with a clean unit such as FabFilter Pro-L 2.
Note that you should not apply the RIAA equalisation curve yourself; the lathe does that during cutting. Your job is a clean, well-balanced, dynamic flat master.
Respect side length and level
There is a direct trade-off between how long a side runs and how loud and full it can be cut. As a rough guide for a 12-inch 33 rpm record, a side of around 18 minutes or less can be cut loud and full; push toward 22 to 26 minutes and the engineer has to reduce level and bass to fit the grooves, so the cut gets quieter and thinner. If your loud, bass-heavy tracks matter most, put them at the start of a side where the groove diameter is largest and quality is highest, and sequence quieter material toward the inner grooves where high-frequency detail naturally suffers.
Because vinyl is not loudness-normalised the way streaming is, you are not chasing a LUFS target for playback. Still, it helps to measure integrated loudness with a meter like Youlean Loudness Meter so you can keep the tracks on a side consistent in level and tone. Consistency between songs matters more than absolute loudness.
Deliver the right files and talk to your cutter
Deliver 24-bit WAV files at your mix sample rate, one file per track, clearly labelled with the running order and side breaks. Do not dither down to 16-bit and do not send MP3s. Include timings for each side so the cutting engineer can plan groove spacing. The single most useful thing you can do is communicate: tell the cutter this is a vinyl master, note any tracks with heavy sub-bass or bright sibilance, and ask whether they want you to keep the bass mono or leave it to them, because many experienced engineers prefer to apply the elliptical filter themselves.
When your test pressings arrive, judge them on a properly set-up turntable rather than a cheap all-in-one, which can hide or exaggerate tracking problems. Our guide to the best record players and turntables covers decks that give you an honest playback reference.
Always prepare a separate digital master for streaming and download using the louder, limited approach covered in our guide to mastering a single, and run both versions through the checks in our master-checking guide. For free width and correlation utilities that help you dial in mono bass before delivery, visit the Violet Recording tools hub. Master for vinyl with restraint and clear communication, and your record will sound warm, loud and distortion-free from the first groove to the last.



