
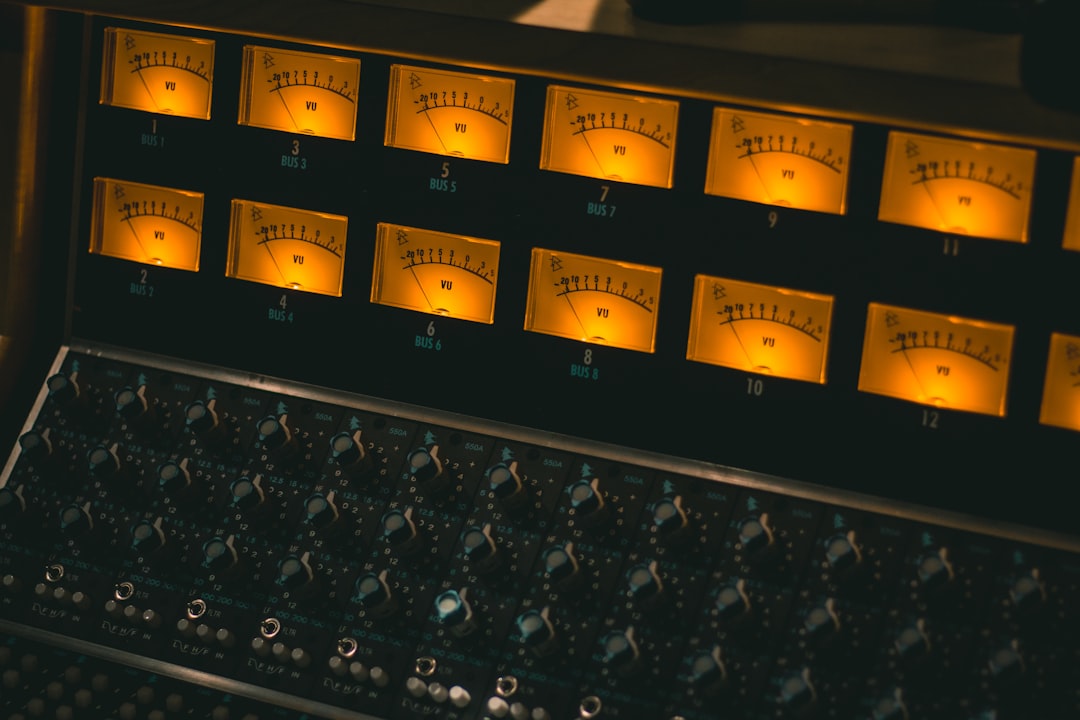
Releasing one song is different from finishing an album. When you master a single you have exactly one chance to make a first impression, so the loudness, tonal balance and headroom all have to land on the first listen. The good news is that a single is the easiest thing to master well, because you are only balancing one track against the wider world of streaming rather than against ten other songs on a record. This guide walks through the exact chain, the numbers that matter, and why each move exists.
Before you master a single, fix the mix
Mastering is finishing, not rescue. If your low end is muddy or the vocal is buried, no limiter will fix it. Bounce your final mix at the project’s native sample rate and 24-bit or 32-bit float, with roughly 3 to 6 dB of headroom on the master bus (peaks landing around -6 dBFS). That headroom gives your mastering chain room to work without clipping the input of the first plugin.
Listen to the bounce on at least two systems, including a phone speaker. A single lives or dies on small speakers, because that is where playlists get auditioned. If you have not already A/B’d against commercial references in the same genre, do that now with a metering tool like ADPTR MetricAB, which lets you loudness-match your track to a reference so you compare tone and not just volume.
Build the mastering chain
A single-track master rarely needs more than four or five processors in series. Order matters, so work in this sequence:
- Subtractive EQ first. Make broad, gentle moves. A 1 to 2 dB high-pass shelf below 30 Hz removes subsonic rumble that eats headroom. If the mix feels boxy, try a wide -1 dB dip around 300 to 500 Hz. If it feels dull, a broad +1 dB shelf above 10 kHz adds air. Anything bigger than about 3 dB usually means you should go back to the mix. A surgical, transparent EQ like FabFilter Pro-Q makes these moves easy to hear.
- Gentle bus compression. Aim for 1 to 2 dB of gain reduction at a slow attack (30 ms plus) and auto or slow release, ratio around 1.5:1 to 2:1. The goal is glue, not squash. If the meter is pumping, you are asking too much.
- Optional multiband control. Only reach for a dynamic EQ or multiband if one band misbehaves, for example a boomy bass note. Tame just that region by 1 to 2 dB when it crosses threshold, using something like FabFilter Pro-MB.
- Limiter last. This sets your final loudness and ceiling. A transparent brickwall limiter such as FabFilter Pro-L 2 or the module inside iZotope Ozone gives you clean output and true-peak metering.
Hit the right loudness for streaming
This is where most home masters go wrong. The major streaming platforms normalise playback loudness, so making your single crushingly loud does not make it louder to the listener, it just makes it more distorted and less dynamic than the track after it. Spotify, Apple Music, YouTube and Amazon all target somewhere around -14 LUFS integrated for normalised playback. That does not mean you must master to exactly -14, but it is a sane reference point for most pop, rock and singer-songwriter material.
Set your limiter’s output ceiling to -1 dBTP (true peak), not 0. That 1 dB of true-peak headroom protects against inter-sample peaks that appear when the platform transcodes your file to a lossy format like AAC or Ogg. If you master to 0 dBFS, those codecs can push the true peak above full scale and introduce audible distortion on playback.
For loudness targets by style: mellow acoustic or jazz singles sound best around -16 to -14 LUFS, keeping their dynamics. Pop and indie sit comfortably at -12 to -10 LUFS integrated. Loud electronic, hip-hop and metal often land at -9 to -8 LUFS, accepting that streaming will turn them down but preserving the punch on non-normalised systems. Whatever you choose, measure integrated LUFS across the whole song with a dedicated meter like Youlean Loudness Meter rather than trusting your ears about volume.
Check, then deliver
Once the chain is set, run the full song and watch three numbers: integrated LUFS in your target range, true peak at or below -1 dBTP, and short-term LUFS that does not swing more than a few dB between the quietest verse and loudest chorus. If the chorus is 6 dB louder than the verse in short-term LUFS, the song will feel like it lurches on a playlist; a touch more bus compression or automation smooths that out. For a deeper walkthrough of metering, our guide to checking your master covers the full pre-release checklist.
Deliver a 24-bit WAV at your project sample rate to your distributor, and let their servers handle any conversion. Do not upload an MP3 as your master. If you want to hear how your chain compares against a reference-quality result, or you are short on time, an AI service can be a useful sanity check before you commit; our LANDR review looks at where that fits.
Finally, keep a mastered and an unmastered bounce archived. Singles get re-released, remixed and licensed, and having a clean, documented chain means you can recreate the sound months later. If you want to build these skills further, the wider Violet Recording tools hub has free metering and reference utilities that pair well with any DAW. Master one single carefully and the process scales to everything you release next.



