
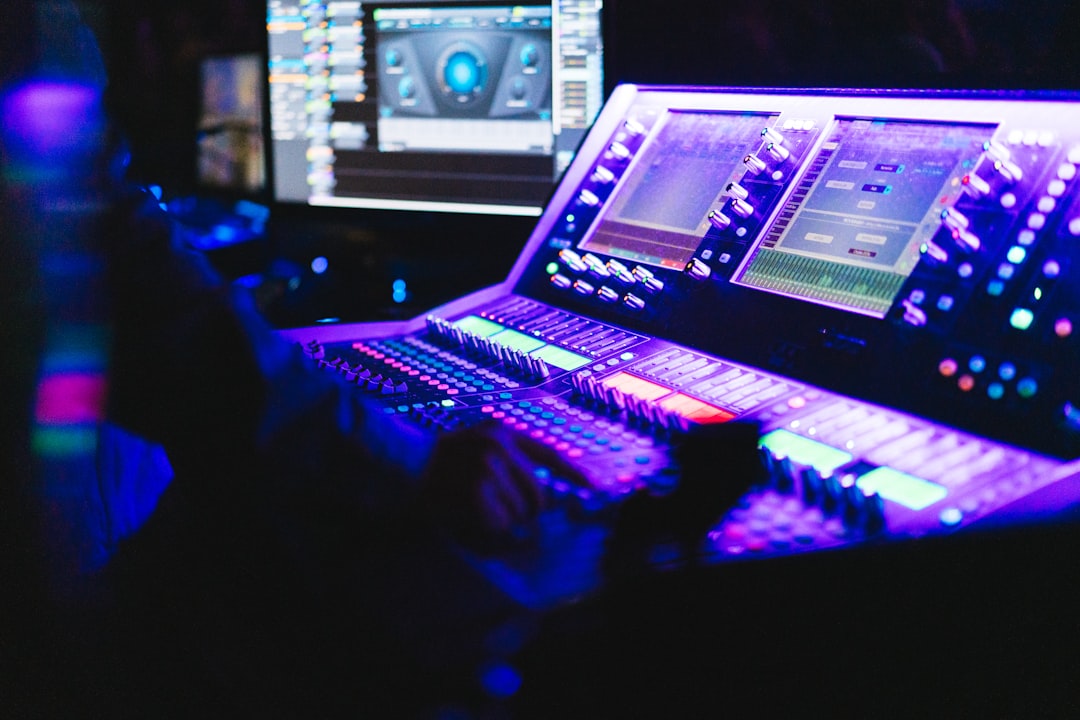
To start a podcast you need surprisingly little: a decent microphone, recording software, a quiet room, and somewhere to host the finished episodes. That is the honest answer to what do you need to start a podcast — everything else is an upgrade. You can launch with gear you may already own and add quality as your show grows. Here is the complete, no-fluff checklist.
The essentials (you genuinely need these)
A microphone
Your mic is the single biggest factor in how your podcast sounds. A USB microphone is the simplest start — it plugs straight into your computer with no extra gear. A dynamic mic is forgiving in untreated rooms because it rejects background noise. Even a budget USB dynamic mic beats a laptop’s built-in microphone by a wide margin. If you are unsure about mic types, read condenser vs dynamic microphones.
Recording software
You need something to capture and edit your audio. Free options like Audacity (any platform) and GarageBand (Mac) are more than enough to begin. For remote interviews you will want software that records each guest locally. We compare the options in the best podcast recording software.
A quiet room
The cheapest quality upgrade is recording somewhere quiet. Close windows, turn off fans and air conditioning, and choose a room with soft furnishings rather than bare, echoey walls. A cupboard full of clothes is a famously good makeshift vocal booth, and if you want something sturdier you can build a vocal booth at home. A small amount of treatment helps too — see acoustic treatment for home studios.
Headphones
Closed-back headphones let you monitor your audio while recording and catch problems before they ruin a take. They also prevent your speakers’ sound from bleeding back into the mic. Any honest closed-back pair will do to start.
Podcast hosting
Finished episodes need a podcast host that stores your audio and generates the RSS feed that platforms like Apple Podcasts and Spotify read. This is a separate service from your website; it is what actually distributes your show. Choose a reputable host with reliable feeds and clear analytics.
Nice-to-have upgrades
- An audio interface + XLR mic. Once you outgrow USB, an interface and an XLR dynamic mic give better sound and room to expand. Start with how to set up an audio interface.
- A pop filter. Cheap insurance against plosive pops on your speech — see what is a pop filter.
- A boom arm and shock mount. Keeps the mic at a consistent distance and reduces desk thumps.
- A few acoustic panels. A small amount of treatment at reflection points tightens up your sound.
What you do NOT need to start
Do not let gear paralysis stop you launching. You do not need a mixer for a solo or simple show — your software handles the mixing, as we explain in do you need a mixer for a home studio. You do not need an expensive flagship mic, a fully treated studio, or a video setup. Recording quality matters far more than equipment cost; technique and a quiet room beat pricey gear used badly.
How to choose your first podcast setup
The right starter kit depends less on budget than on the kind of show you are making. Work through these questions before you buy anything, and you will avoid paying for gear you do not need.
Are you recording solo, in person, or remotely?
A solo show is the simplest case: one mic into one computer and you are done. If you record in the same room as a co-host, you have two realistic routes — give each person their own USB mic on a separate computer and combine the tracks afterwards, or move to a single audio interface that takes two XLR mics at once. For remote guests, the mic matters less than the software; record each person on their own end (a “local recording”) so a weak internet connection never degrades the final audio.
USB or XLR first?
Start with USB unless you already know you will grow into a multi-mic setup. USB gets you recording today with nothing else to buy, and a good USB dynamic mic sounds genuinely broadcast-ready for one voice. Step up to XLR when you need more than one microphone, want to swap mics over time, or find yourself fighting the limits of a single fixed input. Some podcast mics offer both connections, which lets you begin on USB and migrate to an interface later without rebuying.
How much should you spend?
Spend on the things that touch your voice first — the mic and the room — before anything else. A modest mic in a quiet, soft-furnished room will out-perform an expensive mic in a hard, echoey one every time. Treat hosting as the one unavoidable running cost and keep everything else optional. It is far better to launch with sensible budget gear and upgrade from real experience than to spend big on guesses before you have published a single episode; if you want a fuller breakdown of where the money goes, see how much a home studio costs.
Common mistakes when starting out
- Recording too far from the mic. Most dynamic mics want you close — roughly a hand-width away. Back off and the room’s echo and background noise creep in.
- Ignoring the room. No amount of editing fully removes reverb baked into a recording. Fix the space before you reach for software.
- Skipping headphone monitoring. Without headphones you will not hear a buzz, a clipping level, or a guest’s echo until it is too late to re-record.
- Recording too hot. Aim for healthy levels with headroom to spare. If the loudest peaks hit the top of the meter, the audio clips and distorts permanently.
- Leaving loudness inconsistent. Episodes that jump in volume frustrate listeners. Level everything to a consistent target — see LUFS explained.
- Over-buying before launch. Gear paralysis kills more podcasts than bad equipment ever does. Publish, learn, then upgrade.
A simple starter chain
- Plug a USB dynamic mic into your computer.
- Open Audacity or GarageBand and set the mic as your input.
- Record in your quietest room, monitoring on closed-back headphones.
- Edit out mistakes, add an intro, and level the audio to a consistent loudness — see LUFS explained.
- Upload to a podcast host, which generates your RSS feed for the directories.
For the broader hardware picture as you grow, the home studio gear checklist covers everything in one place.
Frequently asked questions
How much does it cost to start a podcast?
You can start very cheaply with a USB microphone, free recording software like Audacity or GarageBand, and headphones you may already own. The main ongoing cost is podcast hosting. Equipment quality matters less than a quiet room and good recording habits.
What microphone should I use to start a podcast?
A USB dynamic microphone is the easiest start: it plugs straight in and rejects background noise, which is forgiving in untreated rooms. As you grow, an XLR dynamic mic with an audio interface gives better quality and room to add more mics.
Do I need a podcast host or just a website?
You need a podcast host. It stores your audio files and creates the RSS feed that Apple Podcasts, Spotify, and other apps use to list your show. A regular website cannot reliably do this on its own, so a dedicated podcast host is part of the essentials.
How long should my first episodes be?
There is no required length — make episodes as long as the content stays interesting and no longer. Many shows land between twenty and forty-five minutes, but a tight ten-minute episode beats a padded hour. Consistency and audio quality matter far more to early listeners than runtime.
Shop related gear
The core podcasting kit — mic plus interface:
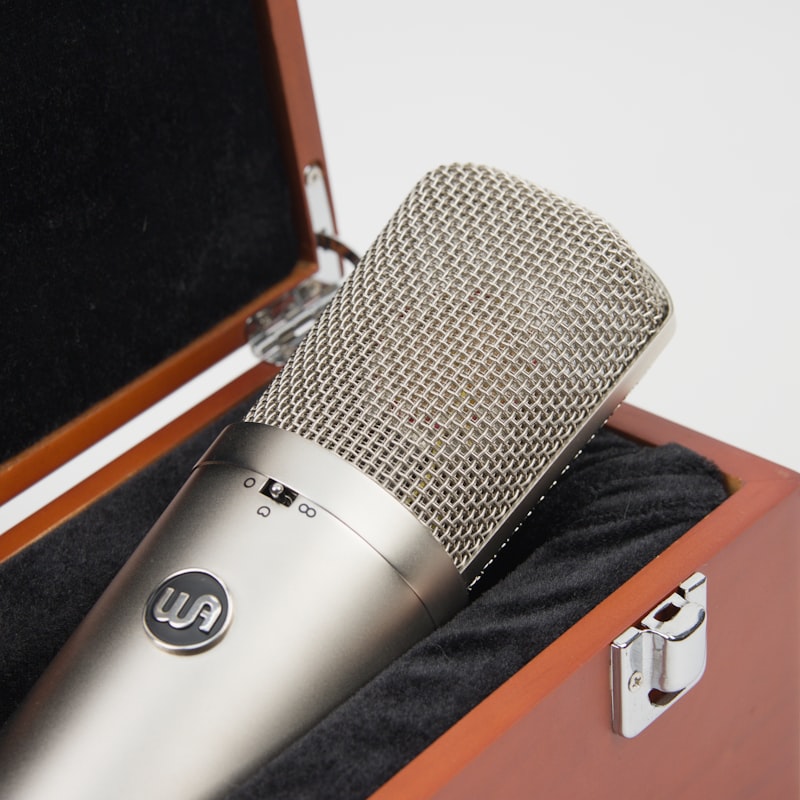
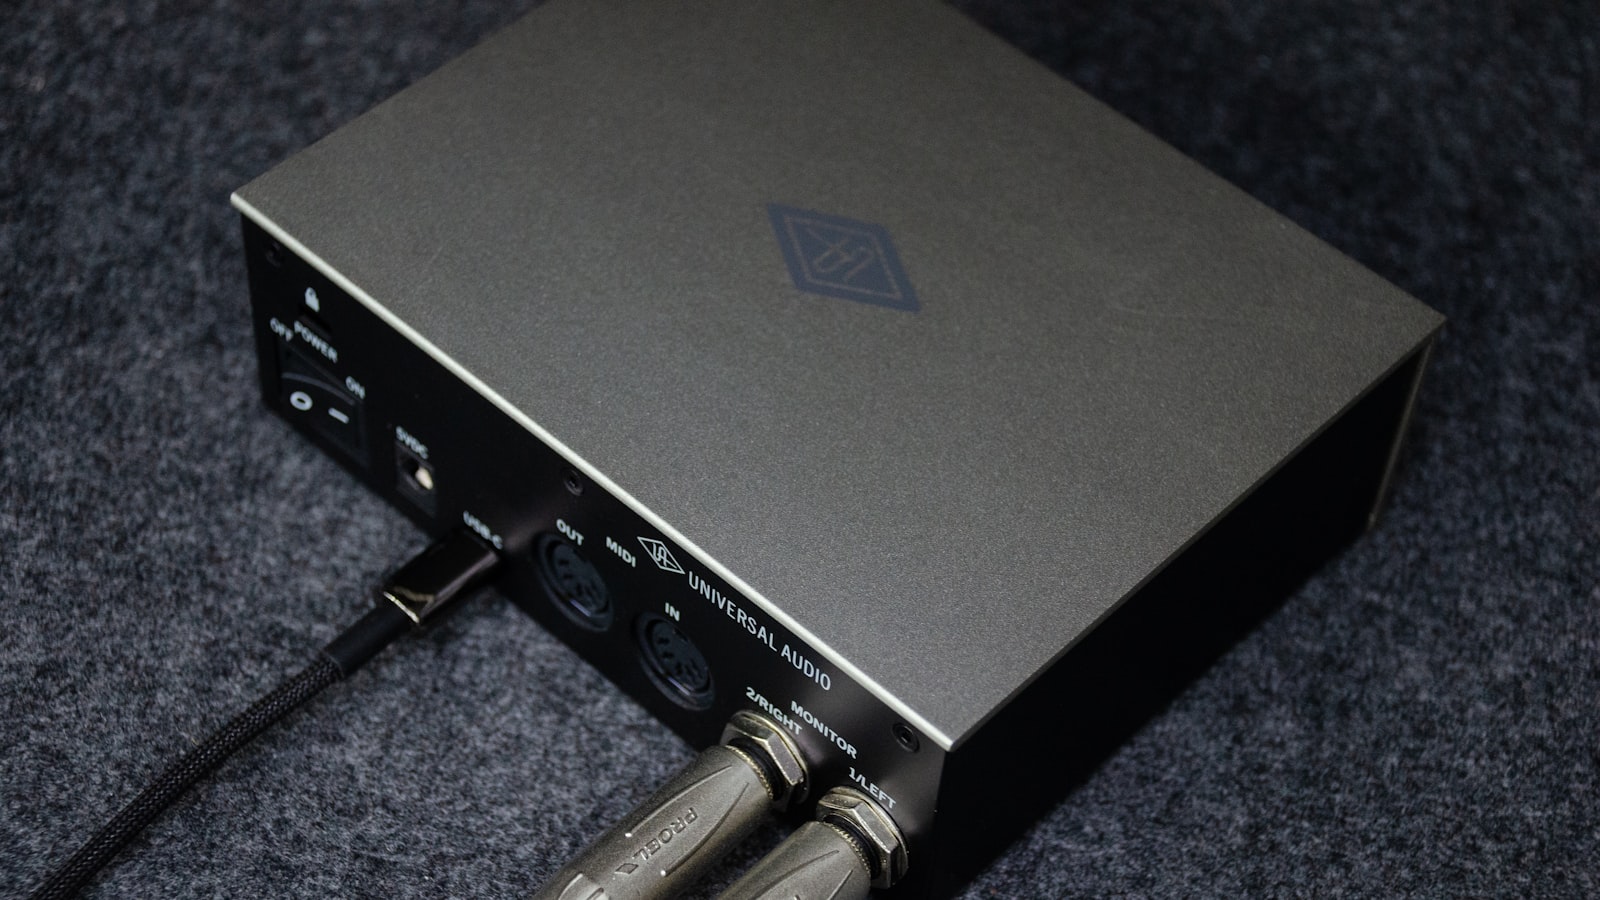
Clean preamps and low-latency USB-C for your home studio.



