
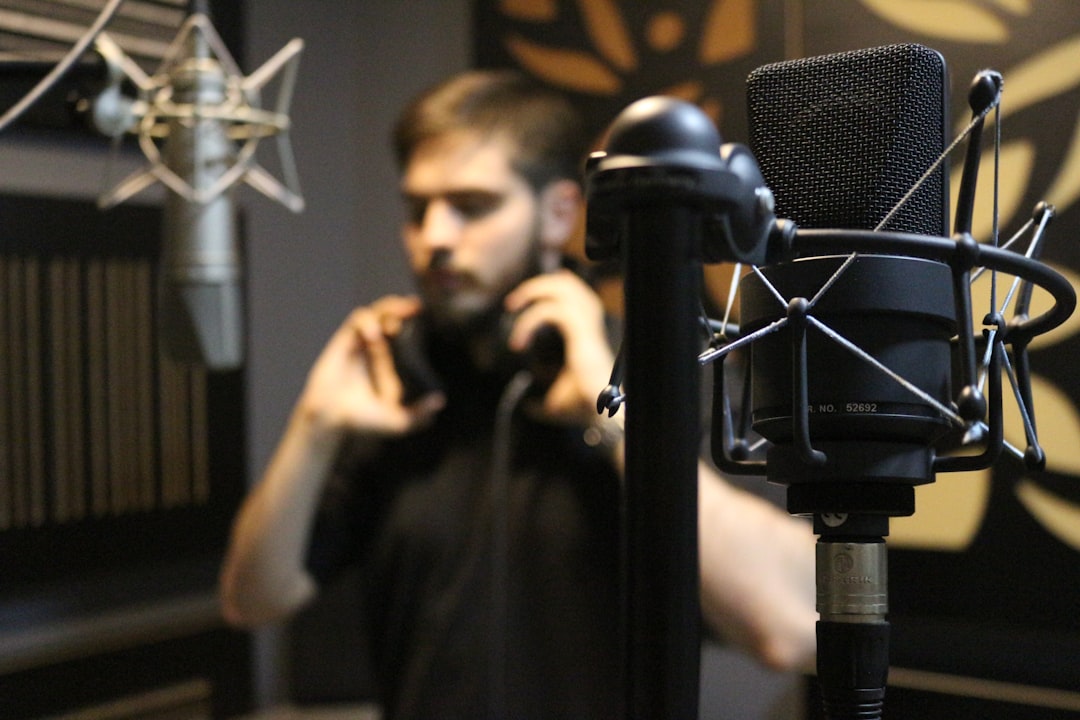
Getting a punchy kit to tape starts with picking the best drum mics for each part of the set and then placing them so they work together rather than fight. Drums are the hardest thing to record at home because a kit is loud, dynamic and made of many sources bleeding into every mic. This guide covers proven mic choices per drum, the exact distances and angles that keep phase tight, and the gain and buffer settings that stop the loudest snare hit from clipping your interface.
The best drum mics by kit position
Think in zones: kick, snare, toms, hats and overheads. You can record a convincing kit with as few as two or four mics, or go full multi-mic if you have the inputs.
- Kick – Shure Beta 52A or AKG D112 (dynamic): built for the low-frequency punch and high SPL inside a bass drum. Pros: pre-shaped scoop that sounds “mixed” straight away, huge headroom. Cons: that scoop can be too much on some kits, and they are one-trick mics.
- Snare – Shure SM57 (dynamic): the industry default. Pros: cheap, tough, cuts through anything. Cons: bright and needs high-pass filtering to tame hi-hat bleed.
- Toms – Sennheiser MD421 (dynamic): full-bodied with a useful low-cut switch. Pros: fat low-mids, handles transients. Cons: bulky clips, and a full set gets expensive.
- Overheads – a matched pair of small-diaphragm condensers (Rode NT5, AKG C451 B, or Line Audio CM4): they capture cymbals and the overall balance of the kit. Pros: accurate stereo image, the “glue” of the sound. Cons: they hear the room, so treatment matters.
- Budget alternative – a single large-diaphragm condenser out front plus a kick mic: the classic two-mic setup. Pros: minimal inputs, natural sound. Cons: no independent control over snare vs cymbals.
Placement and phase: where the best drum mics earn their keep
With multiple mics on one loud source, phase relationships make or break the sound. Set a consistent reference and measure.
- Overheads: use a spaced pair or XY roughly 90-120 cm (3-4 ft) above the kit. For the “equidistant” trick, keep both overheads the same distance from the center of the snare – measure with a cable or tape so the snare stays centred and in phase. A common rule of thumb: about 1 m from each overhead capsule to the snare.
- Kick: if the drum has a port hole, place the mic just inside, 5-8 cm from the beater side for attack, or back toward the resonant head for more boom. Off-axis to the beater softens the click.
- Snare: point an SM57 at the center of the head from about 2-3 cm above the rim, angled 45 degrees down and away from the hi-hat to reduce bleed. Add a bottom mic (phase-inverted) for wire snap if you have the input.
- Toms: 2-3 cm above the rim, angled toward the center. Gate or edit later to clean up bleed.
- Check phase in mono: sum the kit to mono and flip the polarity on each close mic – keep whichever setting gives the fullest low end. Thin, hollow drums are almost always a phase problem, not an EQ problem.
Gain, headroom and buffer settings for a loud kit
Drums have massive transients – the peak of a rimshot can be 15-20 dB above the average level. Set your preamps so the hardest hits peak around -12 to -8 dBFS, leaving generous headroom. If you set levels while the drummer plays softly, they will clip the moment the chorus hits, and a clipped snare transient is unrecoverable. When in doubt, track quieter.
Watch each channel’s meter individually. The kick and snare clip first, so give them the most headroom. Engage a high-pass filter on overheads around 60-80 Hz if your interface offers it, to stop kick rumble eating the cymbal channels.
Recording many channels at once is CPU-heavy, so tracking with a 128-sample buffer keeps monitoring latency low while you play, then push to 512 or 1024 when mixing. Use direct/zero-latency monitoring for the click and any live cue mix so the drummer is not thrown by delay.
Taming an untreated room
Overheads and any room mic capture your space, and a boxy room turns cymbals into wash. Quick wins: put a rug under the kit to kill floor slap, hang duvets or moving blankets on the two nearest walls, and pull the kit away from corners. If the room is truly bad, favour close mics over ambient mics and add controlled reverb in the mix instead. A little tuning of the drums themselves – seating fresh heads and removing ring with a small dampening gel – improves the recording more than any plugin.
Do it with fewer mics
One more free win: tune the kit before you mic it. A ringing, poorly seated head sounds worse through the best drum mics than a well-tuned kit through cheap ones. Seat fresh heads, tune the resonant and batter heads to a musical interval, and use a small dampening gel or a strip of tape to remove unwanted overtones. Muffle the kick with a pillow or folded blanket resting lightly against the batter head for a tighter, punchier thud. These adjustments take minutes and improve every channel at once, because the mics only ever capture what the drum actually produces.
You do not need eight inputs. The Glyn Johns method – two overheads plus a kick and snare mic – produces a balanced, natural kit from four channels, and it is a great way to learn phase before scaling up. Once tracked, our drum mixing guide walks through gating, parallel compression and EQ, the recording techniques hub covers other sources, and the Violet Recording tools hub has free metering and BPM utilities for lining up your session. Nail placement and phase first – the best drum mics in the world cannot fix a smeared, out-of-phase kit.



