
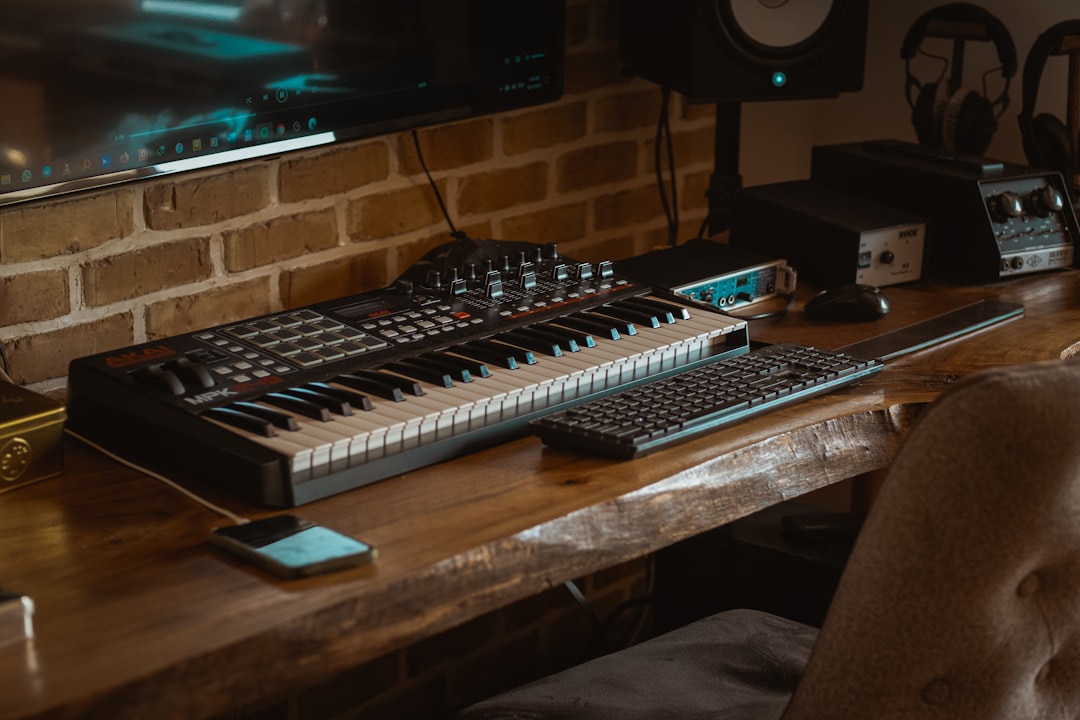
Adding groove and swing to a beat means pulling your drums off the rigid grid so they breathe, push and pull the way a real drummer plays. In practice that comes down to three things: shifting note timing, varying velocity, and using your DAW’s swing control with intent. Do those well and a stiff, robotic loop turns into something that makes heads nod.
This guide walks through the whole craft, from song structure and drum programming to 808 movement, swing percentages and arrangement — the same moves an experienced producer would show you at the desk.
Violet Recording is reader-supported — we may earn a commission from links on this page, at no extra cost to you.
What you’ll need before you start
- A DAW with a piano roll and step sequencer — FL Studio, Ableton Live, Logic, GarageBand or a free option all work.
- A basic drum kit: kick, snare or clap, closed and open hi-hats, plus one 808 or sub bass.
- A tempo in mind. Trap and drill sit low (roughly 130–150 BPM felt as half-time), boom-bap lives around 85–95 BPM, and house/afrobeats sit higher. If you’re unsure, tap it out with our free BPM and metronome tools.
- Ten minutes of patience — groove is small adjustments, not big ones.
The steps at a glance
- Lay a solid, on-grid skeleton first.
- Choose a swing amount and apply it to the right elements.
- Micro-shift individual hits to create push and pull.
- Ride velocity so nothing hits at the same volume twice.
- Give the 808 movement with glides and note length.
- Arrange the beat so the groove has room to land.
Start with a solid skeleton before you add groove and swing
Groove is a departure from a reference, so you need a reference first. Program a straight, quantised pattern before you humanise anything. In a standard four-bar loop, put your kick on beat one and wherever the low end needs weight, land your snare or clap on beats two and four, and run steady hi-hats underneath. Get this dead on the grid and listen back. It should feel correct but a little lifeless — that’s exactly what you want as a starting point.
Why bother being rigid first? Because if you improvise timing from the start, mistakes stack up and you can’t tell a deliberate groove from a sloppy one. A locked skeleton gives you a control that you then bend on purpose. Save this straight version before you touch it, so you can always A/B the groove against the grid and hear whether your changes actually helped.
Program drums in patterns, not single hits
Think in two-bar or four-bar phrases rather than one-bar loops. A pattern that repeats every single bar gets tiring fast; leaving one small variation every two or four bars — an extra kick, a dropped hi-hat, a snare roll into the turnaround — is what stops a beat sounding like a stuck loop. Program the core groove first, then decide where the phrase resolves.
Understand what swing actually does to your timing
Swing delays every second subdivision so pairs of notes stop being evenly spaced. On straight hi-hats, the “off” notes get nudged later, turning a mechanical “tick-tick-tick-tick” into a rolling “ti-ki, ti-ki” feel. Most DAWs express this as a percentage: 50% is perfectly straight (no swing), and higher values push the off-beats progressively later. Around 54–58% gives a subtle, modern shuffle; push toward 62–66% and you get the heavy, obvious bounce of classic hip-hop and garage.
The trick most beginners miss: swing usually sounds best applied to some elements and not others. Swing your hi-hats and percussion hard, but keep the kick and snare closer to the grid so the backbone stays solid. If you swing everything equally, the whole beat just sounds slow rather than groovy. Apply swing surgically — element by element — and the pocket opens up.
Match the swing amount to the genre
Boom-bap and lo-fi love a wide swing that drags the hats and even the snare slightly behind the beat — that lazy, behind-the-beat feel is the whole aesthetic. Trap tends to keep the kick and 808 tight while the fast hi-hat rolls carry a lighter swing. House and afrobeats use gentler swing on the hats to keep the dancefloor pulse driving. There’s no universal number; set the swing, then adjust by ear against the genre you’re chasing.
Micro-shift individual hits for push and pull
Global swing is a blunt instrument. The real feel comes from nudging individual notes in the piano roll by a few ticks. A snare pushed a hair late feels relaxed and behind the beat — the pocket of soul and boom-bap. A hat pulled a hair early adds urgency and drive. Producers call this playing “in front of” or “behind” the beat, and it’s how live drummers create tension without changing tempo.
Work in tiny amounts. Most DAWs let you move notes by ticks rather than snapping to the grid; shifts of just a few milliseconds are enough to be felt but not heard as an error. Start by dragging your snare 5–15 ms late and see how the whole beat leans back. Then nudge a couple of ghost hats early. You’re sculpting the space between the hits — that space is the groove.
Add ghost notes for movement
Ghost notes are quiet, in-between hits — soft snares, tucked hats, muted percussion — that fill the gaps without stealing focus from the main hits. Drop a couple of near-silent snare taps between beats two and four and the groove suddenly has a heartbeat under it. Keep them low in velocity so they’re felt more than heard.
Ride velocity so no two hits feel identical
Uniform velocity is the single biggest giveaway of a programmed, lifeless beat. A real drummer never strikes every hat at the exact same force. Open your hi-hat lane and vary the velocities: accent the downbeats harder, pull the in-between notes softer, and let the pattern rise and fall. Even a modest range — say the accents noticeably louder than the ghosted notes — transforms a flat machine-gun hat into something that grooves.
Do the same for the kick and snare. Slightly softer kicks on pickup notes, a touch harder on the main hits. Many drum instruments also change their sound with velocity, not just volume — harder hits open up brighter, which reinforces the human feel. If your DAW offers a “humanise” or “randomise velocity” function, use it sparingly as a starting point, then hand-edit; automatic randomisation alone tends to sound random rather than musical.
Give your 808 and bass real movement
The 808 is where groove and low end meet. A static, one-note 808 sitting dead on the grid kills momentum. Bring it to life three ways. First, vary note length: let some 808s ring long and cut others short so the sub locks with the kick pattern instead of fighting it. Second, use glides (portamento) to slide between pitches — that sliding bass is central to trap and drill, and it’s what makes an 808 line sing rather than just thump. Third, sit the 808 in the same rhythmic pocket as your kick; if they clash in timing, the low end turns to mud.
A practical routine: write your 808 melody first as simple sustained notes, then decide which notes glide into the next by enabling portamento and overlapping those notes in the piano roll. Shorten the notes that need to punch, lengthen the ones that need to breathe. Keep the fundamental pitches in key with the rest of the beat — a quick check against a piano or our tuner and chord tools saves you from a bassline that fights the melody.
Lock the kick and 808 relationship
If your kick and 808 hit at the same time and occupy the same low frequencies, they’ll cancel and lose power. Either sidechain the 808 to duck slightly under the kick, or offset them rhythmically so each gets its own moment. This timing relationship is as much a groove decision as a mixing one — get it right and the low end drives the whole track.
Choose sounds that already have groove baked in
Half of groove is programming; the other half is the raw material. Crisp, characterful drum samples and loops carry feel that a stock kit simply doesn’t. Layering a tight programmed pattern with a one-shot kit that has natural room and transient character instantly humanises things. When you want a deep, curated library of drum hits, loops and one-shots to pull from, a subscription sample service like Splice is the fastest way to build a personal palette of sounds that already groove.
You don’t need thousands of samples — you need a handful of great ones you know well. Pick a kick, a snare, two or three hats and a percussion loop you love, and learn to bend them. If you want more free options first, our roundups of the best free drum VSTs and best beat-making apps are good starting points.
Arrange the beat so the groove has room to land
A groove you can’t hear is wasted. Arrangement gives it space. Structure a beat like a song: an intro that establishes the mood, a main section where the full groove drops, a break or variation that pulls elements out, and a return that hits harder because you missed it. A common eight-bar building block — drums in, then bass, then melody — lets each layer’s groove register before the next one arrives.
Use subtraction as a tool. Muting the hats for two bars and bringing them back makes the swing feel twice as strong on the return. Dropping everything but the 808 and kick for a bar resets the ear. The groove doesn’t just come from the notes you add — it comes from the ones you take away at the right moment. Keep your best variation for the final section so the beat builds instead of flatlining.
Check your groove against a straight reference
Before you commit, A/B against that quantised skeleton you saved. Toggle between the two. The groove version should feel more alive without feeling sloppy or losing the pulse. If it just sounds slower or messier, you’ve over-swung or pushed hits too far — pull them back. Groove is felt in the body; if your head nods harder on the groove version, you’ve got it.
Turn your beat idea into a finished, original track
Sometimes you’ve got a groove and a hook in your head but not the time to produce the full arrangement. If you want to hear a complete original song built around your idea — vocals, structure and all — you can sketch it with an AI music tool like Solmi and use it to test where your beat wants to go before you commit hours in the DAW. It’s a fast way to prototype a direction, then bring the groove back into your own session.
Whichever route you take, the fundamentals here carry over: solid skeleton, deliberate swing, micro-timing, velocity and a moving 808. Master those and every beat you make will move.
Where to go next
Groove sits inside the wider craft of production. Once your beat moves, tighten the low end and balance with our guide to EQ and compression fundamentals, then polish the whole thing in our beginner’s guide to mixing your first song. If you’re picking a workspace, see the best free DAWs for beginners, and when you’re ready to earn from your work, read how to start selling beats. For more sound-design walkthroughs, browse the full sound design category.
Frequently asked questions
What swing percentage should I use on a beat?
There’s no single right number, but a useful starting range is 54–58% for a subtle modern shuffle and 60–66% for a heavy, obvious bounce like classic hip-hop or garage. Set the value, then adjust by ear. Swing your hi-hats and percussion more than your kick and snare so the backbone stays tight while the top end rolls.
Why does my beat still sound robotic even with swing on?
Swing alone rarely fixes a stiff beat. The two things most producers forget are velocity variation — no two hits should be the exact same volume — and micro-timing, where you nudge individual snares and hats a few milliseconds early or late. Add ghost notes and vary your 808 note lengths too. Groove is the sum of many small human imperfections, not one global setting.
Should I add groove before or after I finish writing the beat?
Write and program the beat straight on the grid first, then add groove once the parts are in place. Building on a quantised skeleton lets you A/B your groove against the grid and tell a deliberate pocket from a sloppy mistake. Save the straight version so you can always compare — if the groove version makes your head nod harder without feeling messy, you’ve nailed it.



