Sound design for film is the craft of creating and shaping every non-dialogue, non-music sound an audience hears — footsteps, doors, weather, impacts, sci-fi devices and the invisible ambience that makes a scene feel real. The workflow is always the same: source or record the sound, edit it, layer it, process it, and sync it to picture.
This guide breaks that process down for beginners. You do not need a Hollywood mix stage; a DAW that handles video, a pair of headphones or monitors, and a willingness to gather sounds will get you a long way.
What sound design for film actually involves
Film sound is built in layers. A single moment on screen might combine:
- Hard effects — clear, synced sounds like a gunshot, a car door or a phone ring.
- Foley — performed, recorded human sounds like footsteps and cloth movement.
- Ambience (backgrounds) — room tone, traffic, wind, crowd murmur that set the location.
- Designed effects — invented sounds for things that have no real-world reference.
If you are completely new to the field, start with what is sound design and sound design for beginners, then come back here for the film-specific workflow.
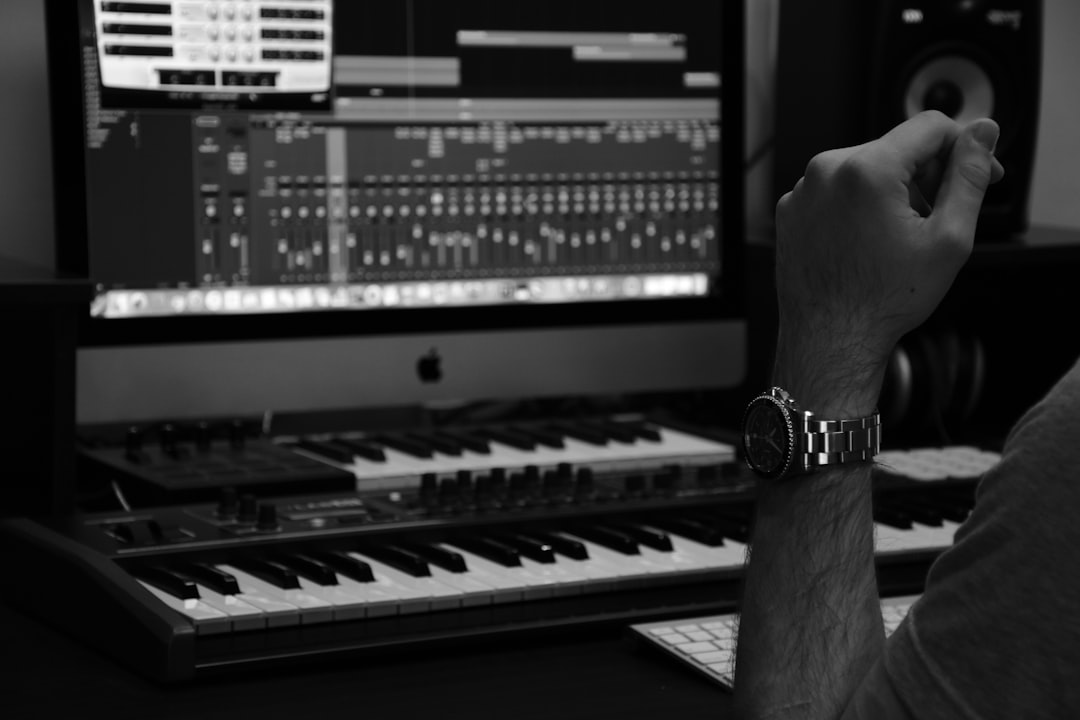
Step 1: Source and record your sounds
You get sounds three ways: record them yourself, pull from a library, or design them in a synth. Recording your own gives the most original results — a field recorder like a Zoom H-series or Tascam handheld captures clean material on location or at home. Libraries (commercial packs, or free sources like Freesound) fill gaps fast. For anything unreal — energy weapons, force fields, monsters — you design it from synths and processed recordings.
For the recording side, our guides on recording your own sound effects and doing Foley at home cover the practical technique.
Step 2: Edit and sync to picture
Import the video into your DAW or editor and place sounds against the frame they belong to. Tight sync is everything — a footstep landing even a few frames early or late breaks the illusion. Trim handles, remove unwanted noise, and use crossfades so edits are inaudible. Watch the scene repeatedly with only your effects soloed to catch anything that drifts.
Step 3: Layer for richness and weight
Most memorable film sounds are several recordings stacked together. A door slam might be the actual latch click, a low wooden thud for body, and a subtle reverb tail for the room. A punch is often a meat impact, a low boom for impact, and a high snap for the “crack” — the same approach you would take when you build impact and hit sounds from scratch. Layering lets you build a sound bigger and more dramatic than any single recording. The principles in layering sounds apply directly.
Step 4: Process to fit the scene
Processing places a sound in its world and makes it sit in the mix:
- EQ to match perspective — distant sounds lose high end, off-screen sounds get rolled off.
- Reverb to put the sound in the same space as the scene (Valhalla reverbs and convolution reverbs are common choices). If you are new to it, our guide to using reverb for sound design explains how to choose and shape the right space.
- Pitch and time to make sounds bigger, slower or more menacing.
- Volume automation so effects support, not fight, the dialogue.
For invented, otherworldly sounds, the techniques in making sci-fi sounds are a natural extension of this stage.
Step 5: Mix and respect the dialogue
The final job is balance. Dialogue is almost always king; effects and ambience support the story without burying the words. Ride levels, carve EQ space, and keep your overall loudness consistent. Reference scenes from films you admire to calibrate how loud effects should really sit.
How to build a scene from scratch
Theory makes more sense once you walk through a real example, so imagine a simple shot: a character pushes open a heavy door, steps into a quiet office at night, and sets a coffee mug down on a desk. Here is how the layers come together.
Start with the ambience. Lay down a continuous bed of quiet room tone — the low hum of an air-conditioning unit, a distant city outside the window. This bed runs underneath everything and tells the audience where they are before a single effect lands; the same patience that goes into building ambient soundscapes pays off here. Without it, the scene feels dead and unnaturally silent the moment dialogue stops.
Next add the hard effects and Foley in sync. The door gets a layered open-and-close (handle mechanism, hinge creak, a low body thud as it shuts). The footsteps are performed Foley matched to the actor’s pace and the floor surface — hard heels on tile sound completely different from soft soles on carpet, and getting that right is what sells the location. The mug placement is a small, precise tap with a touch of ceramic ring.
Finally, process the whole thing into one space. Send the door, footsteps and mug through the same reverb so they share the room. Roll a little high end off the ambience so it sits behind the foreground. Automate the room tone down a touch when dialogue arrives so the words stay clear. Work that small, and a flat clip suddenly feels like a place.
Common mistakes beginners make
Most early film-sound problems come from a handful of repeatable errors. Watch for these:
- Forgetting room tone. Gaps of true digital silence between effects sound wrong to the ear. A continuous ambience bed glues a scene together and hides edits.
- Everything at full volume. If every effect is loud, nothing has impact and the dialogue drowns. Decide what the audience should focus on and let the rest sit back.
- Sounds that share no space. A dry, close-miked effect dropped into a reverberant hallway instantly reads as fake. Match the reverb and EQ to the picture.
- Over-relying on one library clip. The same stock whoosh or impact appears in countless videos. Layer, pitch-shift and combine so your sounds feel original rather than recognised.
- Mixing on the wrong system. Tiny laptop speakers hide low-end booms and harsh top end. Check your mix on monitors or decent headphones, and ideally on more than one device.
- Designing in isolation. Always work against the picture. A sound that is impressive on its own can be completely wrong for the moment it has to serve.
Frequently asked questions
What software do I need for film sound design?
Any DAW that can import video works — many editors use Reaper, Pro Tools or Logic. You also want a sound library, a few effects (reverb, EQ, pitch), and ideally a field recorder for capturing your own material.
What is the difference between sound design and Foley?
Foley is one part of sound design: the performed, recorded human and prop sounds like footsteps and cloth. Sound design is the broader craft that also includes ambiences, hard effects and invented sounds. Learn more in what is Foley.
How do I make a sound feel like it belongs in a scene?
Match perspective and space. Use EQ to reflect distance, add the scene’s reverb so the sound shares the same room, and automate levels so it supports the picture rather than sitting on top of it.
Do I need expensive gear to start?
No. A DAW that handles video, a basic field recorder or even a phone for capturing rough sounds, and a reliable pair of headphones are enough to learn the whole workflow. Skill in editing, layering and processing matters far more than a big equipment budget, and you can upgrade gear gradually as your ear develops.
How long should I spend on a single scene?
It varies enormously, but expect sound design to take longer than you think — a polished minute of finished film sound can take hours of sourcing, syncing, layering and mixing. Beginners should resist the urge to rush; the patience you put into tight sync and matched space is exactly what separates convincing sound from amateur work.


