
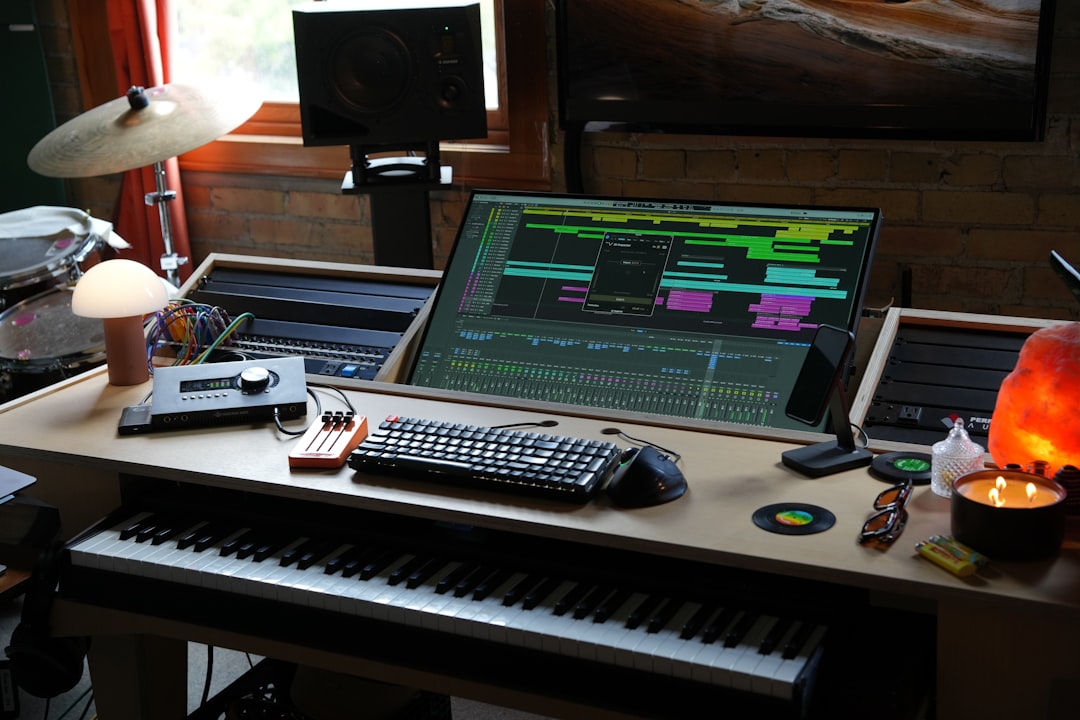
To layer drums in a beat, you stack two or more samples on the same drum hit so each one fills a frequency the other is missing — a deep body kick under a clicky attack sample, or a tight snare under a broad clap. The goal isn’t more sounds, it’s one bigger, more finished-sounding drum. Done right, layering is the difference between a flat, thin loop and a punchy beat that cuts through on any speaker.
Violet Recording is reader-supported — we may earn a commission from links on this page, at no extra cost to you.
What you’ll need before you start
You don’t need a huge setup to layer drums well. A short checklist:
- A DAW — FL Studio, Ableton Live, Logic, or a free option works fine. New to this? Start with our pick of free DAWs for beginners.
- A folder of one-shot drum samples (single hits, not loops) — kicks, snares, claps, hats, and percussion.
- A basic EQ and a compressor. Every DAW ships with both.
- A reference beat in a similar style, so your ears have a target.
- A tempo. If you’re not sure where to sit, our free BPM and tempo tools help you find and tap out a starting speed.
The steps at a glance
Here’s the whole workflow before we dig into each part: pick your foundation sounds, layer the kick, layer the snare or clap, build hats and percussion, add your 808 or bass, glue the layers together, then add swing and arrange. Work top to bottom and don’t move on until each element sits right on its own.
Start with a strong drum foundation
Layering can’t rescue a weak core. Before you stack anything, choose one solid kick and one solid snare that already sound close to what you want. These are your anchors. Program a simple pattern first — kick on the downbeats, snare on beats two and four — and get the groove feeling right with just those two sounds. If the bare-bones pattern doesn’t nod your head, no amount of layering will fix it. Nail the rhythm, then make each hit bigger.
Keep your one-shots organised in labelled folders (kicks, snares, claps, hats, perc). When it’s time to find a partner sample for a layer, you want to audition ten options in seconds, not dig through a mess. This habit alone speeds up beat-making more than any plugin.
How to layer drums in a beat, one element at a time
The core principle: each layer should cover a frequency range the others don’t. Think of a single drum hit as having three zones — low-end body (the weight you feel), midrange (the knock and tone), and high-end attack (the click and snap that helps it cut on small speakers). When you layer drums in a beat, you’re assembling one hit out of samples that each own one of those zones, then blending them so they read as a single sound.
Layering the kick
A great layered kick is usually two samples: a sub/body kick that brings the low-end thump, and a top/click kick that adds the attack you hear on phones and laptops. Line up both hits so their transients start at exactly the same moment — even a few milliseconds of offset causes a weak, flammy “double-hit” sound. Zoom in on the waveforms and nudge them until the initial spikes align.
Then carve with EQ so they stop fighting. High-pass the click layer so it isn’t adding mud in the lows, and gently roll off the extreme highs of the body kick. Now each sample owns its zone. If the low end feels loose or boomy, tighten it — our guide to gain staging and EQ and compression fundamentals both apply directly here.
Layering the snare or clap
Snares and claps love layering because a single sample rarely has both body and crack. A common recipe is a tight snare for the tone and midrange knock, plus a clap or a second, brighter snare for width and high-end snap. Stack them on the same step. If the combined hit feels too busy, shorten the tail of one layer or drop its volume until it’s supporting, not competing.
A quick trick for width: keep the main snare centred (mono) for punch, and pan a subtle layer or a short reverb slightly left and right so the top end feels wide while the core stays solid. Don’t overdo it — a snare that’s too wide loses its impact in mono playback, which is how a lot of listeners actually hear your beat.
Building hats and percussion
Hi-hats carry the energy and speed of a beat. Layer a closed hat for the steady pulse with the occasional open hat for movement, and vary their velocity so the pattern breathes instead of sounding like a machine. Roll-style hat patterns (fast 1/32 or triplet bursts) are a hip-hop and trap staple — program a few, then thin them out so they’re a feature, not a wall of noise.
Add character with a light percussion layer: a shaker, a rim, a tambourine, or a found-sound one-shot ghosting under the groove. These small layers sit low in the mix but make a beat feel hand-played and expensive. Pan them off-centre to open up the stereo field around your centred kick and snare.
Adding the 808 or bass under your drums
In modern beats the 808 is both an instrument and part of the drum layer. Tune it to the key of your track — an untuned 808 clashes with your melody and makes the whole beat feel wrong even when the drums are great. Play the 808 as a bassline with slides and note lengths, not just one repeated note.
The big issue when you layer an 808 with a kick is the two fighting in the sub. Two fixes producers rely on: sidechain the 808 to the kick so it briefly ducks every time the kick hits, leaving room for the attack; or EQ-carve so the kick owns the punchy 60–100 Hz knock while the 808 owns the deep sub below it. Either way, the kick and 808 should feel like partners, not a muddy blur. Match the 808’s decay to your groove — long tails for spacious trap, short and tight for busier patterns.
Glue your layers into one sound
Once each drum is layered, the layers need to feel like a single hit rather than several samples triggered together. The fastest way to glue a stack is to route all the layers of one drum to a single bus (a group channel) and treat them together. A touch of bus compression on that group pulls the samples into one movement — set a fast-ish attack and let it grab a couple of dB on the loudest hits. Adding a short, shared reverb or a hint of saturation across the bus also makes separate samples read as one instrument.
Constantly check your levels while you glue. Layering stacks energy fast, and it’s easy to clip. Keep headroom on every drum bus and on your master. If a layered kick suddenly sounds worse, it’s often just too loud and squashing everything around it — pull it back before you reach for more plugins.
Add swing, groove, and dynamics
Perfectly quantised drums sound stiff. Swing nudges the off-beat notes (usually the hats and some snares) slightly late so the groove leans and feels human. Most DAWs have a swing or shuffle control — start around 10–20% and dial to taste. For an even more natural feel, drag a few individual hits marginally off the grid and vary their velocity so no two hits are identical.
Dynamics matter as much as timing. Ghost notes — quiet snare or hat hits between the main ones — add motion. Velocity changes on hats create the illusion of a live drummer. Want to feel the pocket while you program? Practise against our free online metronome so your sense of timing sharpens with every beat you build.
Where to get sounds worth layering
Great layering starts with great source samples, and this is where a good sample library pays off. A subscription service like Splice gives you a huge, searchable catalogue of one-shots and loops you can filter by key and BPM — ideal for quickly finding, say, a clicky top-kick to sit over the sub kick you already love, or a bright clap to widen a dull snare. Build a personal folder of go-to layers and your beats speed up dramatically.
Prefer to keep things free while you learn? Our roundups of the best free drum VSTs and best beat-making apps will get you a solid starter kit without spending a cent.
Arrange your layered drums into a full beat
A looping four-bar drum pattern isn’t a song yet. Arrangement is where layering earns its keep: you don’t need every layer playing all the time. Strip the beat down in the intro — maybe just the kick and a hat — then bring in the snare layer, then the 808, then the full percussion stack as the beat builds. Drop elements out before a big section so the return hits harder. This push-and-pull is what keeps a listener engaged past the first eight bars.
Use your layers as arrangement tools: mute the open hats in the verse and bring them back in the hook; add an extra snare layer only in the final chorus for lift. Small changes in which layers are active make a two-minute beat feel like it’s going somewhere.
Once your drums are locked, you might want to hear the idea as a finished, fully-produced track. Solmi can turn a beat or a simple idea into a complete original song in minutes — a fast way to test whether your groove carries a full arrangement before you commit hours to it. Try it at https://solmi.ai/.
Common layering mistakes to avoid
Three traps catch most beginners. First, too many layers — three well-chosen samples beat six that muddy each other; if a layer doesn’t clearly add something, cut it. Second, ignoring phase — misaligned or opposing waveforms make a stacked kick weaker, not stronger, so always align transients and flip polarity to check which sounds fuller. Third, mixing while layering — get the layers balanced roughly, then mix properly once the arrangement is done, using a real process like our beginner’s guide to mixing your first song.
Keep building your beat-making skills
Layering is one core skill in a bigger craft. Explore more production and sound design guides on Violet Recording, and when you’re ready to release, learn how to start selling beats. The producers whose drums always sound huge aren’t using secret plugins — they’ve just layered, tuned, and arranged a hundred beats. Do the reps and yours will get there too.
Frequently asked questions
How many drum samples should I layer per hit?
Usually two or three per drum is plenty. A layered kick is often a sub/body sample plus a click sample; a snare might be a tonal snare plus a clap for width. Each layer should fill a frequency the others miss. If you can’t clearly hear what a layer adds when you mute it, you don’t need it — more samples just create mud and phase problems.
Why does my layered kick sound weaker than a single kick?
Almost always a timing or phase issue. If the two samples’ transients don’t start at exactly the same moment, they smear into a soft double-hit. Zoom in and align the initial spikes. If they’re aligned but still thin, the low ends may be cancelling — try flipping the polarity of one layer and keep whichever version sounds fuller.
Do I EQ each drum layer before or after combining them?
EQ each layer as you add it, so every sample owns its own frequency zone — high-pass the click layer, roll the highs off the body kick, and so on. Then do broad-strokes tone shaping on the combined drum bus afterwards. Carving first prevents layers from fighting; bus EQ and compression afterwards glue the result into a single, cohesive hit.



