
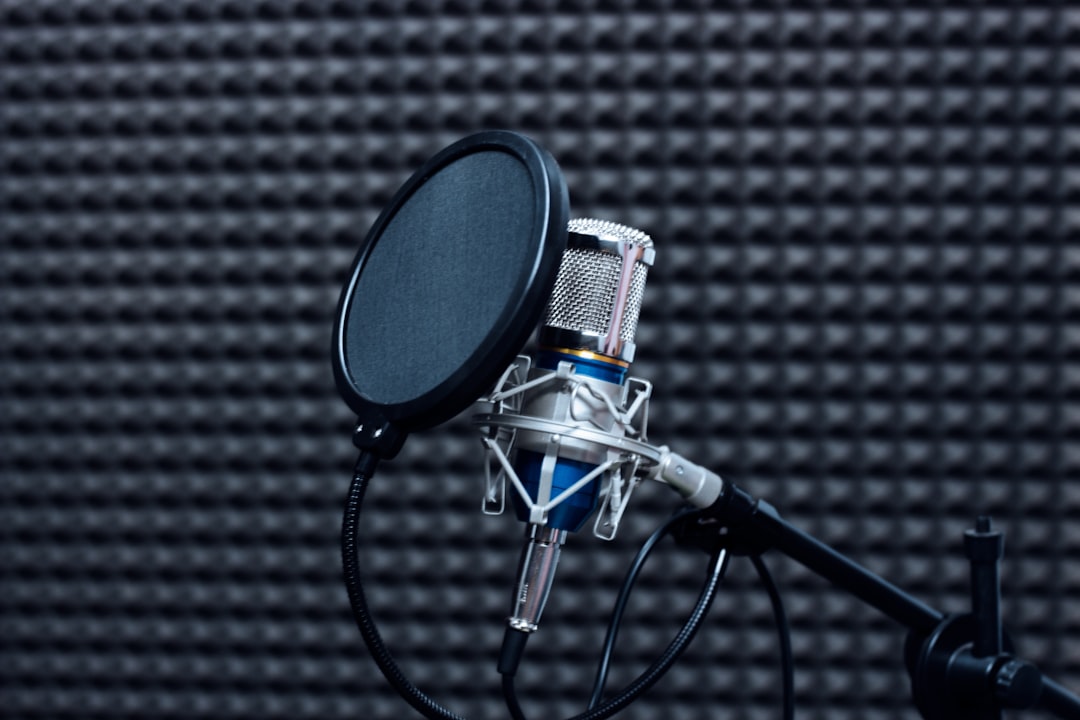
The best mic for home vocals is the one that flatters your voice, survives your untreated room, and works with the interface you already own. It is tempting to chase an expensive large-diaphragm condenser, but in a reflective bedroom a well-placed dynamic often sounds more professional because it hears less of the room. This guide covers the vocal mics home recordists rely on, the exact distance and angle to sing at, the level you should hit on the meter, and the cheap fixes that make any of them sound better.
The best mic for home vocals: condenser vs dynamic
Your room decides more than the mic. In a treated space a condenser captures detail; in a boxy room a dynamic keeps reflections out of the recording. Here are the reliable choices with honest trade-offs.
- Shure SM7B (dynamic): the podcast-and-vocal staple. Pros: rejects room noise and plosives, smooth and full, forgiving of harsh rooms. Cons: very low output – it needs 60+ dB of clean gain or an inline preamp booster, so a weak interface will hiss.
- Rode NT1-5th Gen (large-diaphragm condenser): Pros: extremely low self-noise, detailed and modern. Cons: that detail exposes a bad room and every mouth click; needs treatment to shine.
- Audio-Technica AT2020 or AT2035 (condenser): Pros: excellent value, clean and neutral. Cons: can sound slightly bright/thin on some voices; still needs a pop filter and treatment.
- Aston Origin / Spirit (condenser): Pros: built-in pop shield and shockmount, flattering midrange. Cons: pricier, and the Spirit’s multi-pattern flexibility is wasted if you only sing solo.
- Shure SM58 (dynamic): Pros: cheap, tough, great for demos and untreated rooms. Cons: rolled-off top end – less “air” than a condenser, but far more forgiving.
Placement, distance and angle for clean vocals
How you stand at the mic matters as much as which mic it is. Consistency is everything – a wandering singer produces an unmixable, level-jumping take.
- Distance: sing about 15-20 cm (6-8 inches) from a condenser, or 8-12 cm from a dynamic like the SM7B. Use a pop filter roughly 5 cm in front of the capsule and sing at the filter, not the grille.
- Angle: tilt the mic slightly off-axis – sing just past the capsule rather than straight into it – to reduce plosives and sibilance without losing presence.
- Proximity effect: getting closer boosts bass. Use it deliberately for an intimate verse, but back off for a belted chorus so it does not turn boomy.
- Height: set the capsule at nose/mouth level so the singer’s posture stays open and the airway is not compressed.
Gain and headroom: hit the right level
Set your preamp so a normal sung phrase peaks around -12 to -6 dBFS, then test your loudest note to be sure it stays below 0 dBFS. Vocals have a wide dynamic range between a whispered verse and a full belt, so leave headroom – a clipped vocal peak is permanent damage. If the loud parts clip, drop the gain and simply raise the whole track later; a track sitting a bit low is not a problem.
With a low-output dynamic like the SM7B, you may need to push a budget interface to its noisiest settings. A clean inline gain device or an interface with quiet, high-gain preamps solves the hiss better than swapping mics. Always record dry – add compression, EQ and de-essing in the mix, not on the way in, so you keep options open.
The untreated-room problem (and cheap fixes)
The single biggest reason home vocals sound amateur is room reflections. You do not need a pro booth – you need to stop sound bouncing back into the mic.
- Record facing into a corner or a closet full of hanging clothes; soft, dense material absorbs reflections.
- Hang a duvet or moving blanket on the wall behind the mic (behind the singer’s line of sight), so the mic’s rear rejection faces the untreated space.
- Add a reflection filter behind the mic and one absorber in front, roughly 60-90 cm away, to knock down the closest reflections.
- Avoid singing in the exact center of the room and away from parallel hard walls to reduce flutter echo.
These fixes cost almost nothing and improve the recording more than upgrading from a good mic to a great one.
Monitoring and latency while you sing
Set your buffer to 64 or 128 samples while tracking so you hear yourself in time; anything higher introduces a slap-back that makes pitching hard. Use your interface’s direct/zero-latency monitoring for the dry vocal and add a touch of reverb in the cue mix (not printed) to help the singer perform – a comfortable singer delivers a better take than any mic can rescue. Once mixing, raise the buffer to 512 or 1024 to free up CPU.
One habit separates good home vocals from bad ones: comping. Record three or four full passes rather than punching in endlessly, then build one strong “comp” take from the best lines of each. Because you have left headroom and recorded dry, you can align phrases, tune gently and ride levels in the mix without fighting a distorted or overcooked source. Keep a written note of the exact mic distance and gain setting you used, so if you return the next day the tone matches and your comp does not jump between takes. Consistency at the mic is what makes editing invisible.
Get the source clean and the rest is easy. Our recording techniques hub covers more sources, the vocal mixing guide walks through EQ, compression and de-essing, and the Violet Recording tools hub has free tuners and metering to keep your takes on pitch and in the safe zone. The best mic for home vocals is a good mic, placed consistently, in a room you have quieted down.



