
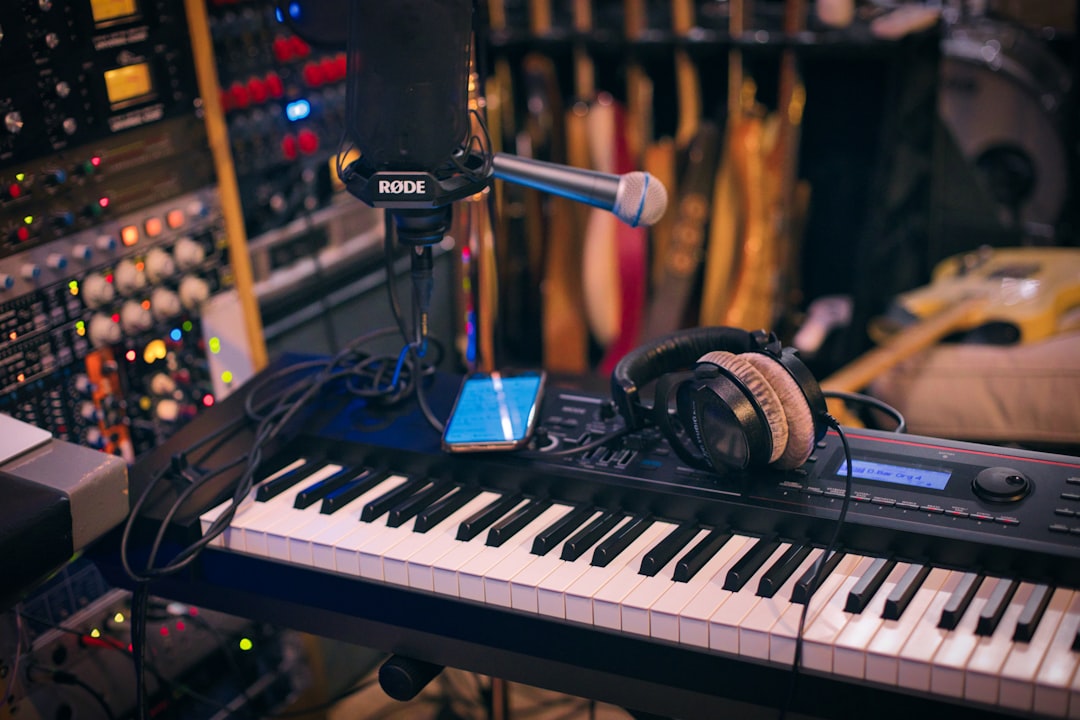
To record guitar into a DAW, plug your guitar into an audio interface, create an audio track in your DAW, set that track’s input to the interface channel you used, arm the track, set your input level so the loudest strums peak around -12 to -6 dBFS, then hit record. Electric guitars go through a DI or instrument input and usually get an amp simulator; acoustics are captured with a microphone. The rest is detail, and this guide walks the whole thing in order.
Violet Recording is reader-supported — we may earn a commission from links on this page, at no extra cost to you.
What you need before you record guitar into a DAW
The core signal chain barely changes between rigs. You need three things: something to convert the guitar into digital audio, a DAW to capture it, and a way to hear yourself without a distracting delay.
- An audio interface with an instrument (Hi-Z) input. Electric and bass guitars have a high-impedance pickup signal, so they need a proper instrument input — not a line input — or the tone goes thin and weak. Most desktop interfaces label this input “Inst” or “Hi-Z”, or give you a button to switch a combo jack into instrument mode. If you’re new to this, our guide on how to set up an audio interface covers the connections and driver install first.
- A DAW. Any of them will do this job — Reaper, Ableton Live, Logic Pro, FL Studio, GarageBand, Studio One. If you don’t own one yet, see our roundup of the best free DAWs for beginners.
- Headphones. Closed-back headphones stop the recording from bleeding into a microphone and let you monitor without latency issues from speakers in the room.
For acoustic guitar you also need a microphone and a stand. A small-diaphragm condenser is the classic choice, but a decent large-diaphragm condenser or even a dynamic works fine at home.
Connect the guitar and set your DAW’s audio device
Plug the guitar into the interface’s instrument input with a standard 1/4-inch (TS) instrument cable. If your interface has a Hi-Z or “Inst” switch on that channel, engage it. Turn the channel’s gain knob most of the way down for now — you’ll set it properly in a moment.
Open your DAW and point it at the interface. On Windows, choose the interface’s ASIO driver in the audio preferences; on macOS the interface shows up as a Core Audio device automatically. In Reaper this lives under Options > Preferences > Audio > Device; in Ableton under Preferences > Audio; in Logic under Settings > Audio; in FL Studio under Options > Audio Settings. Set a small buffer size (128 or 256 samples) so monitoring feels responsive. If you hear crackles or the take drifts out of time with your click, that’s usually a buffer or latency problem — our explainer on audio latency unpacks why and how to lower it.
Create an audio track and set its input
Add a new audio track (not a MIDI or instrument track — those are for virtual instruments, not a live guitar signal). Then set that track’s input to the physical interface channel your guitar is plugged into. If your guitar is in input 1, choose input 1 as a mono input; picking a stereo input when only one jack is used records silence on one side and can make the guitar sound off-centre or quiet.
The wording differs slightly by DAW, but the idea is identical everywhere:
- Logic Pro / GarageBand: when you create the audio track, set Input to “Input 1” (mono).
- Ableton Live: on the audio track’s In/Out section, set “Audio From” to Ext. In and pick channel 1.
- Reaper: arm the track, then set the record input to the mono input 1.
- FL Studio: record audio through the mixer — select an unused mixer insert, set its input to the interface channel, and record from there.
Set your input level so the take is clean, not clipping
This is the step beginners skip, and it’s the one that ruins takes. Digital recording has a hard ceiling at 0 dBFS — cross it and the waveform clips, which sounds like nasty crackle you cannot remove later. You want the signal strong but with headroom.
Arm the track for recording (this lets you monitor the input) and play the hardest you’ll actually play in the take — the loudest strum or the heaviest palm-mute chug. Watch the track meter and turn the interface’s gain knob up until those peaks land around -12 to -6 dBFS, never touching 0. Good levels here are just clean gain staging, and it makes every later step easier. Set the level with the interface’s physical gain knob, not a fader inside the DAW — the fader comes after conversion and can’t undo clipping that already happened at the input.
Monitor without latency, then hit record
Latency is the small delay between playing a note and hearing it back through the computer. Even a few milliseconds feels wrong when you’re playing. There are two ways to beat it:
- Direct (hardware) monitoring: most interfaces have a Direct Monitor switch or a mix knob that feeds the input straight to your headphones with zero delay. Turn it on and turn your DAW’s software monitoring for that track off, or you’ll hear yourself twice. The catch: you hear the dry, un-amped guitar this way.
- Software monitoring through an amp sim: keep the DAW’s input monitoring on so you hear the guitar through your plugins. This lets you play through your amp tone, but only works well if your buffer is low enough that the delay is negligible.
Tune up before you commit — a slightly flat guitar shows up mercilessly on playback. You can use our free browser guitar tuner in the Violet Recording tools. Then set a click or count-in if you want to stay in time, arm the track, and press record. Play the part, leave a second of silence at the start and end for editing room, and stop. Give the take a listen before you pile on more.
Get a usable tone: amp sims for electric, mic placement for acoustic
A DI electric guitar recorded clean sounds thin on its own — that’s expected. The tone comes from an amp simulator plugin on the track. Most DAWs ship a capable one: Logic has Amp Designer and Pedalboard, GarageBand has Amp collection, Ableton has Amp and Cabinet, and there are excellent free amp sims if yours doesn’t. Insert it on the guitar track and it reshapes the DI into a real amp voice. The big advantage of recording the clean DI is that you can change the amp, gain, and cab entirely after the fact — nothing is baked in. If the stock amp sims don’t get you the tone you’re chasing, a dedicated third-party amp suite is the natural upgrade, and Plugin Boutique carries the well-known ones.
For acoustic guitar there’s no DI tone to fix — the sound is captured by the mic, so placement is everything. A good starting point is a condenser about 20–30 cm out, aimed where the neck meets the body rather than straight at the soundhole (the soundhole is boomy). Our full walkthrough on how to record acoustic guitar and the companion how to record electric guitar guide go deeper on both approaches.
Common problems and quick fixes
- No signal at all: the track input is set to the wrong channel, the track isn’t armed, or the Hi-Z/Inst switch is off. Check all three.
- Weak, thin, quiet signal: you plugged into a line input instead of the instrument input, or the interface gain is too low.
- Crackling or clipping: input level is too hot — turn the interface gain down until peaks sit under -6 dBFS and re-record.
- Guitar lags what you play: latency — lower the buffer size and switch to direct hardware monitoring.
- Hearing yourself twice (a slap-back echo): both direct monitoring and software monitoring are on. Turn one off.
Once your parts are captured cleanly, the next stage is the mix. Browse the rest of our recording techniques hub, and when you’re ready to balance and polish, our beginner’s guide to mixing your first song takes it from raw takes to a finished track.
Frequently asked questions
Do I need an audio interface to record guitar into a DAW?
For a real electric or acoustic guitar, practically yes. An interface gives you the instrument input and clean, low-latency conversion the built-in laptop input can’t. The one common exception is a USB guitar cable or a modelling amp/pedal with USB out, which acts as its own tiny interface — but a dedicated interface gives better quality and room to grow.
Should I record electric guitar clean (DI) or with the amp tone already on it?
Record the clean DI and add the amp simulator inside the DAW. That way you can reshape the tone, gain, and cabinet after recording without re-tracking. Committing to an amp tone on the way in is fine once you’re confident in the sound, but the DI approach is far more forgiving while you’re learning.
Why does my recorded guitar sound quiet or one-sided?
Almost always because the track is set to a stereo input while the guitar is on a single mono jack — one side records nothing. Set the track input to a mono input on the exact channel you plugged into, and confirm the interface gain is turned up enough to reach healthy levels.



